LogoBuilder - How to Create or Manage a Logo
When launching a new website or online store, LogoBuilder can help you avoid getting caught up in designing an attractive website, showcasing your products or services, and driving initial sales. A well-designed logo is essential as it sets the tone for your brand identity and can significantly influence customers.
LogoBuilder offers a user-friendly solution for crafting the perfect logo, featuring:
- AI Support - Fine-tune your design to match your brand's vision.
- Versatile Integration - Easily add your logo to your site, shop, or business cards.
- Multiple File Formats - Export your logo in various popular file formats.
- Merchandise Integration - Utilize Zazzle for branded merchandise, enhancing brand consistency across platforms.
In this article, we will discuss:
- How to Access LogoBuilder
- How to Create a Logo in LogoBuilder
- How to Edit the Logo
- How to Save, Preview, and Download the Logo
- Using the AI Writer
- Review
How to Access LogoBuilder
Review the steps below to see how you can access the LogoBuilder.
- Log in to your account via https://www.networksolutions.com/my-account/login.
- In your Account Manager,
- If you have a Website plan, select Websites in your Account Manager and click on Launch Website Builder for the plan you need to manage.
- If you purchased LogoBuilder as an add-on product to your website builder, select Websites in your Account Manager, then scroll down to the Edit LogoBuilder section and click the Launch LogoBuilder button. After that, you will be redirected to the LogoBuilder, where you will be asked to enter your Brand Name. Please proceed to step 3 of the How to Create a Logo in LogoBuilder section of this article.
- If you have an eCommerce plan, select eCommerce in your Account Manager and click Launch for the plan you need to manage.
- In your website dashboard, click Content on the left menu and choose LogoBuilder from the options.
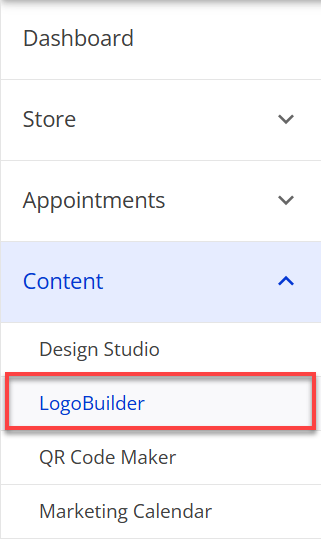
- You can now access the LogoBuilder tool, where you can create, edit, and store logos for your organization.
![]()
How to Create a Logo in LogoBuilder
Below are steps to use the LogoBuilder to create a professional logo.
- Refer to the How to Access LogoBuilder section to start the LogoBuilder feature.
- If it is your first time accessing the LogoBuilder, click the CREATE YOUR LOGO button.
![]()
If not, click the CREATE LOGO button at the top-right corner of the page.
- Enter your brand name in the Brand Name field and watch the AI generate eye-catching logo options based on the information you provided.
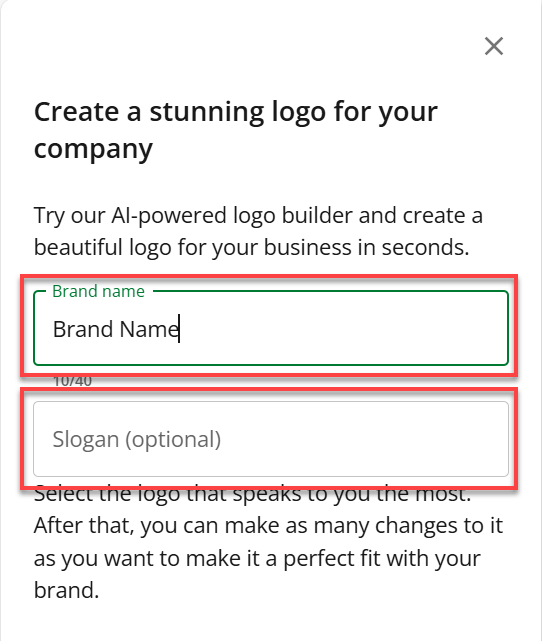
- You can also enter a slogan for your business to include with the design in the Slogan field. This is optional.
Important: To aid you in writing a slogan, you can use the AI Writer feature by clicking the AI WRITER button with the three-sparkling icon in the Slogan field. Go to the Using the AI Writer section to learn how to use this feature.
- Click the design you would like from the generated options to start with and customize it to meet your vision.
- Start customizing your logo.
Note: The variations panel on the right will update live as you make changes and suggest various options. When selected, they are all clickable and will auto-load into the main LogoBuilder panel.
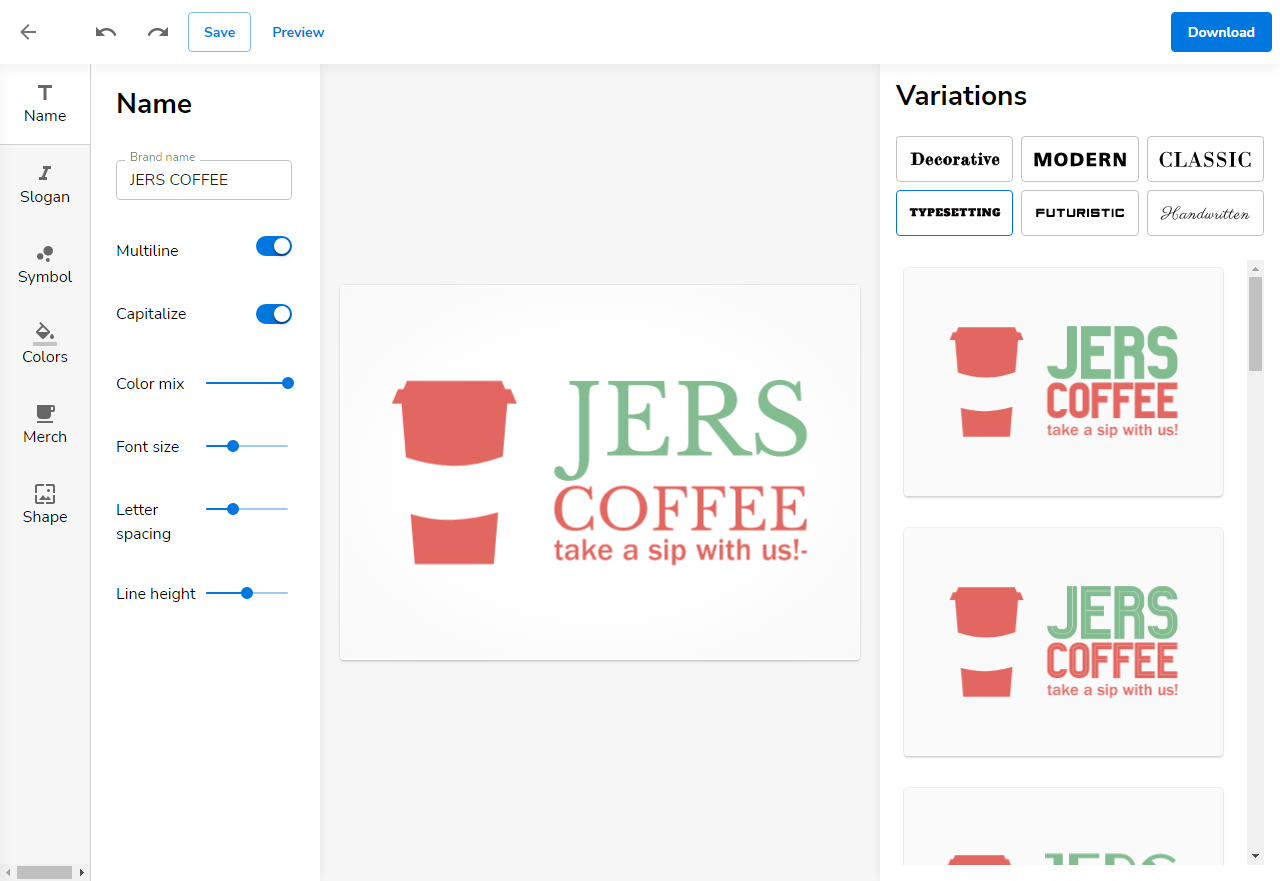
How to Edit the Logo
When you edit your logo, the navigation on the left allows you to customize your logo. While editing, the Variations panel on the right will update as you change your logo and suggest various designs to help you.
You can modify the following logo design elements within the LogoBuilder:
Name
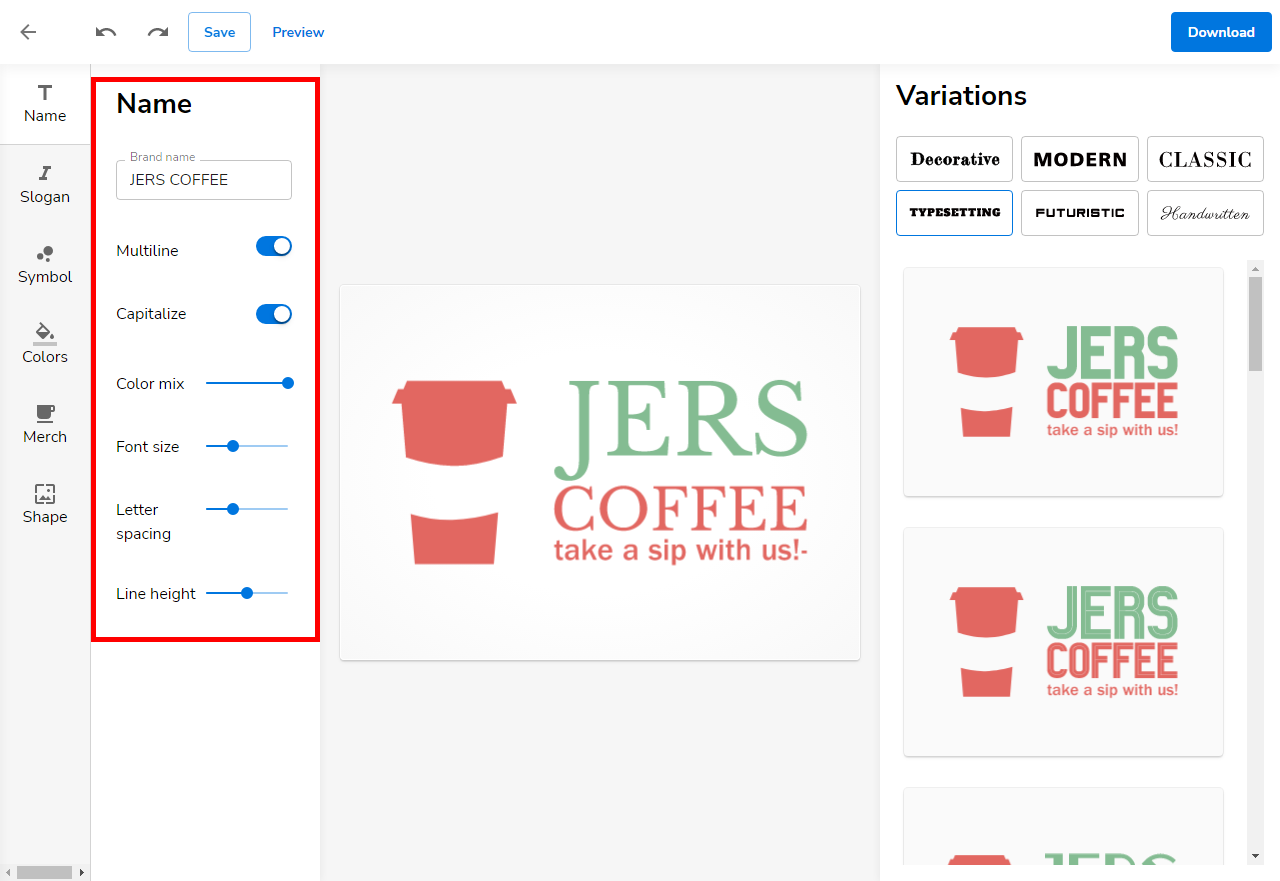
You can do the following when you click on the Name icon:
- Make your brand name appear in single or multiple lines by clicking the Multiline toggle switch.
- Display your logo name in capital letters by enabling the Capitalize toggle switch.
- Adjust the slider for a color mix of letters between the primary and secondary color swatches.
- Modify the font size of the logo.
- Adjust the letter spacing.
- Alter the line height and spacing (with multiline on).
Slogan

You can do the following when you click on the Slogan icon:
- Add or edit your slogan.
- Select the number of lines you want the slogan to be broken into.
- Change the font size of your slogan.
- Adjust the line height and spacing between the brand name and the slogan.
- Add a line design and alter the alignment of the text for shorter slogans.
Symbol
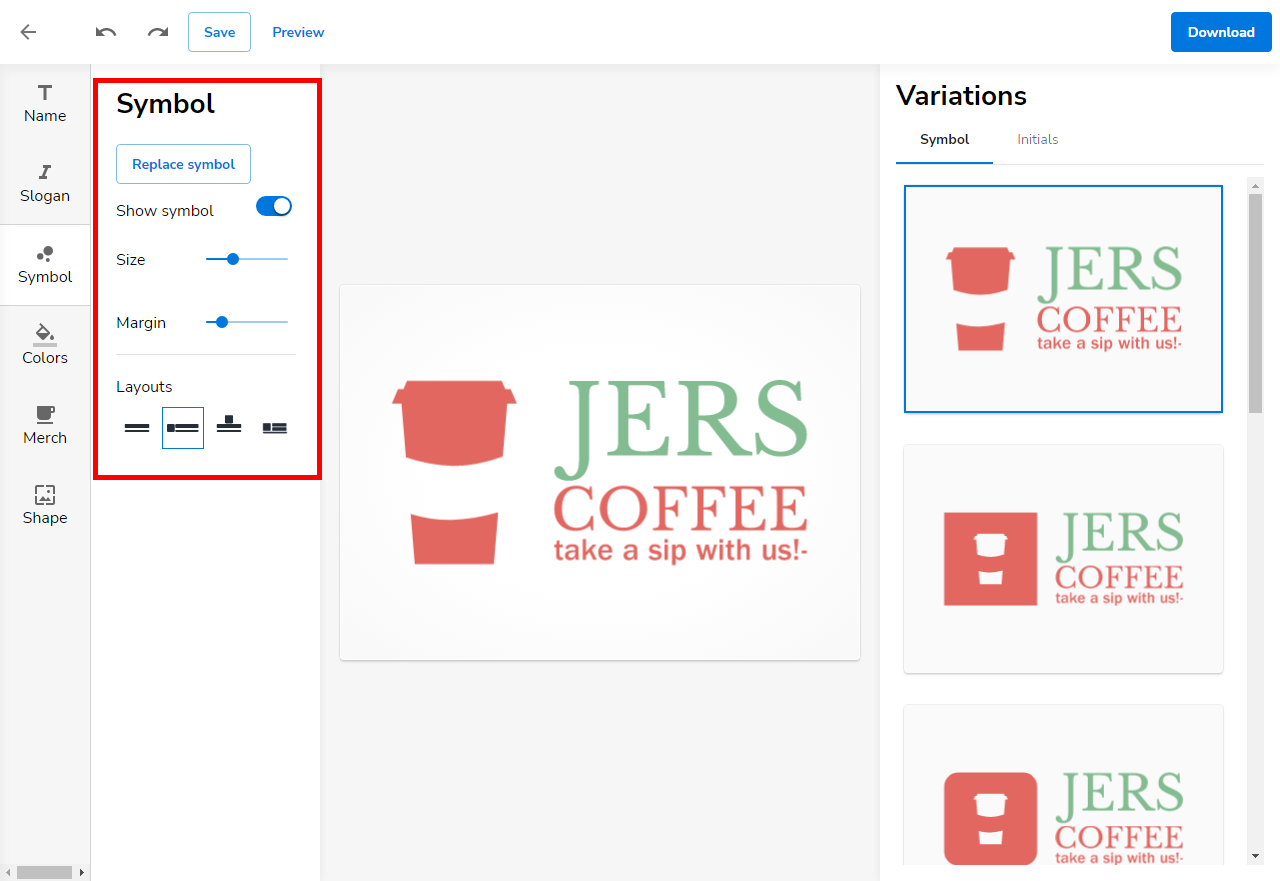
You can do the following when you click on the Symbol icon:
- Add/change/remove a symbol from your logo.
- Adjust the symbol size.
- Alter the margin surrounding the symbol.
- Choose where you want the symbol to appear in the logo by clicking Layout within the Variations panel.
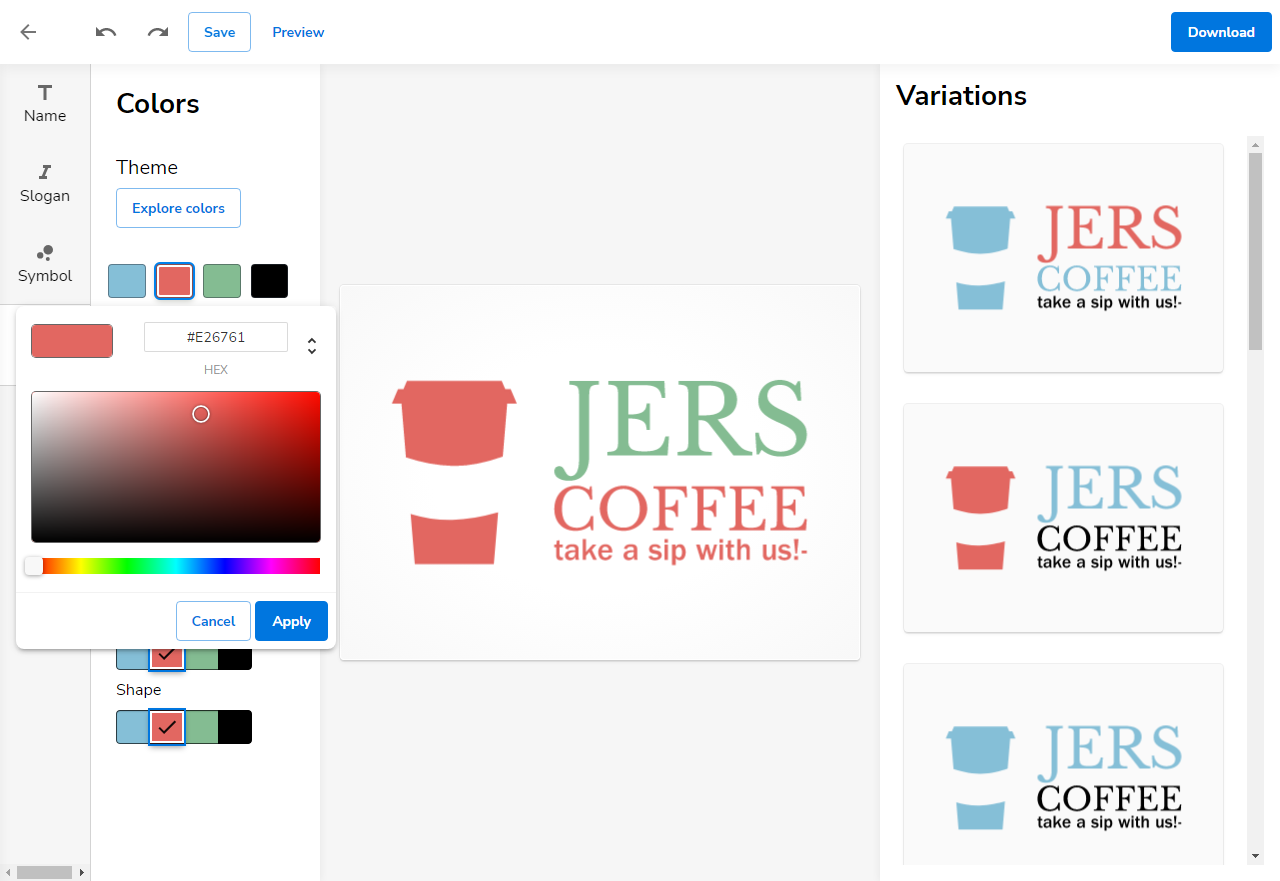
Colors
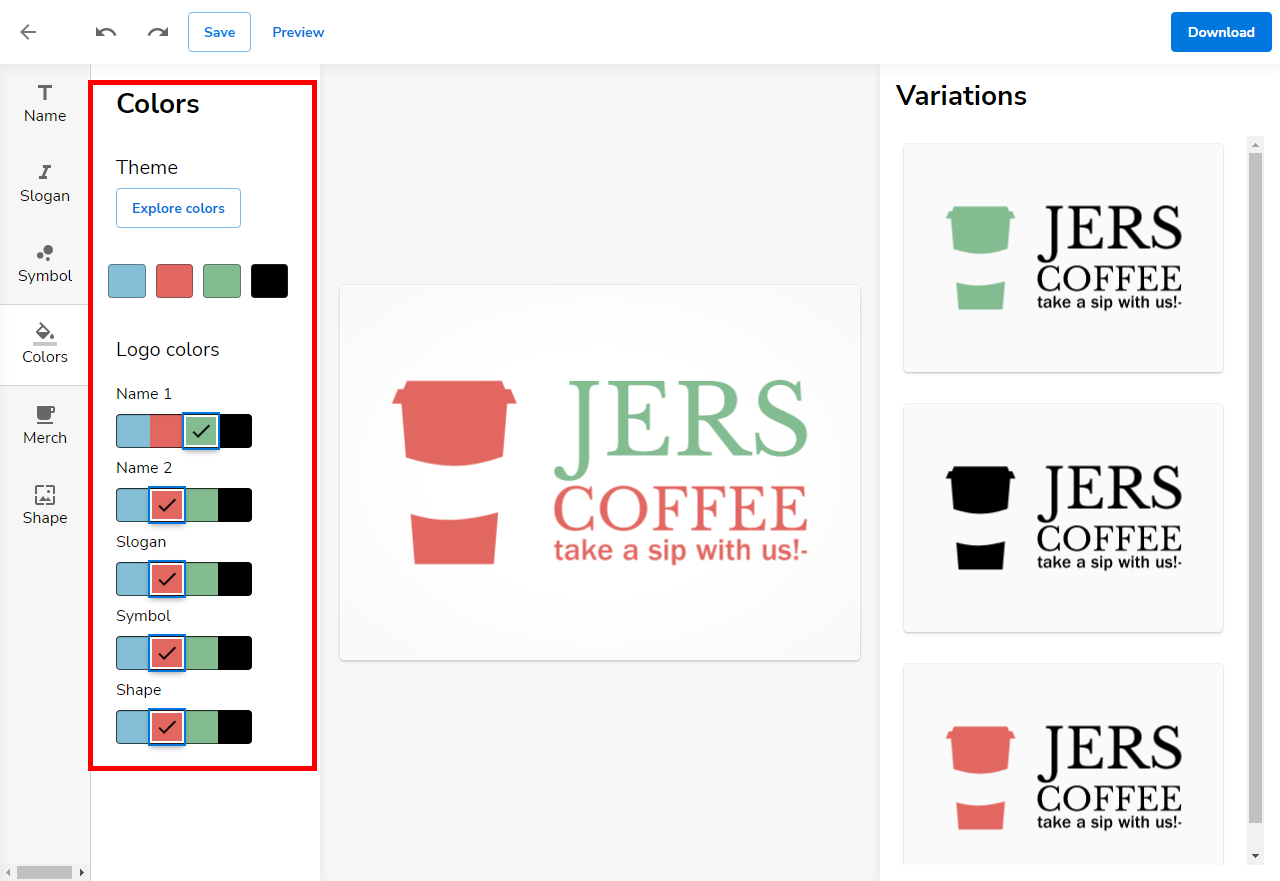
On the colors tab, you will have the option to select four theme colors that will be used in building your logo.
- You can choose from a library of preset color themes by clicking on Explore colors. Color Themes are divided into groupings of Bright, Minimal, and Pastels. To select the theme you like, click on it in the panel to automatically apply it to your logo.
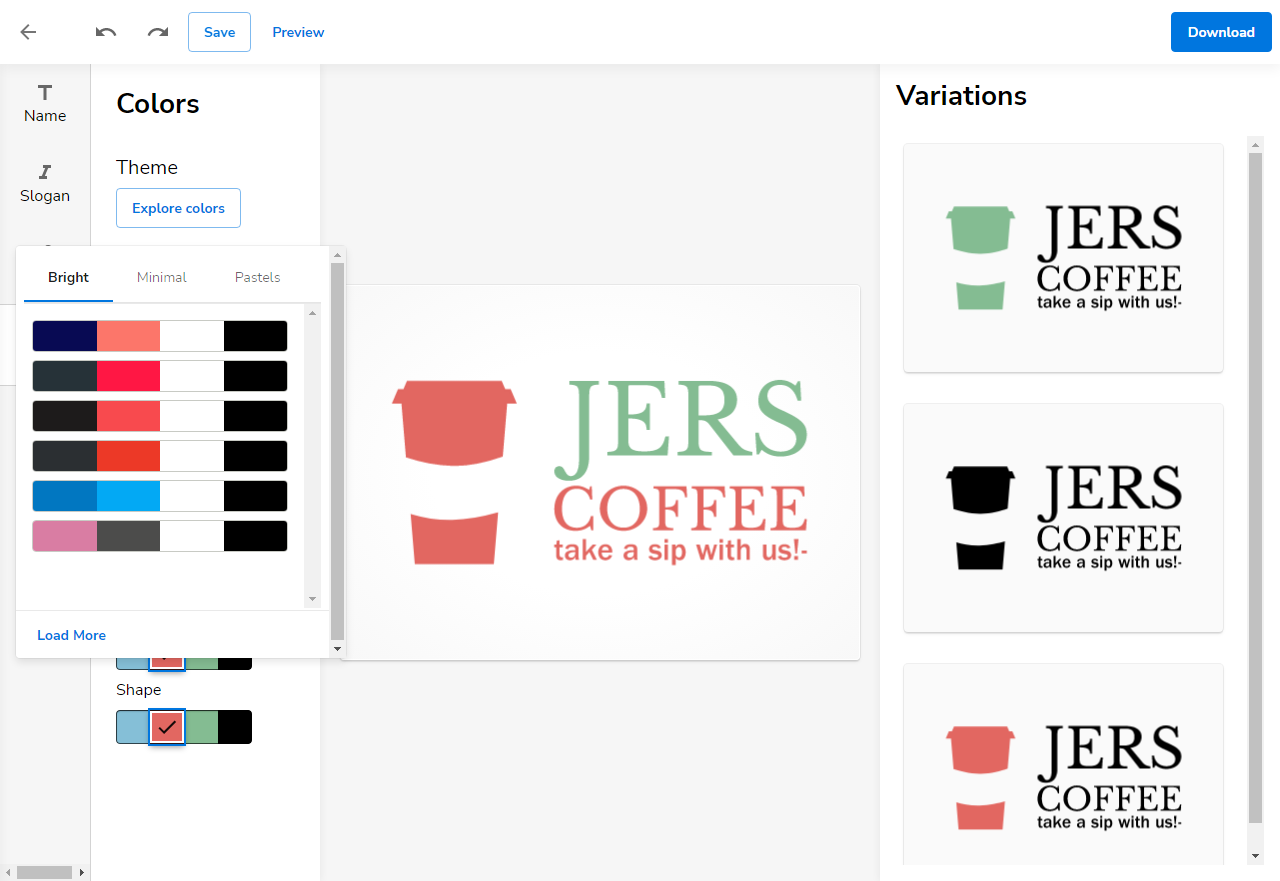
Note: If you don't see a theme you like, you can click Load More to load more preset themes. - Should you wish to use a custom color of your own, you can do so by selecting the Swatch square you want to change. Then, use the color slider or enter a hex color to set the color you would like to use. You may also choose a different swatch color for each logo element. A warning will appear if there is a conflict with the color choices.
Merch
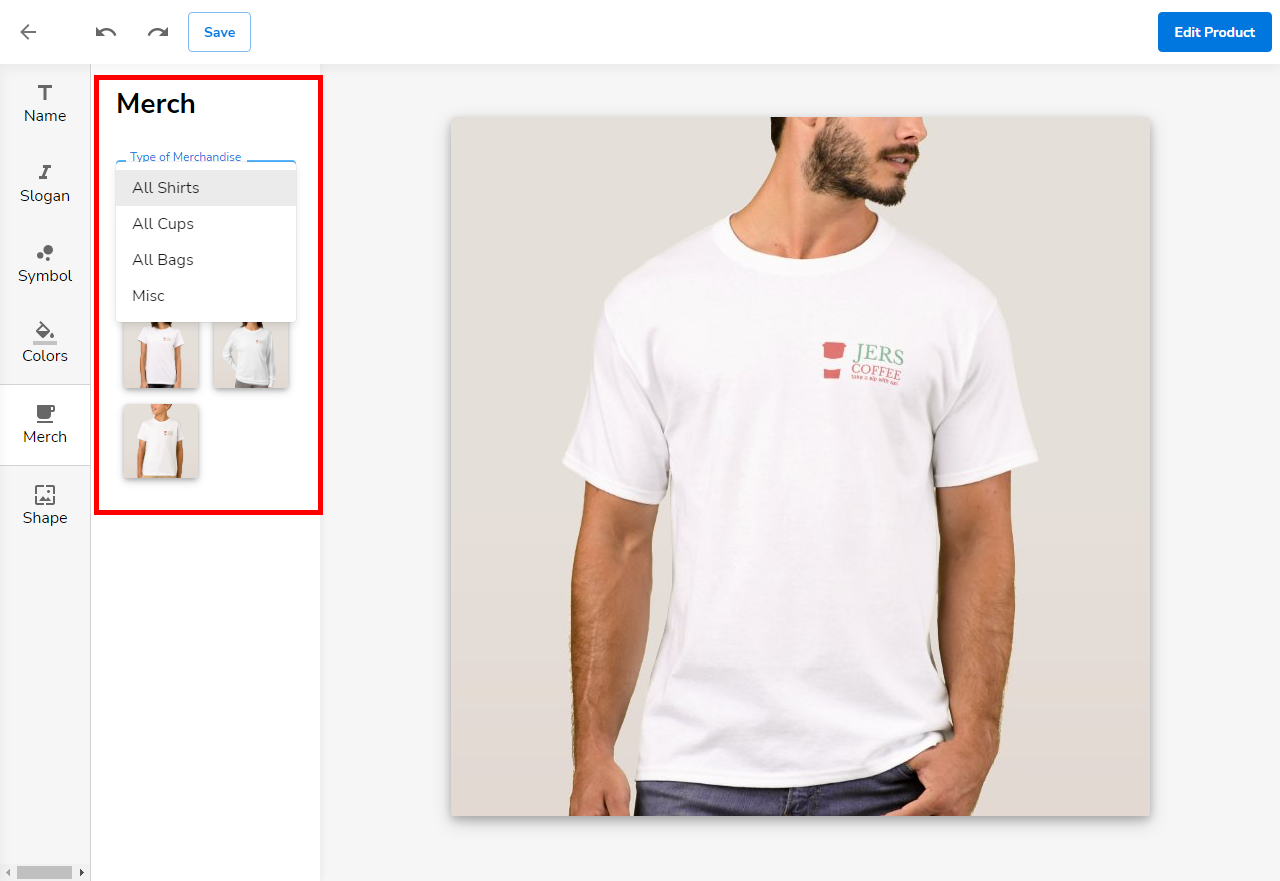
Within the Merch tab, you can do the following:
- Select types of merchandise to use your logo
- Buy and customize your merchandise using Zazzle
Shape
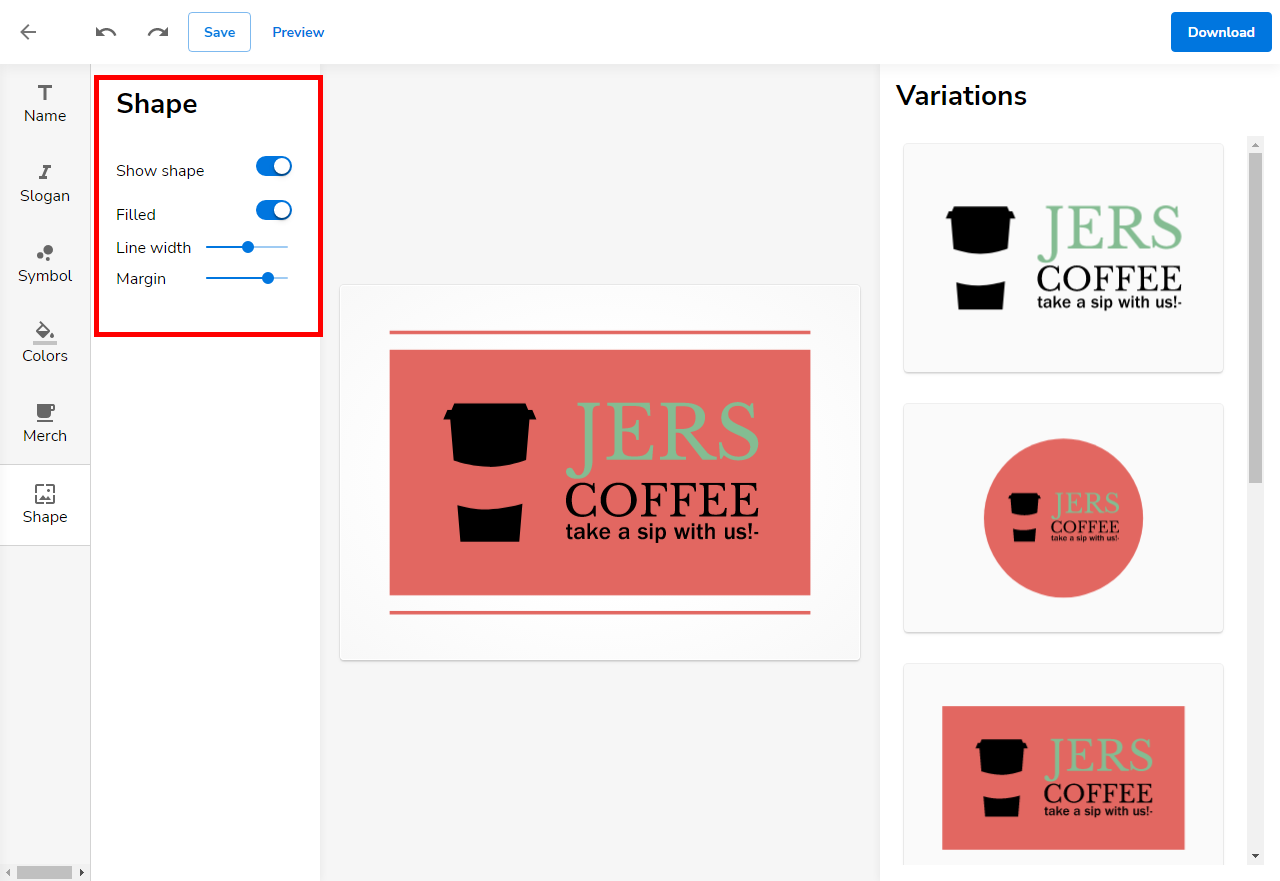
You can do the following when you click on the Shape icon:
- Show or hide the background shape.
- Choose if you want the shape to be filled or not.
- Adjust the line width of the shape.
- Change the margin of the shape.
- Use different shapes (i.e., circle, square, highlight elements, etc.) from the Variations panel on the right.
How to Save, Preview, and Download the Logo
The icons and buttons on top of the LogoBuilder allow you to do the following:

- Undo or redo changes by clicking the undo icon or redo icon.
- Save your work by clicking the SAVE button.
- See how your logo will look on your website, business card, social media accounts, and more by clicking PREVIEW.
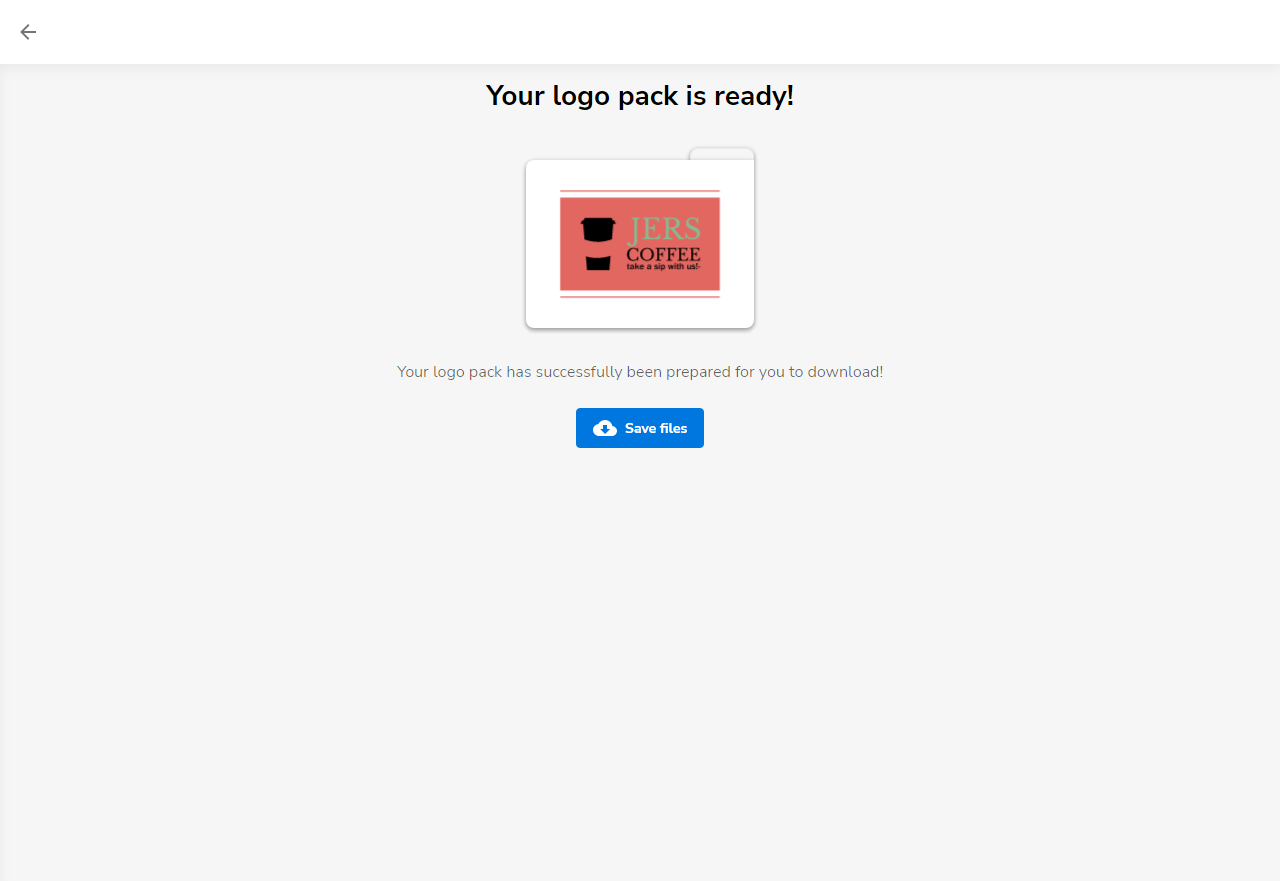
- Download your logo by clicking DOWNLOAD on the top right, then clicking the SAVE FILES button. The logo will be downloaded as a zip file and will include different versions of the logo, such as:
- high and low-resolution
- Favicon
- social media images
- Vectors
- And more!
Using the AI Writer
Follow the steps below on how to use the AI Writer when writing a slogan.
- After clicking the AI Writer button, you will see a minimized page pop up on your screen. Click the Optional drop-down to see more important options, as seen in the image below.
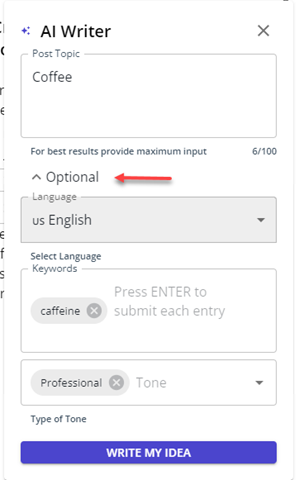
- Post Topic – Enter a brief topic on the post you want to create.
- Language – Find all the available languages you can use by clicking on the drop-down. The default language set is English.
- Keywords – Enter keywords to aid you in generating ideas. Press the Enter key on your keyboard to add it. You may add multiple keywords.
- Tone – Choosing a tone will help you determine how your blog would sound to the audience. You can add multiple tones by clicking on the provided field and selecting which tone you want to use. The default tone selected is Professional.
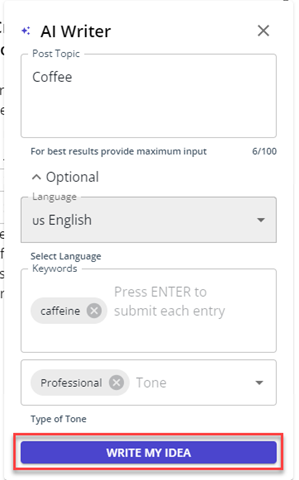
- Once all fields are filled out, click WRITE MY IDEA, and the result will be automatically generated.
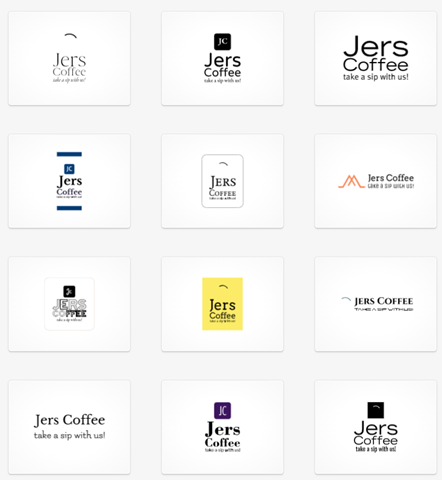
- Once the Slogan field is filled out, a template with the brand name and the slogan you typed will be added to multiple templates that you can use on the right side. You can scroll down to view more templates.
Review
When launching a website or online store, it is easy to get swept away in the numerous tasks at hand—from showcasing your products or services to driving initial sales. However, never underestimate the importance of a well-crafted logo. With LogoBuilder, you can effectively create your logo design by using our easy-to-use tools and AI support.