Powered by Network Solutions: WebsiteBuilder - Getting started
New to WebsiteBuilder? Don't worry. We have you covered. In this article, we will guide you through the following:
- How to sign up for WebsiteBuilder
- How to launch the WebsiteBuilder
- How to get started with your website
- Review
How to sign up for WebsiteBuilder?
- Log in to your account via https://www.networksolutions.com/my-account/login.
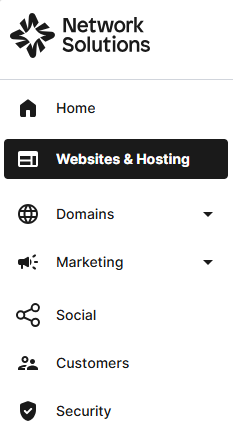
- Click Websites & Hosting from the left navigation menu.
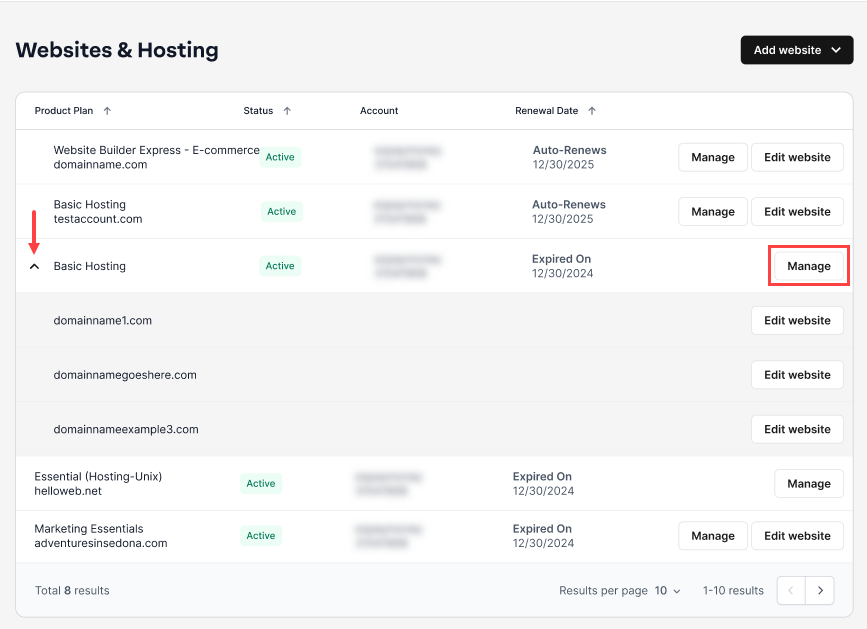
- Navigate to the hosting package that you want to access with Website Builder, then click Manage to continue.
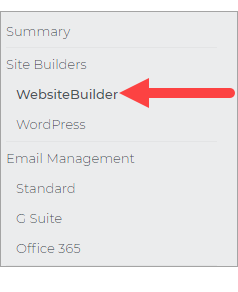
- On the left pane, click on WebsiteBuilder, under Site Builders.
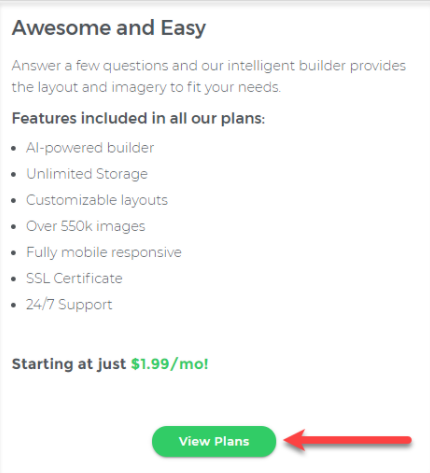
- Scroll down and click the View Plans button.
- Choose the plan that's perfect for you! Click the Buy Now button.
How to launch the WebsiteBuilder?
- Log in to your account via https://www.networksolutions.com/my-account/login.
- Click Websites & Hosting from the left navigation menu.
- Navigate to the hosting package that you want to access with Website Builder, then click Manage to continue.
- On the left pane, click on WebsiteBuilder, under Site Builders.
- Click Manage.
For Legacy WebsiteBuilder For WebsiteBuilder Express 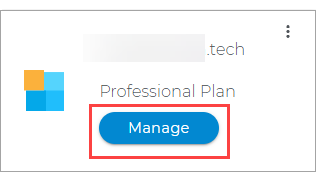
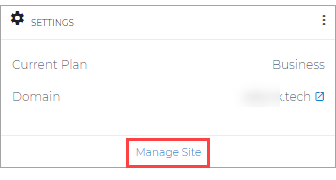
- Click Manage.
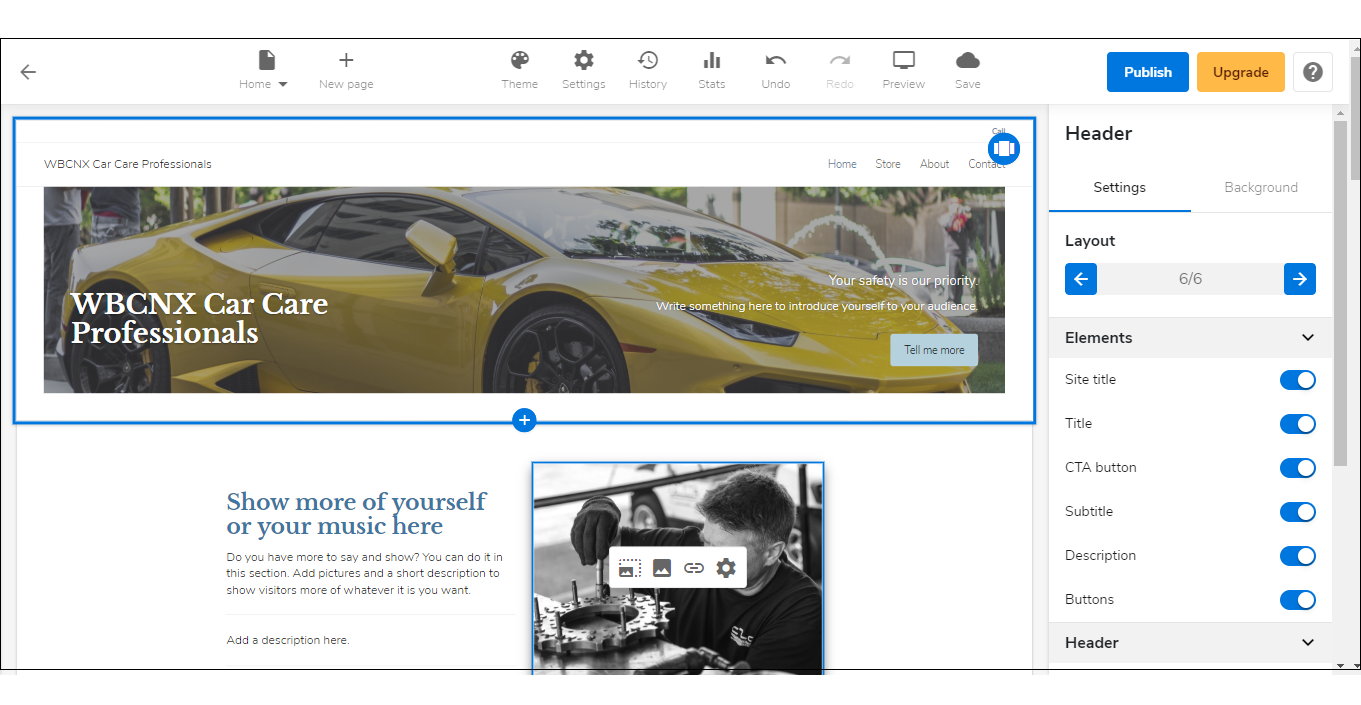
- This action will open your WebsiteBuilder screen in a new tab:
Legacy WebsiteBuilder looks like this: WebsiteBuilder Express looks like this: 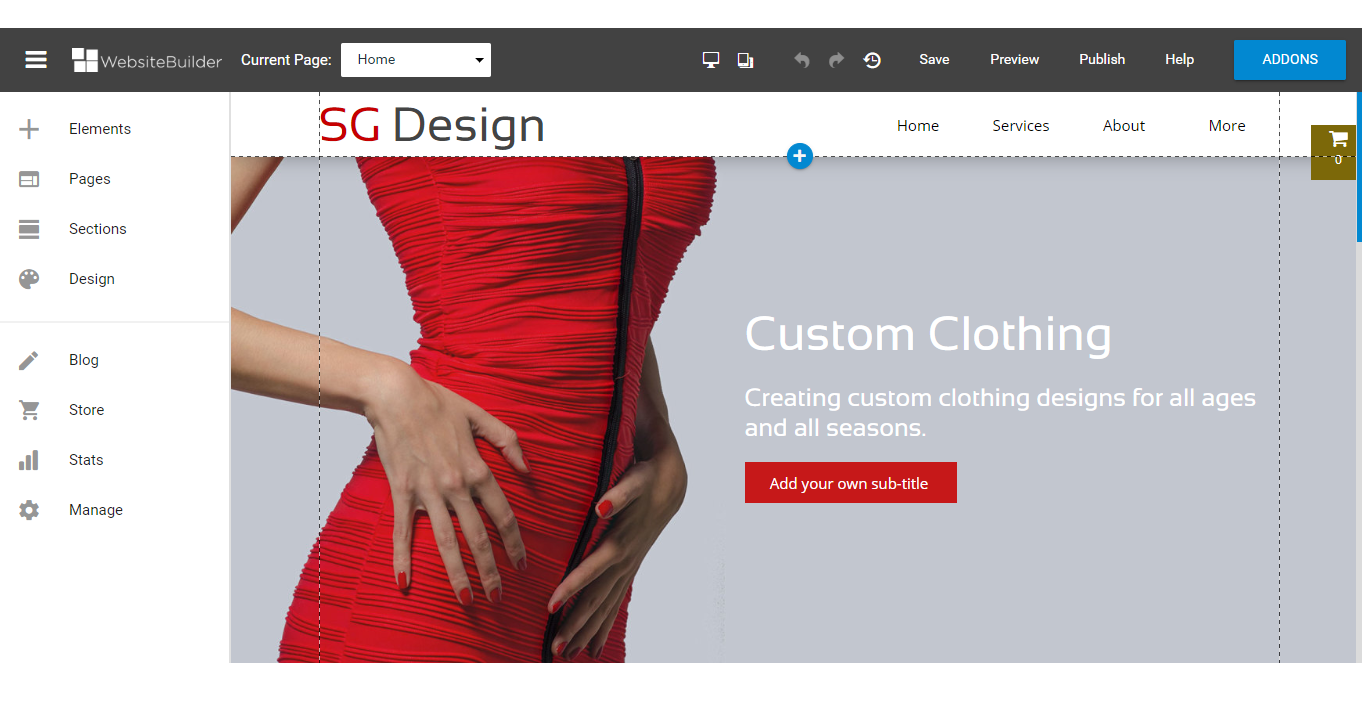
How to get started with your website?
- Start typing and pick a category for your site.
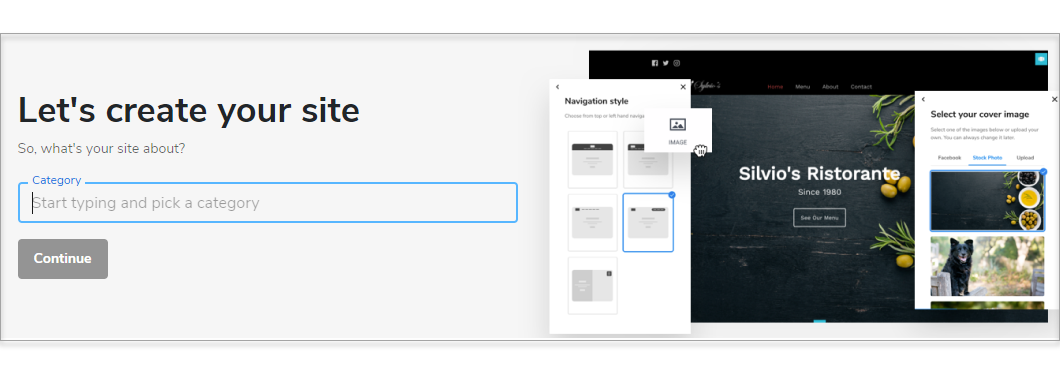
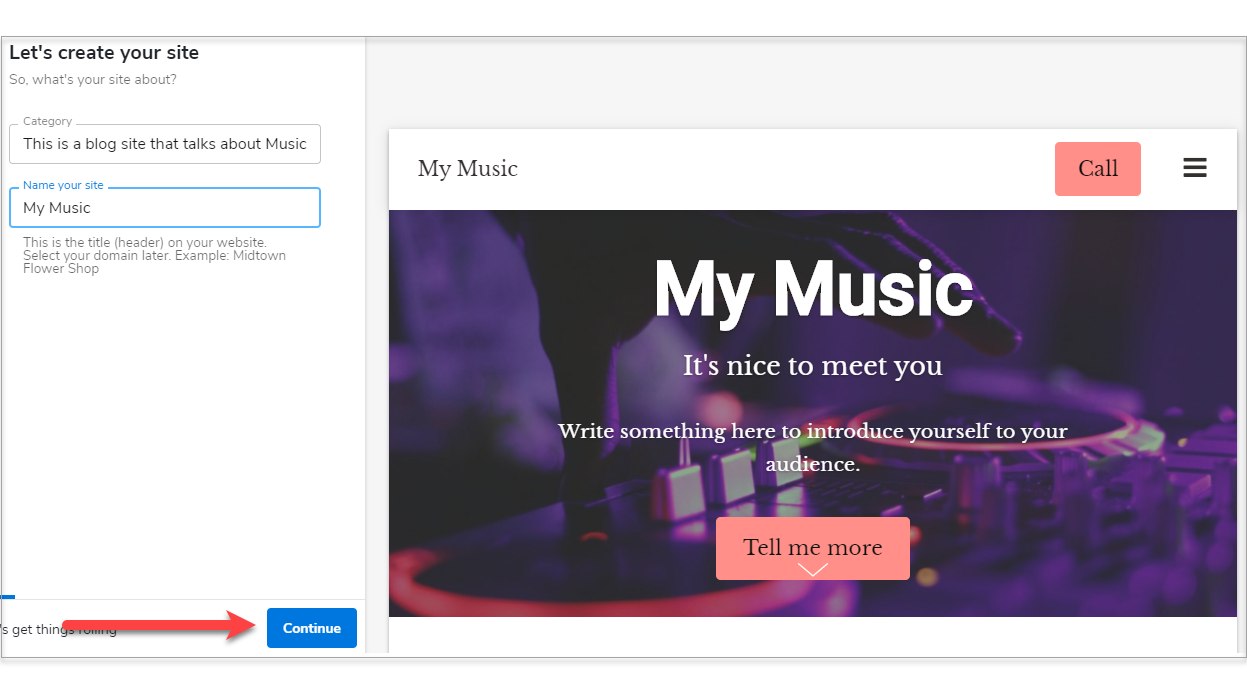
- Name your site and click Continue.
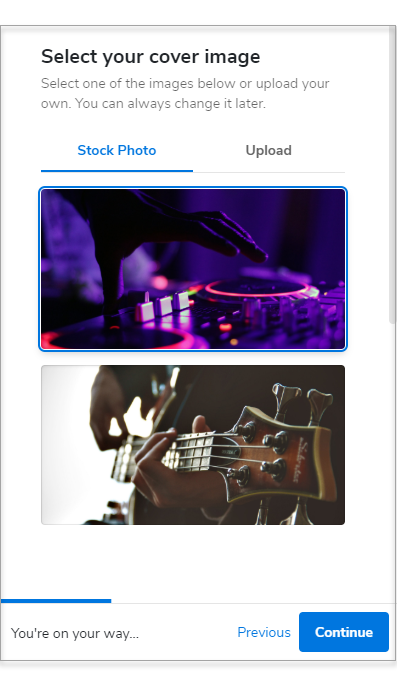
- Select your cover image and click Continue.
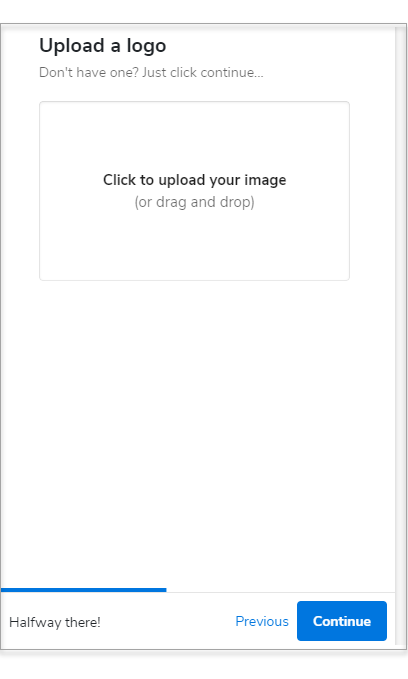
- Upload your site logo. If you don't have one yet, click Continue.
- Pick a theme and color combination for your website.
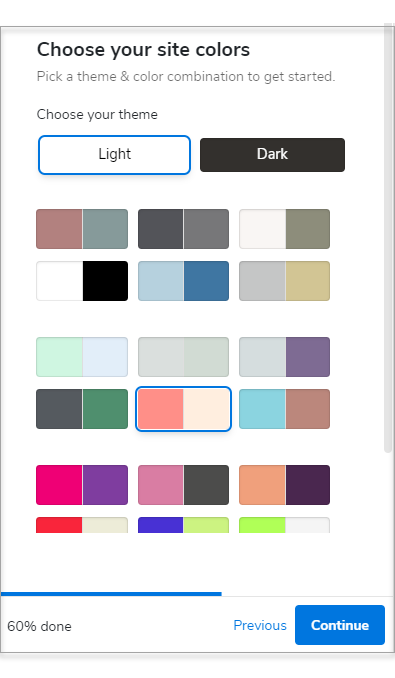
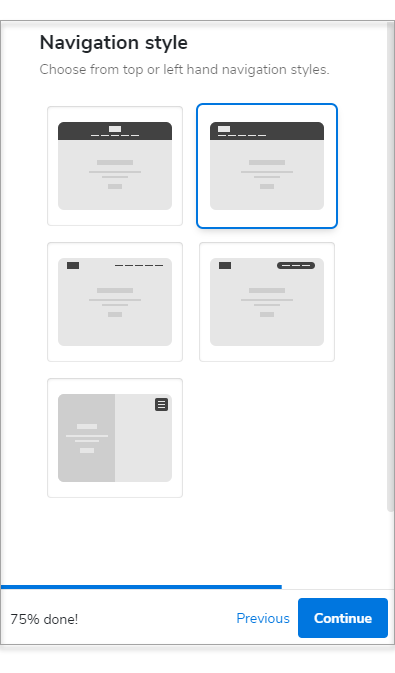
- Choose a Navigation Style.
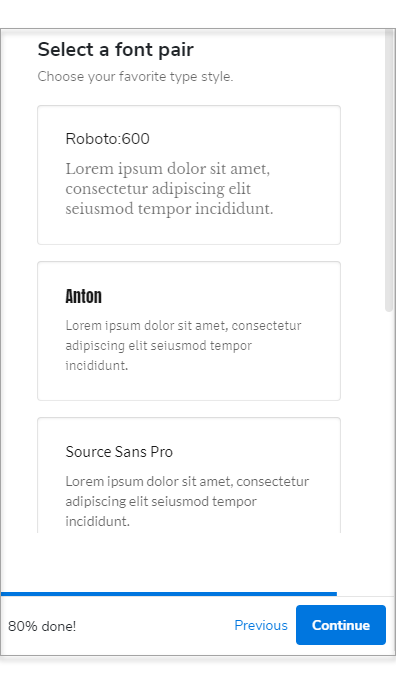
- Select a Font Pair.
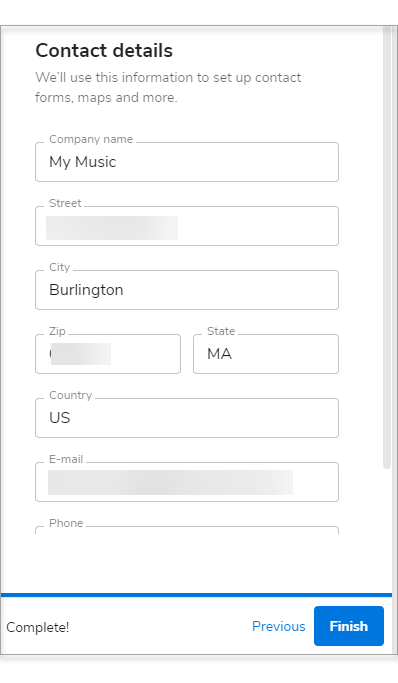
- Type in your contact details. We'll use this information for your contact forms, maps, and more.
- Click Finish.
Review
This comprehensive onboarding guide effectively leads new users through purchasing, launching, and setting up WebsiteBuilder. Crucially, the article opens with a vital technical distinction between the Classic Editor and the Express Editor, managing customer expectations around site upgrades. By breaking the setup process into intuitive, sequential workflows—from selecting hosting packages and picking site categories to configuring visual themes and contact details—the guide minimizes friction for first-time site builders and helps streamline platform adoption.
Get practical tips and product updates on LinkedIn.
Follow Network Solutions