Knowledge Base
Categories: Legacy Domain
Powered by Network Solutions: Weebly - How to add and manage blog posts
As of October 2020, the Weebly site builder will no longer be available to new customers. Therefore, there is also no option to migrate the website created on Weebly to any other web builder just in case you want to keep the page.
Important: We are aware of website issues affecting customers utilizing the Weebly builder. When visiting the website, impacted users are reporting a 403 Forbidden Error or a blank page. In most cases, we have found that republishing the site within the Weebly editor fixes the issue.
We appreciate your patience as we are actively working with our partners at Weebly to determine the root cause to implement a permanent solution.
We appreciate your patience as we are actively working with our partners at Weebly to determine the root cause to implement a permanent solution.
Please select from the options below for instructions:
How to access and edit your site
- Log in to your account manager via https://www.networksolutions.com/my-account/login.
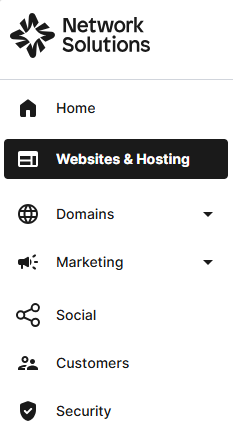
- Click Websites & Hosting from the left navigation menu.
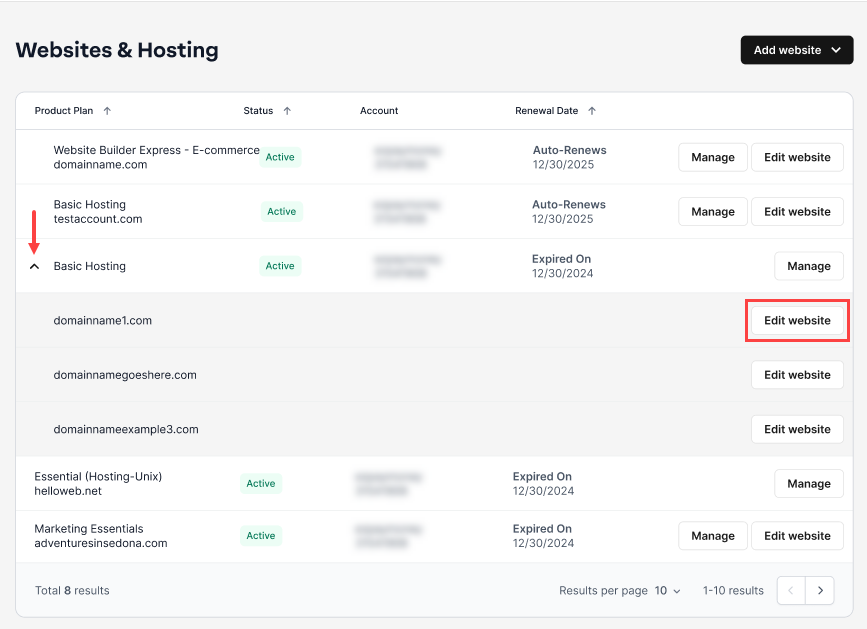
- Navigate to the hosting package you want to access with Weebly, then click Edit website next to the domain name you want to manage.
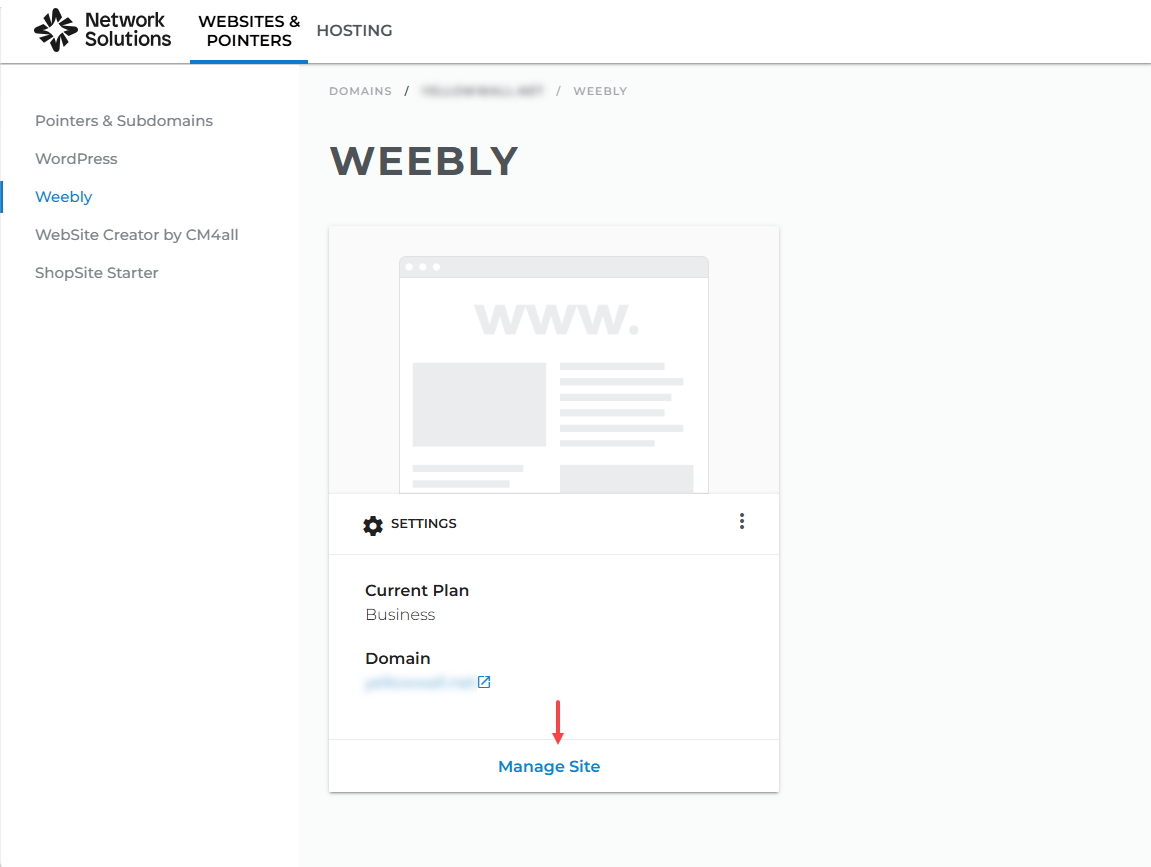
- Go to WEBSITES & POINTERS, select Weebly, then click Manage Site to launch Weebly editor.
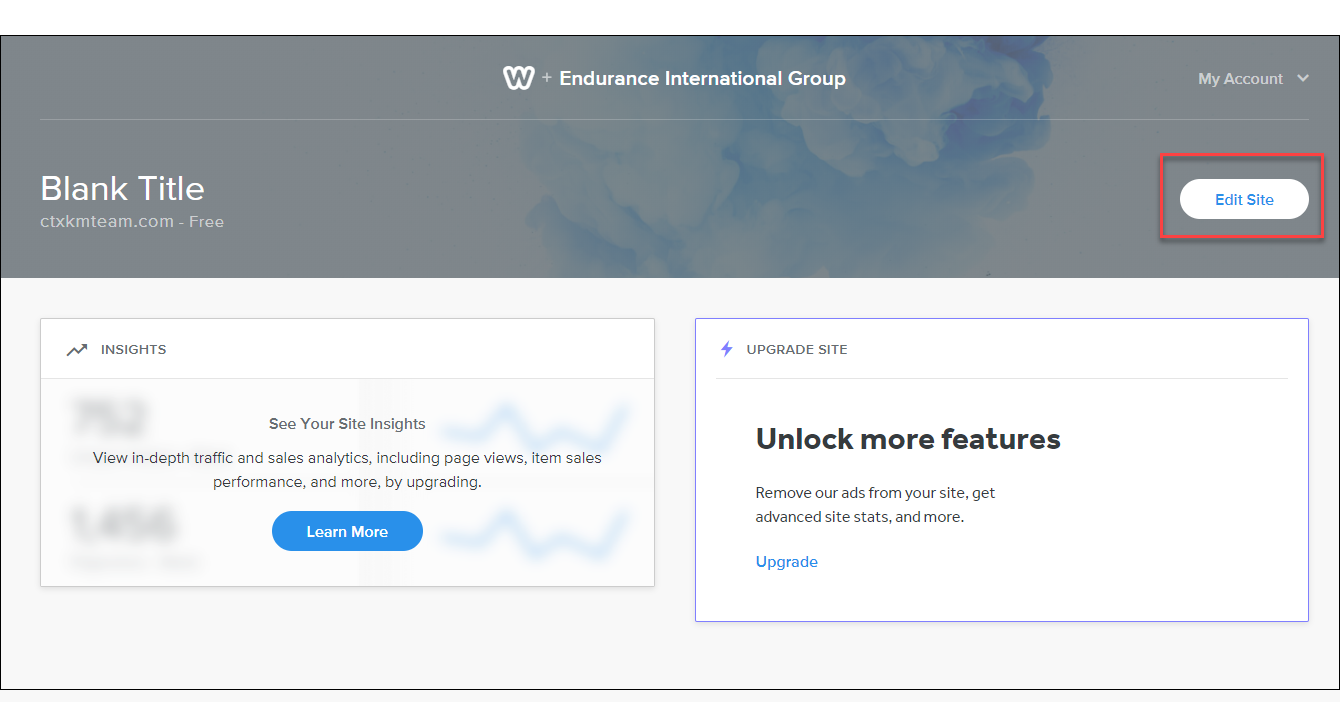
- Once logged into Weebly, click the Edit Site button.
How to add a blog page
- Click the Pages tab on the top.

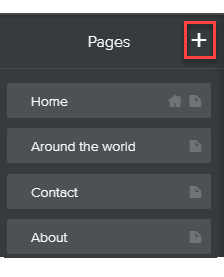
- Click on the Plus (+) sign to expand the Pages menu.
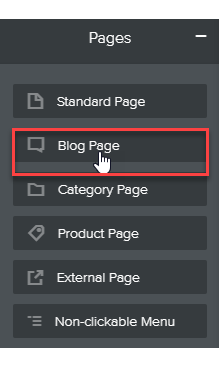
- Click Blog Page.
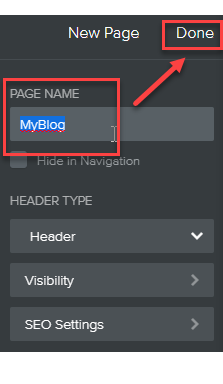
- Enter the name of your blog page, then click Done.
How to add a blog post
- Click the Pages tab on the top.
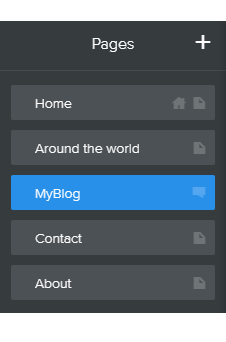
- Click your blog page.
- Click the New Post button.
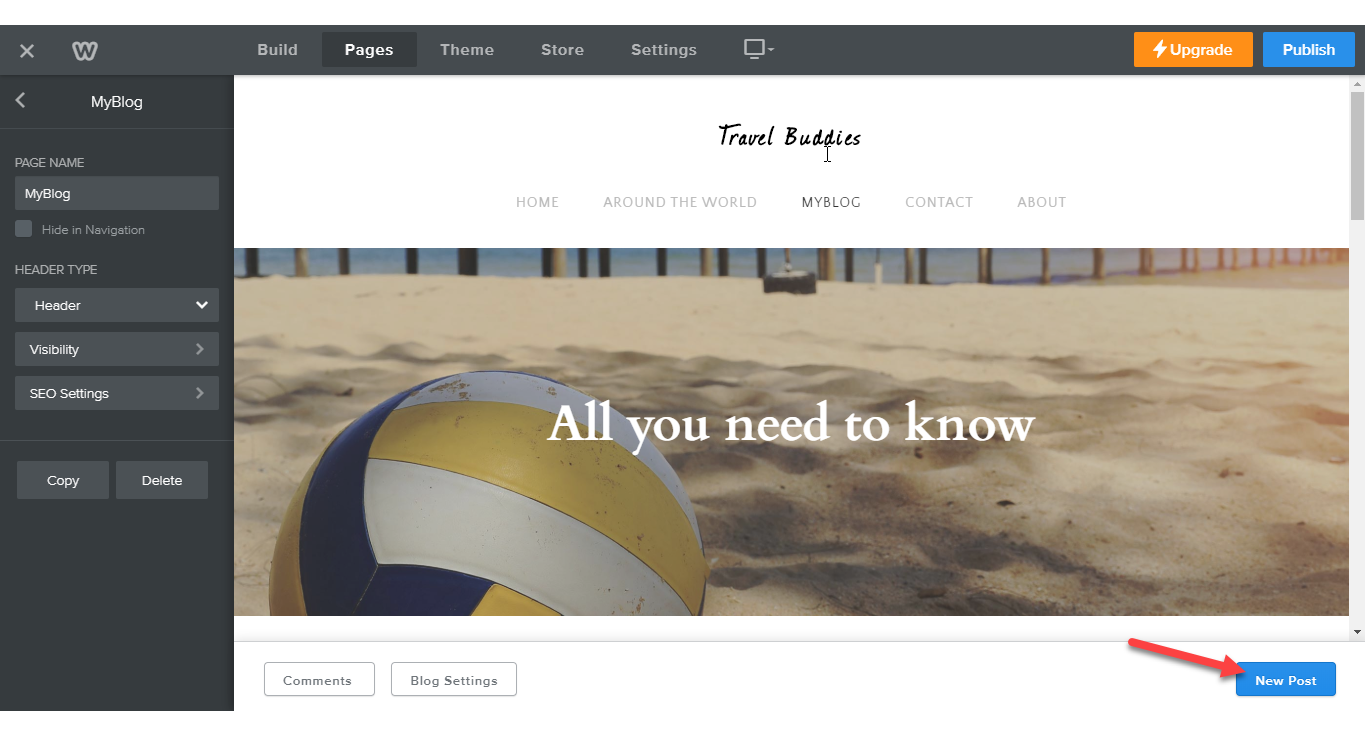
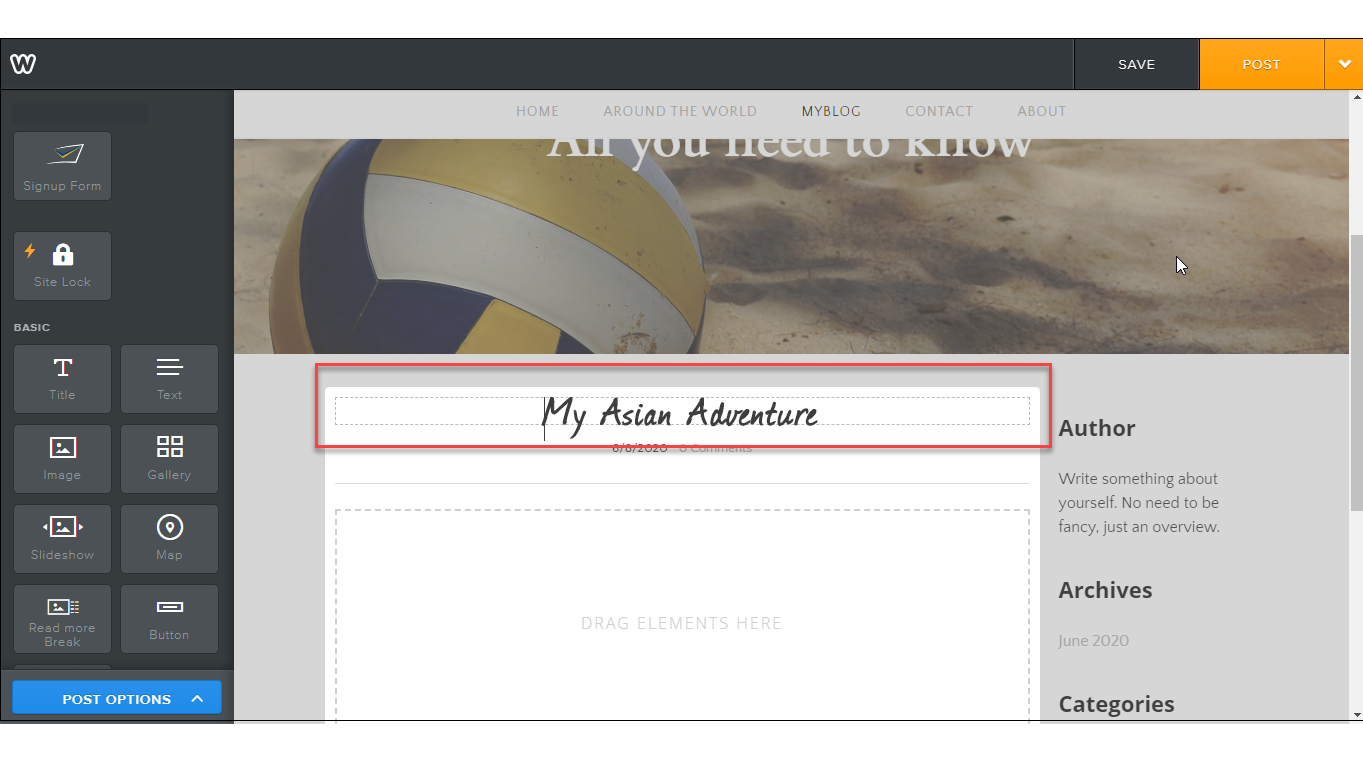
- Click the Title text box and enter the title of your new post.
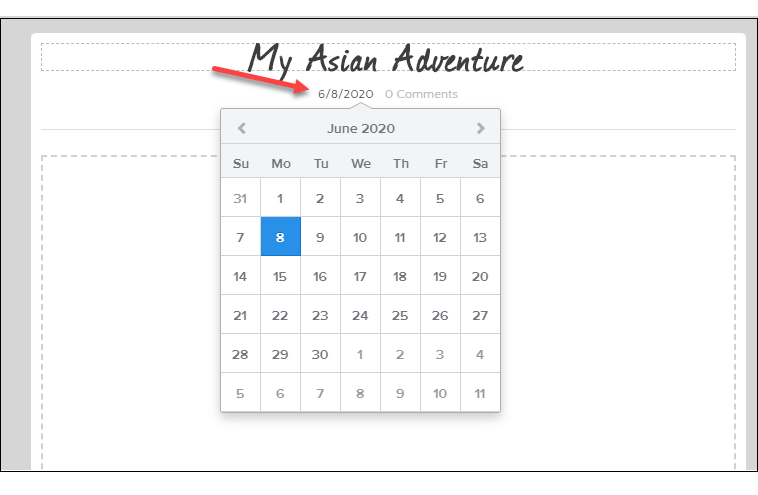
- Click the Date to change the post date.
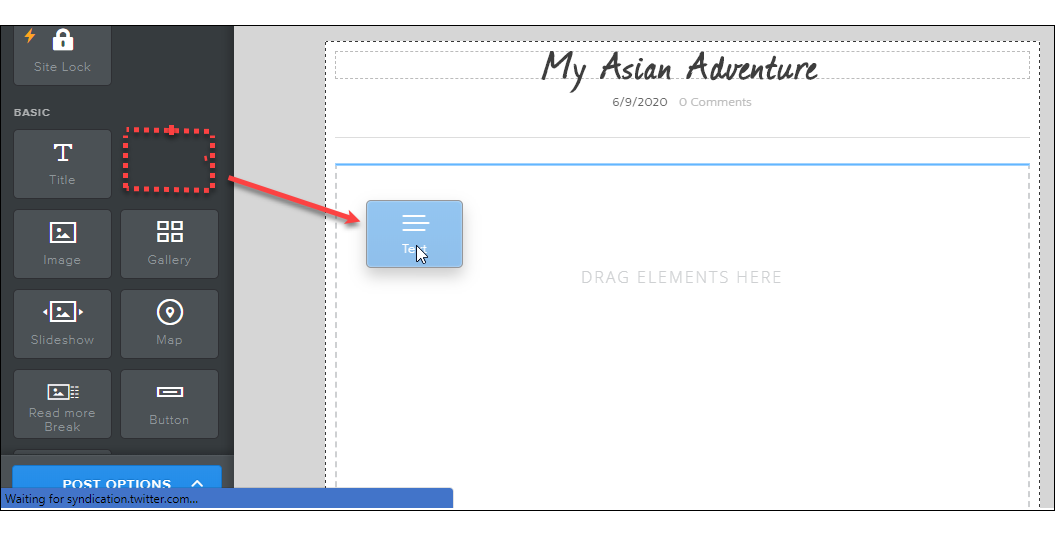
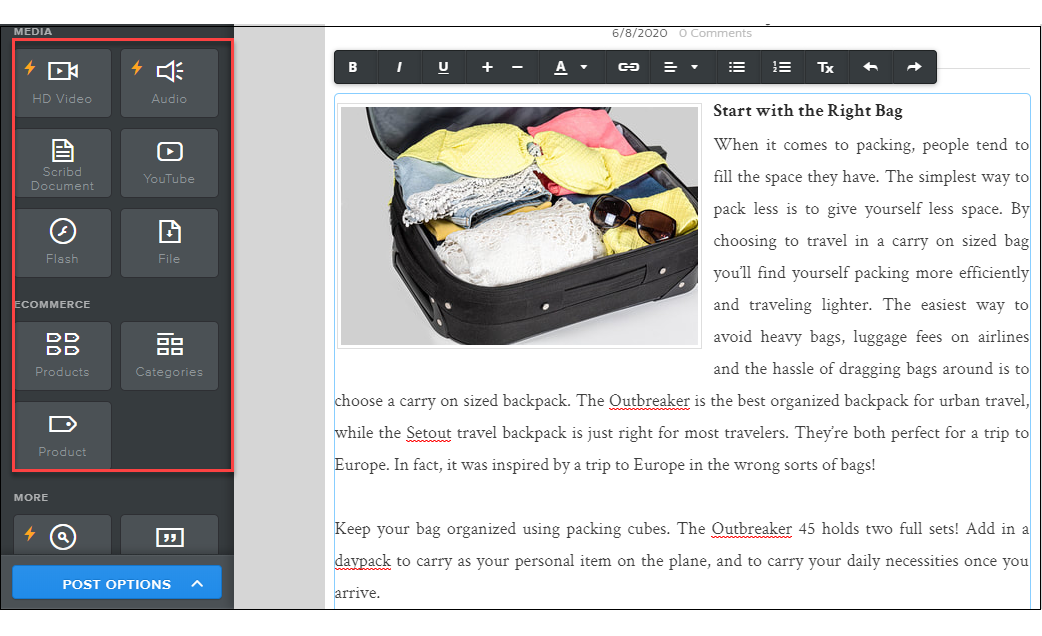
- Drag the Text element from the left pane to your workspace.
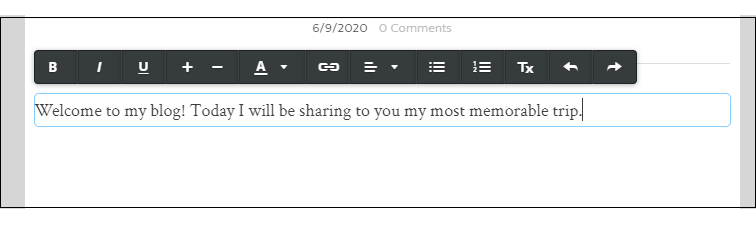
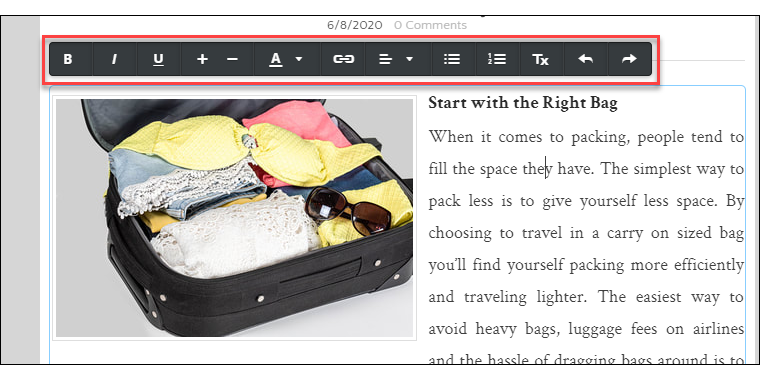
- Click the text box and type in your content. You can use the toolbar above the text box to change your font, alignment, and more.
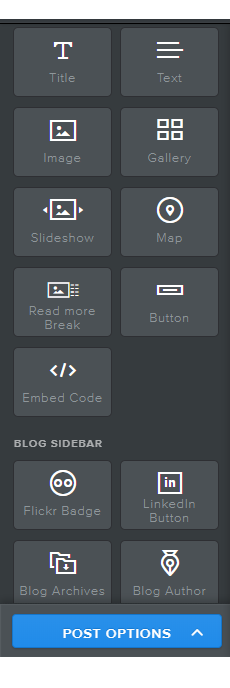
- Drag other elements (i.e., pictures, maps, media, and more) to your workspace as needed.
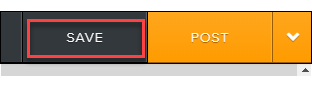
- Click the SAVE button. This will only save a draft of your work.
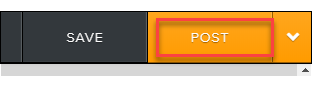
Note: You may have noticed that there's no Save button in the Weebly editor. The Save option is only available to Blog Posts. Weebly saves everything automatically while you work, so you don't need to publish or do anything special to keep your site's changes. - Click the POST button. This will only post your draft to your page, and it is not yet visible on the internet.
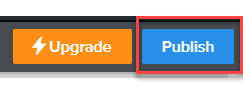
- Click Publish. This will publish your post on the internet.
How to manage a blog page
- Click the Pages tab on the top.
- Click your blog page.
- Click on the post that you want to manage.
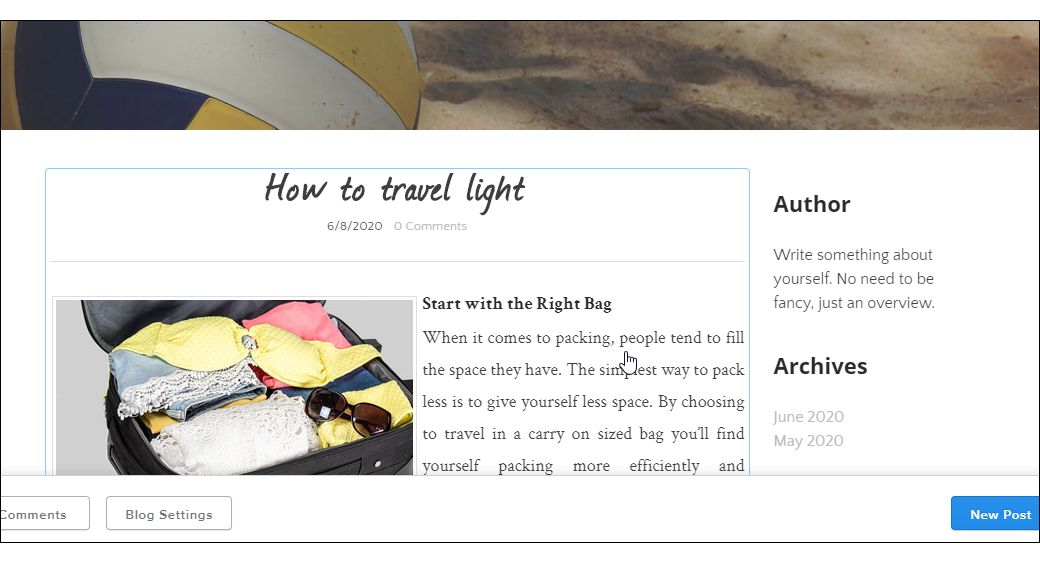
- From here, you can:
- Edit your content
- Add or remove elements
- Change post options
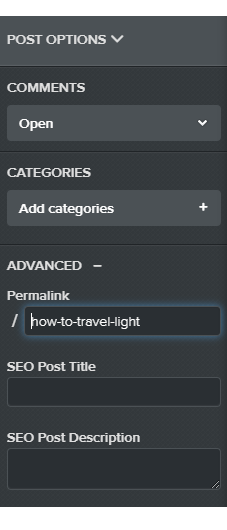
- Delete your post (If needed).
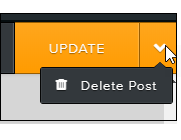 Warning: You will permanently lose your content if it is deleted. Lost data cannot be recovered.
- Edit your content
- Click UPDATE.

- Click Publish. This will publish your post on the internet.
Get practical tips and product updates on LinkedIn.
Follow Network Solutions
Did you find this article helpful?