Email Marketing app - Settings
Before sending your first campaign, you should first confirm the accuracy of your Email Marketing app's settings. This area allows you to enter and verify your sender and reply-to addresses, and add or update your company information. Use the steps below to finalize your setup or upgrade your Email Marketing app product.
The Email Marketing app's Settings tab is divided into two sections: The Sender Email section and the Company Information section.
In this article, we will discuss:
How to set up your Sender Email
Set up or update your email marketing campaign's Sender Email with the steps below.
- Click the Marketing tab on the left navigation.
- Click the Email Marketing option.
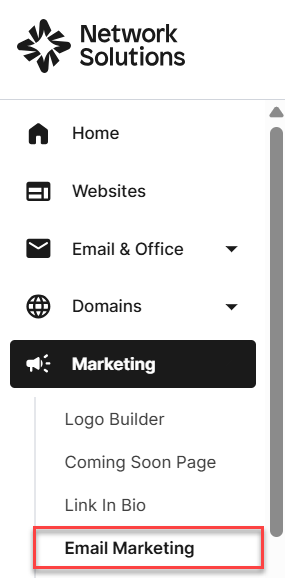
- Click the Settings tab in the top section of the Email Marketing app.

- Check if the Sender Email is correct.
- If it is correct, simply click Resend verification email to proceed.
- If it is incorrect, you will need to edit it. Proceed to step 5.
- Click the vertical ellipsis beside the email address.
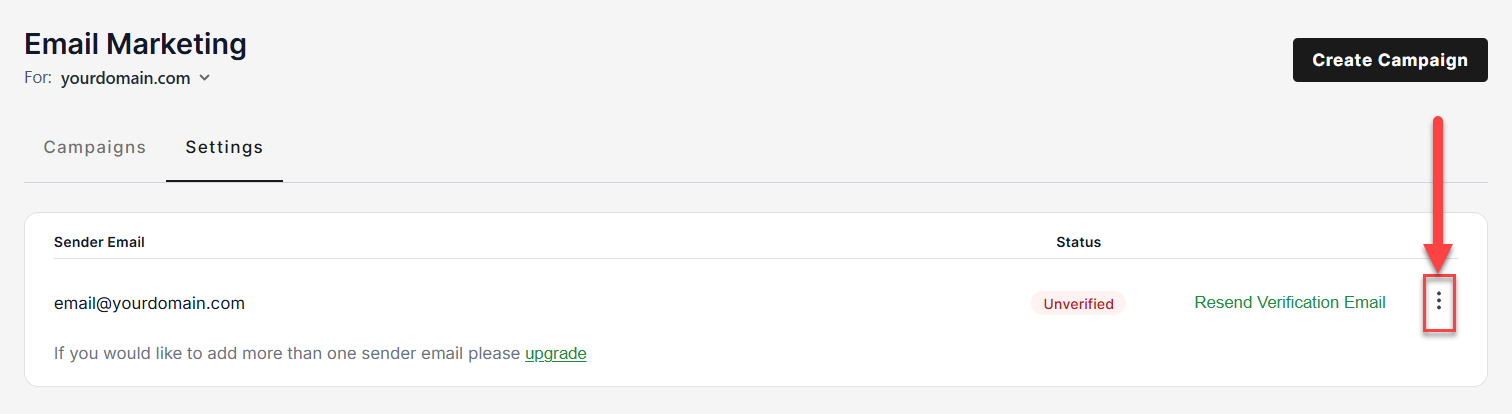
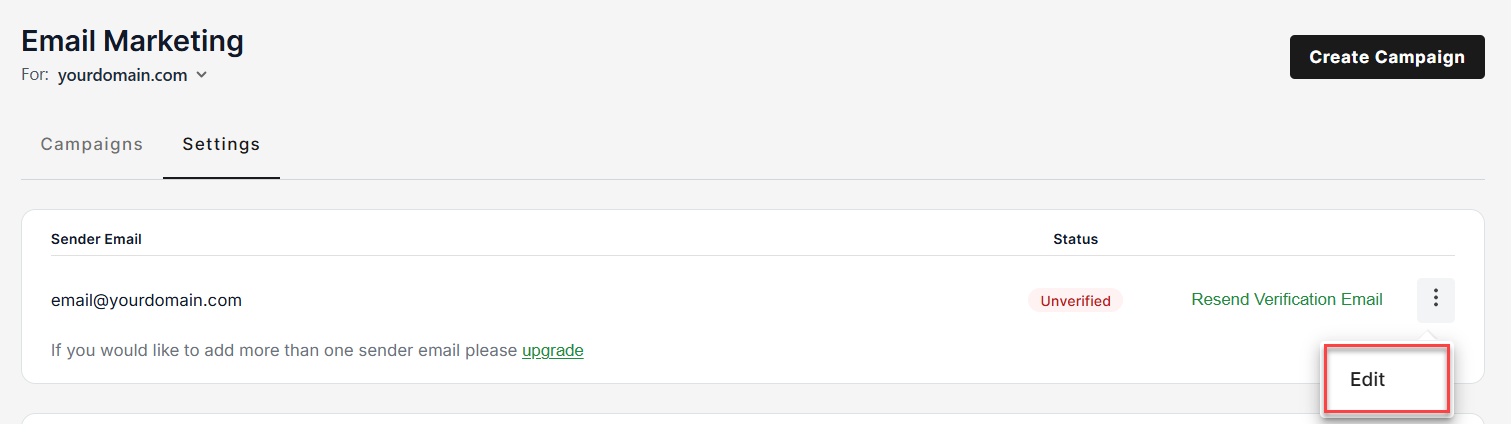
Important: You can only configure a single Sender Email if you are on the free Email Marketing app. To add multiple Sender Emails, you need to upgrade to a paid plan. - Click the Edit option.
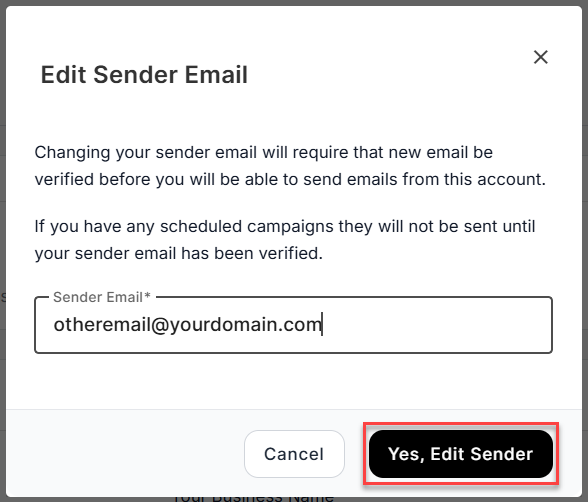
- A pop-up window will show where you can update the email address.
- Enter the email address you want to use as your sender email.
- Click Yes, Edit Sender to proceed.
Proceed to verify your Sender Email section below.
Verify your Sender Email
After clicking the Add Sender Email, Yes, Edit Sender or Resend email verification button. Follow the steps below:
- You will be prompted with a Verify your email pop-up window.
- An email with the verification code will be sent to the email address.
- Enter the code and click Verify.
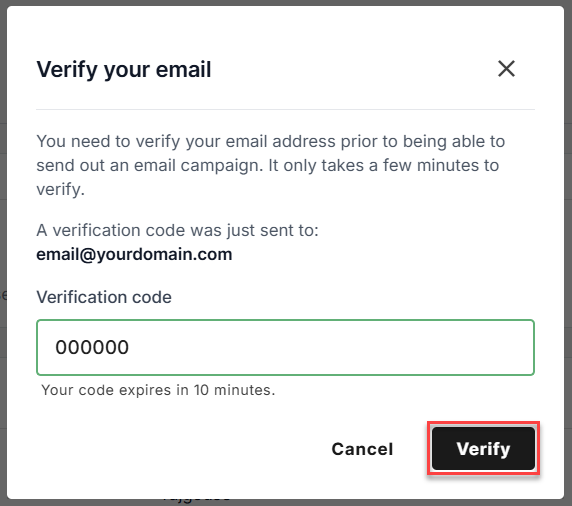
- You will be redirected back to the Settings page with a success message on the top right.
You have successfully verified your Sender Email!
Resend verification email
If you haven't received the verification email, you can request to resend it:
- In the Settings tab, click Resend Verification Email.
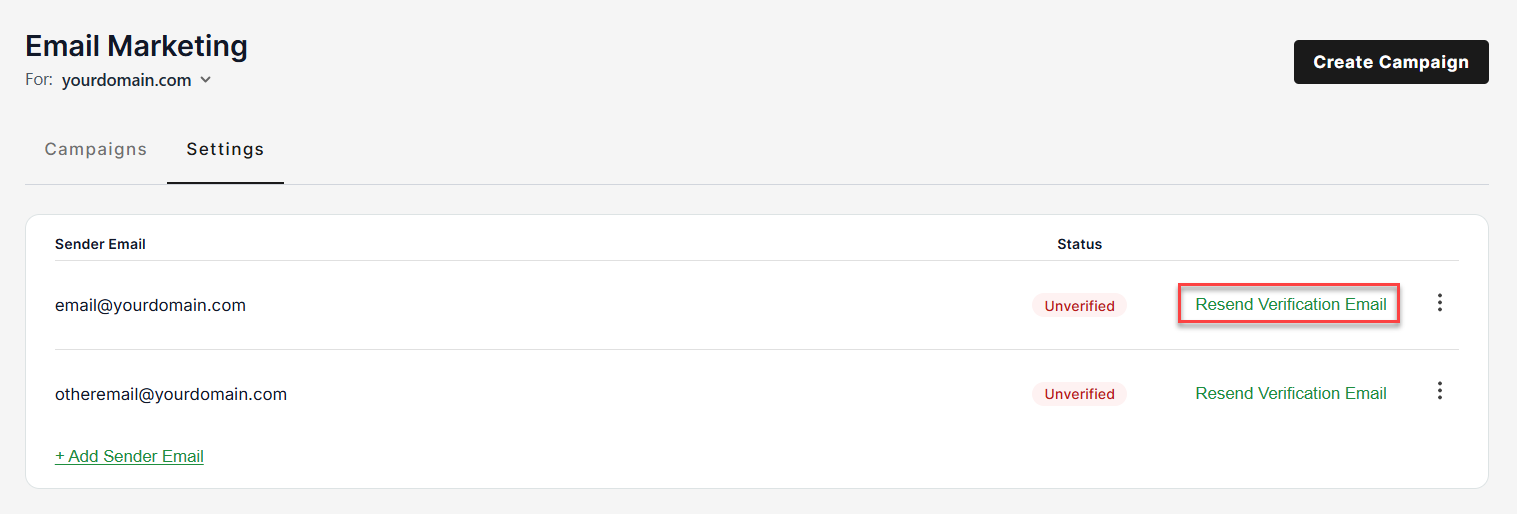
- A success message will show on the top-right side of the page, indicating that the verification email has been sent.

- You will then proceed to verify your sender email.
How to add multiple Sender Email
- In the Settings tab, click +Add Sender Email.
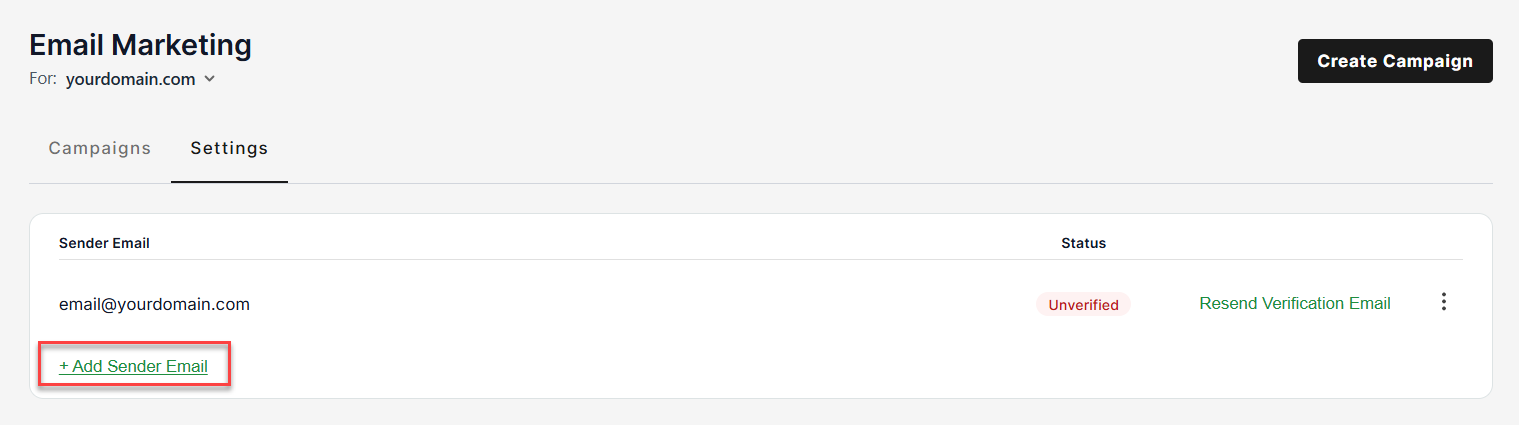
- A pop-up window will show where you can add the new email address.
- Enter the additional email address you wanted to use as one of your Sender Emails.
- Click the Add Sender Email button to proceed.
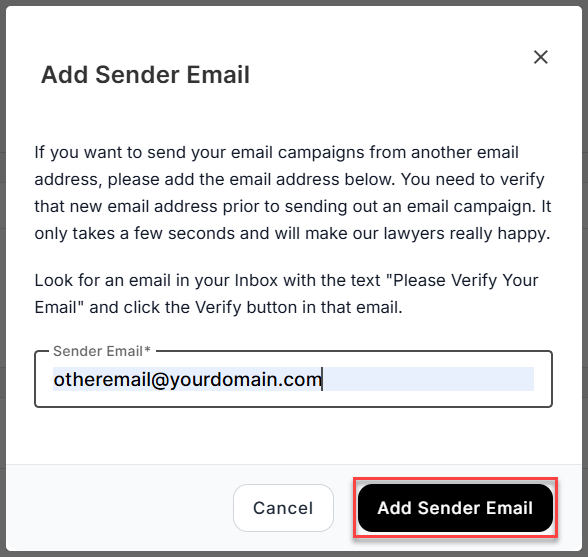
- A successful message will appear on the top-right side of your page.

You should also be able to see that the new email is added to your sender email section.
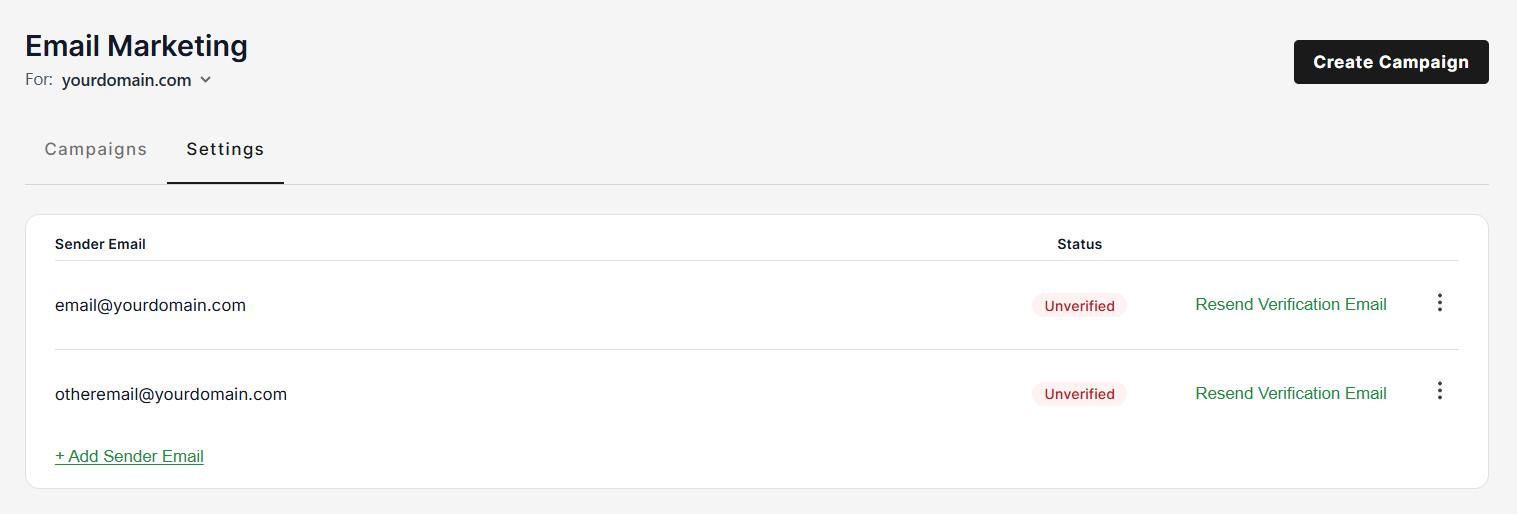
Proceed to verify your Sender Email section below.
How to delete a Sender Email
To delete a Sender Email, follow the instructions below:
- In the Settings page, select the email you want to remove.
- Click the vertical ellipsis beside the email address.
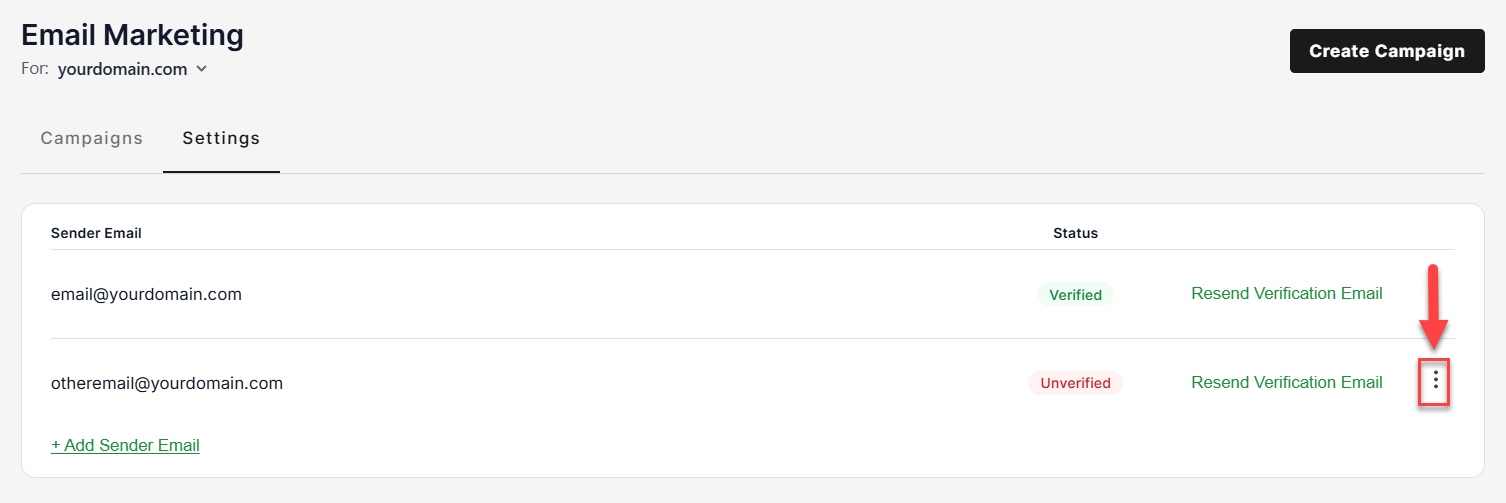
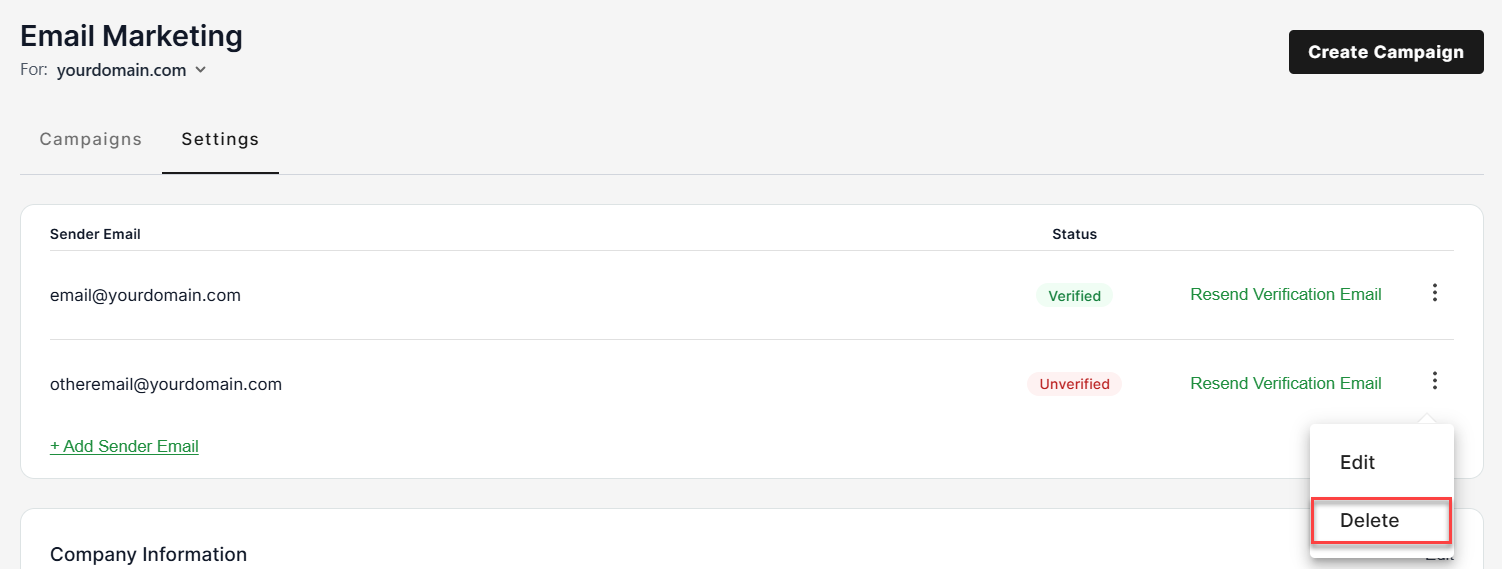
- Click the Delete option.
- A delete Sender Email pop-up will show; click Yes, Delete
.Note: If you have any scheduled campaigns associated with this sender, they will not be sent until a new verified sender is assigned to the campaign.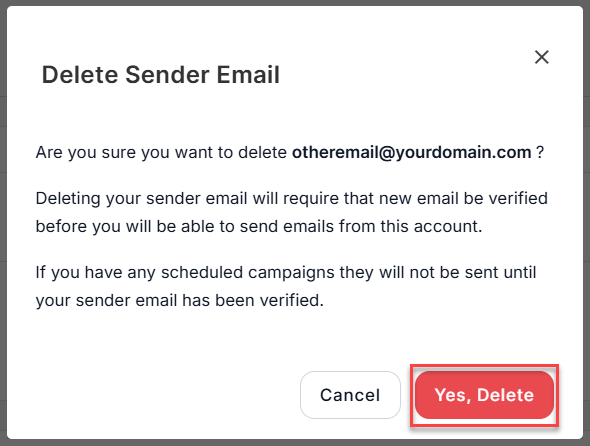
- A success message will appear on the top-right side of your page.
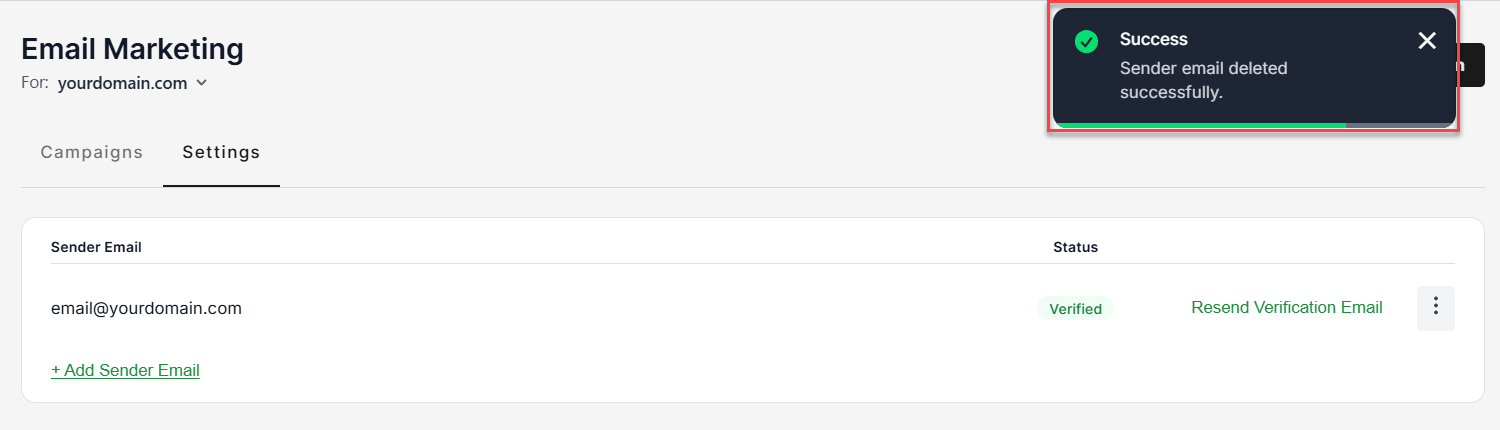
You have successfully deleted a Sender email.
How to set up company information
To edit the information about your company that shows up in the footer of every email sent through the Email Marketing app, use the steps below.
- In the Settings tab, go to the Company Information section.
- Click the Edit option.

- You can now change the following:
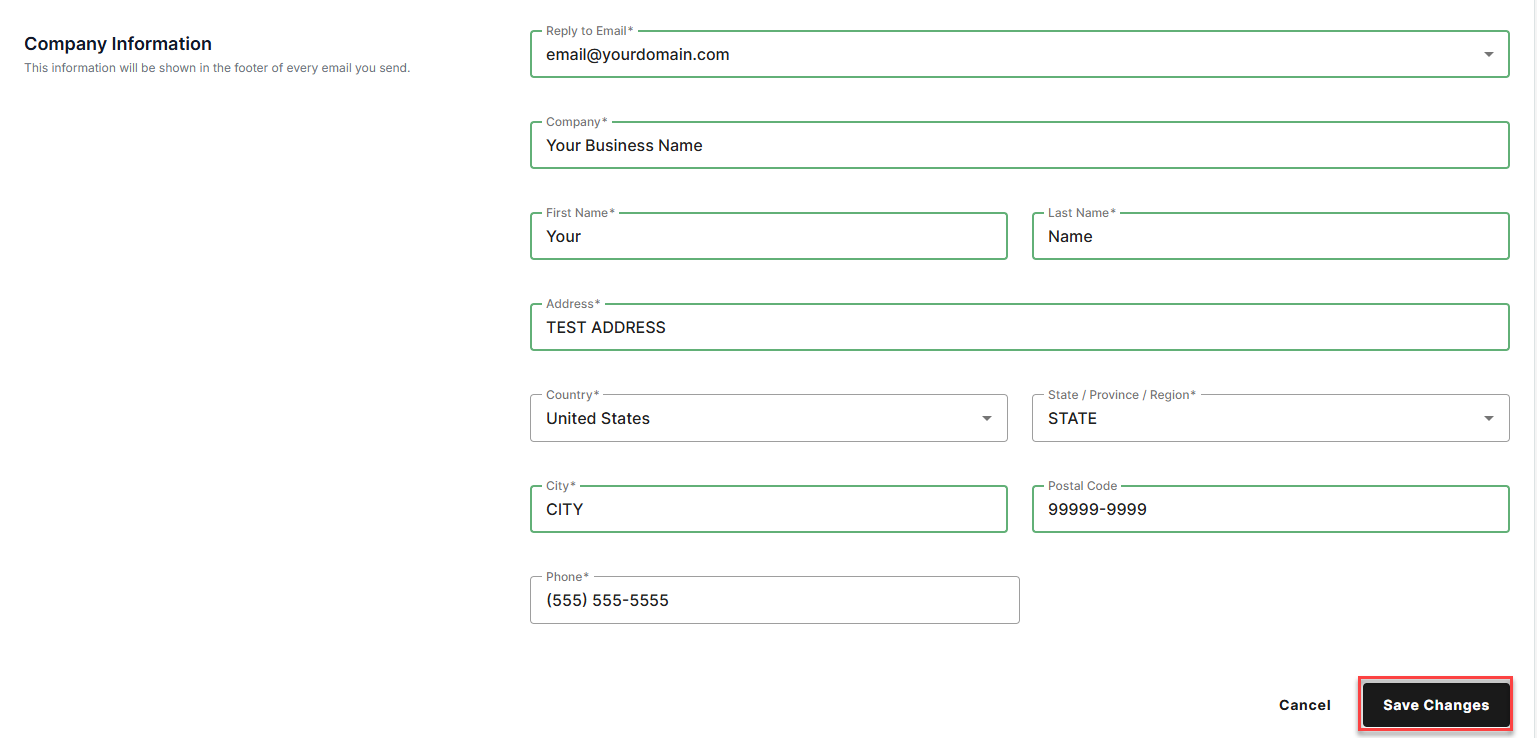
- Reply to Email - Select the email address to receive the reply. Choose from the drop-down list of verified email addresses.
Important:- If you have a free plan Email Marketing app, you can only use the same email you have chosen as your sender email, as only verified email addresses are allowed to be used as a Reply To Email.
- If you have a paid plan that includes the email marketing as a feature, you can choose a different email address as your Reply To Email, as long as it is verified.
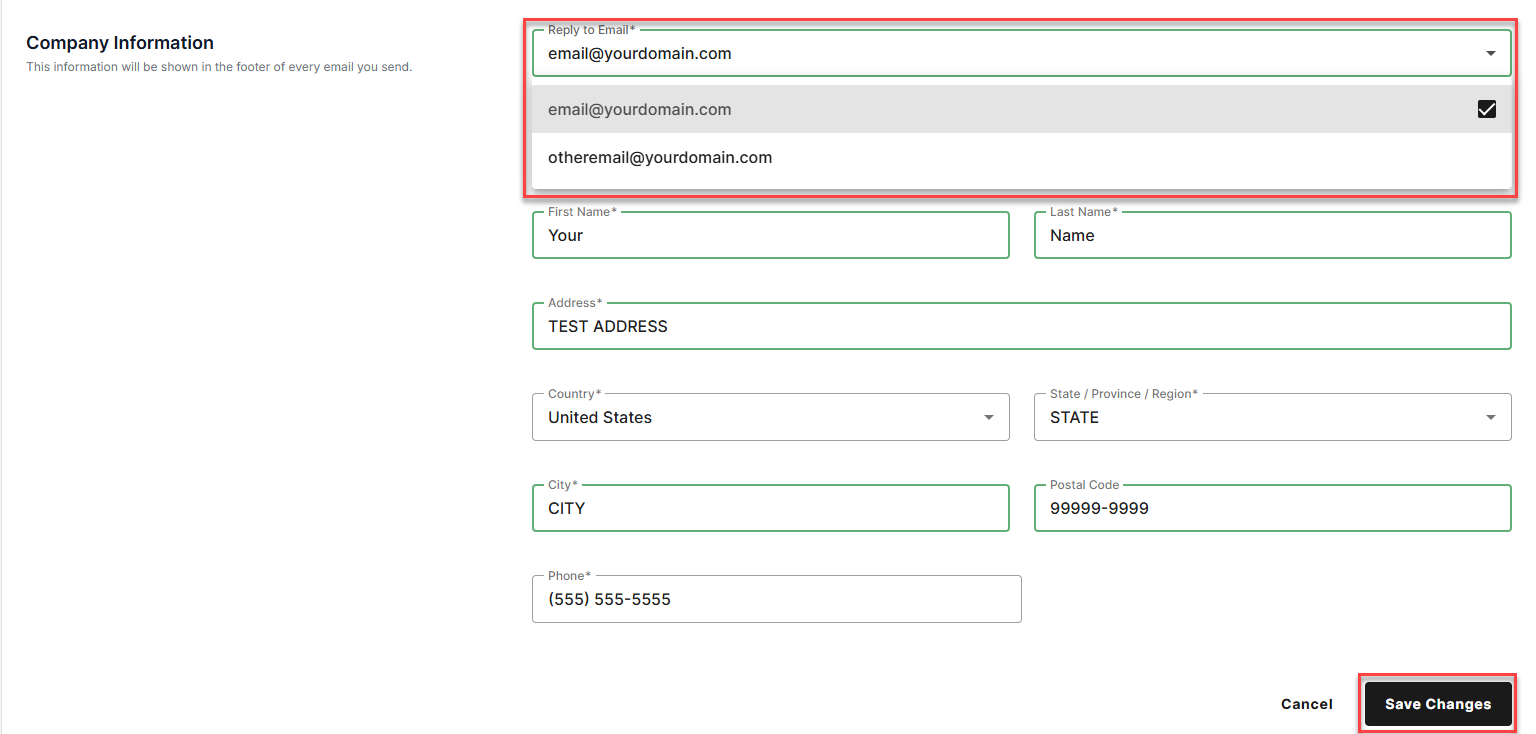
- Company
- First Name
- Last Name
- Address
- Country
- State
- City
- Postal Code
- Phone
- Reply to Email - Select the email address to receive the reply. Choose from the drop-down list of verified email addresses.
- Review your information, then click Save Changes at the bottom of the page to save.
Review
Your Email Marketing app Settings page acts as the foundation for your email marketing. Configuring sender addresses and company information helps improve your email delivery and builds trust with your audience. If your business is ready for more growth, upgrading to a paid plan provides you with additional features to utilize and maximize the benefit of your email marketing, as well as expand your online reach.
Get practical tips and product updates on LinkedIn. Follow Network Solutions