How to set up and edit the Network Solutions Checkout app
Establishing an online presence is one of the most effective ways to promote and sell your products or services. While full e-commerce websites offer robust features, they may be more than what you need if you’re only selling a single item. Setting up an entire online store can add unnecessary complexity when your goal is simply to enable quick and secure transactions.
The Network Solutions Checkout app offers a streamlined solution for this need. Designed as a simple, single-page checkout experience, the Checkout app allows Network Solutions domain customers to easily sell one standard or digital product directly from their domain without the need for a full website or advanced e-commerce setup. It offers a quick, secure, and user-friendly way to begin accepting payments and overseeing sales in just a few simple steps.
In this article, we will discuss:
Product requirements
With the Network Solutions Checkout app, you can sell a standard or digital product, provided that the product:
- is simple and not a bundle
- has no inventory limit
- has no tax calculations
- does not have variations
- does not require shipping integration or label printing
- does not require marketplace selling integration
- does not require subscription
Setting up the Checkout app
Follow the steps below to set up the Network Solutions Checkout app.
- Log in to your Network Solutions account manager via https://www.networksolutions.com/my-account/login.
- In the account manager home page, click the Customize Checkout button in the Checkout Page card to begin setting up the app.
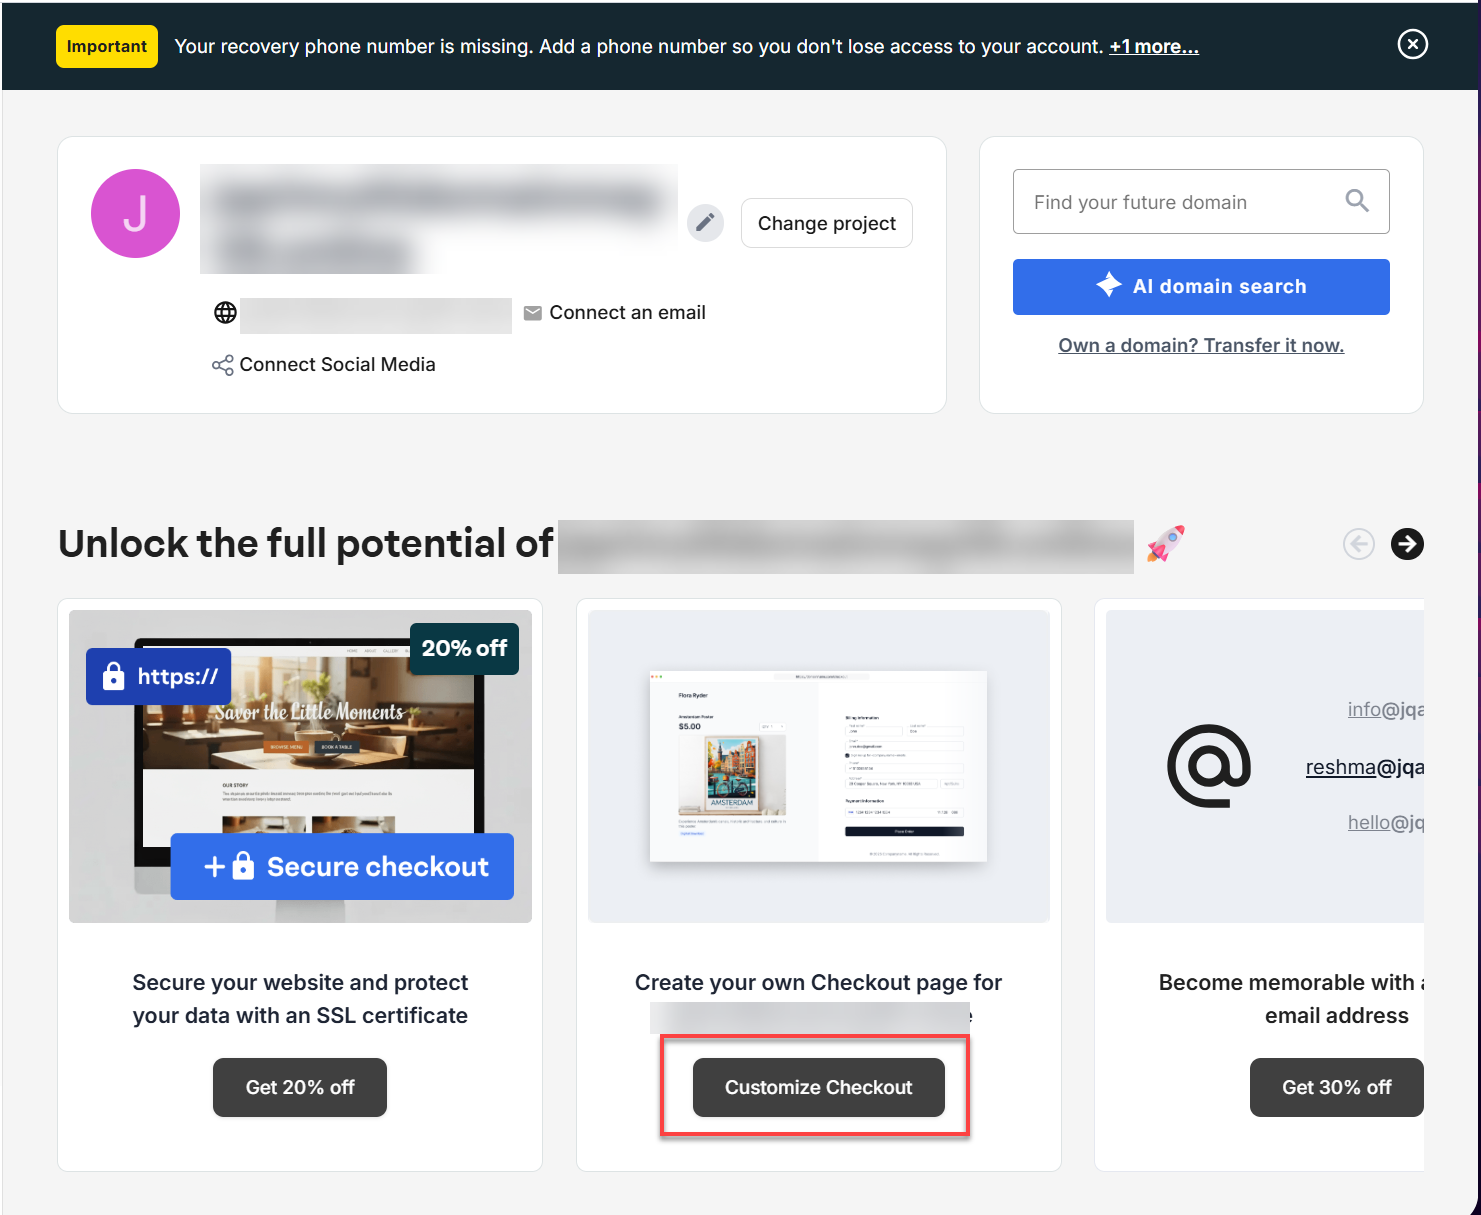
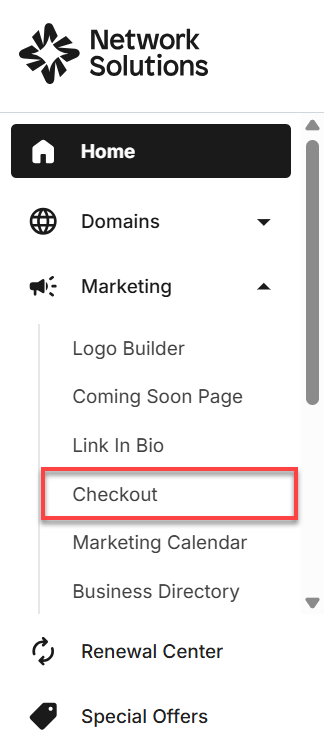
Alternatively, you can click Marketing on the left navigation menu, then select Checkout from the drop-down list.
- If you have multiple domains on the account, you will see a list of your domains. Click on the domain you want to work with.
Important: The domain name should not be connected to a website or hosting plan. You will need to unassign the domain from your website or hosting plan if you want to set up a checkout page for that domain.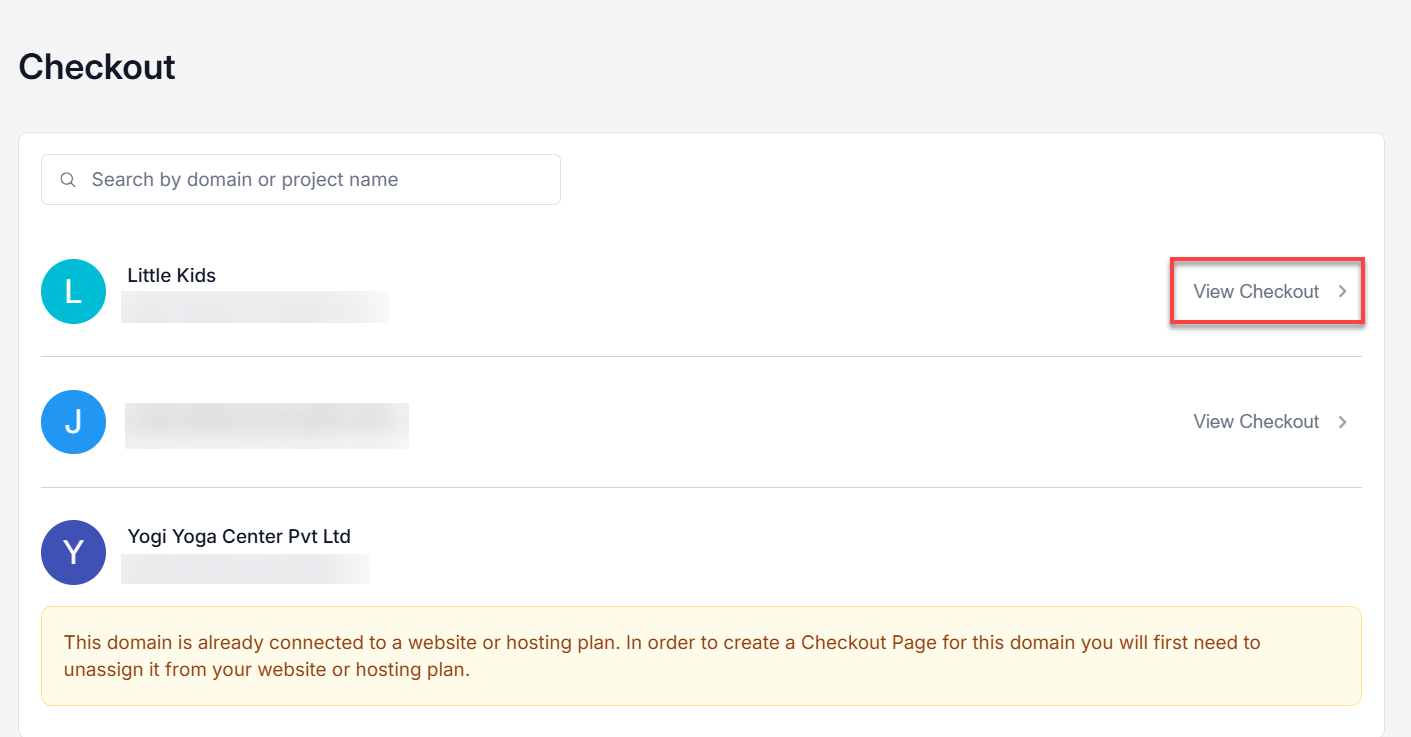
- Click the Create Checkout Page button to start the onboarding process.
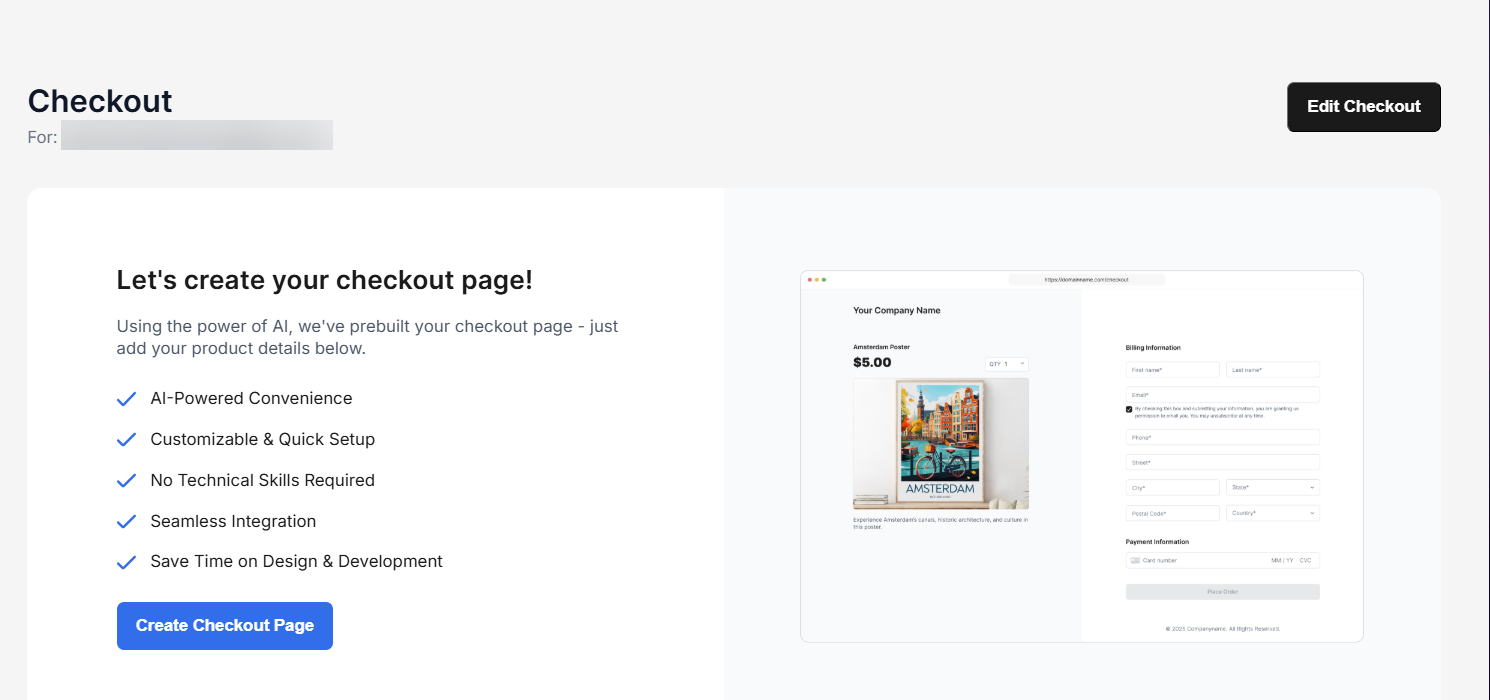
- Using the power of AI, we have prebuilt your checkout page, and you only need to add the product details in the fields provided. The screen on the right side will update automatically to reflect the information you provided.
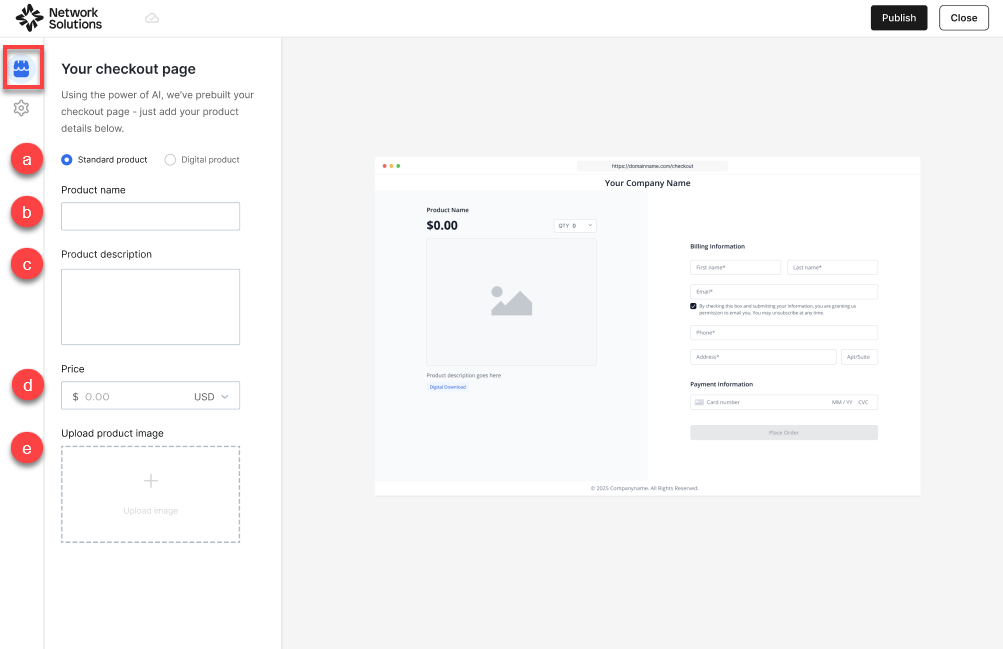
- Type of product: Select whether it’s a standard or digital product.
- Product name: Enter the name of your product in the field provided.
- Product description: Enter the description of your product in the field provided.
- Price: Enter the price of the product you are selling.
Note: The system will automatically set the currency to match the country listed in the domain registration. You can click the drop-down menu to change the currency. - Upload product image: Click the + Upload image button to open the file explorer of your device, where you can select and upload the product image.
- If you are selling a digital product, you will have an additional field where you can upload your digital file. Make sure that the file content adheres to Network Solutions’ Terms of Service.
Note: When uploading a digital file, images can be up to 4MB, documents can be up to 40MB, audio files can be up to 100MB, and Zip files can be up to 1GB. .Dat and .Exe files are not supported.
- If you are selling a digital product, you will have an additional field where you can upload your digital file. Make sure that the file content adheres to Network Solutions’ Terms of Service.
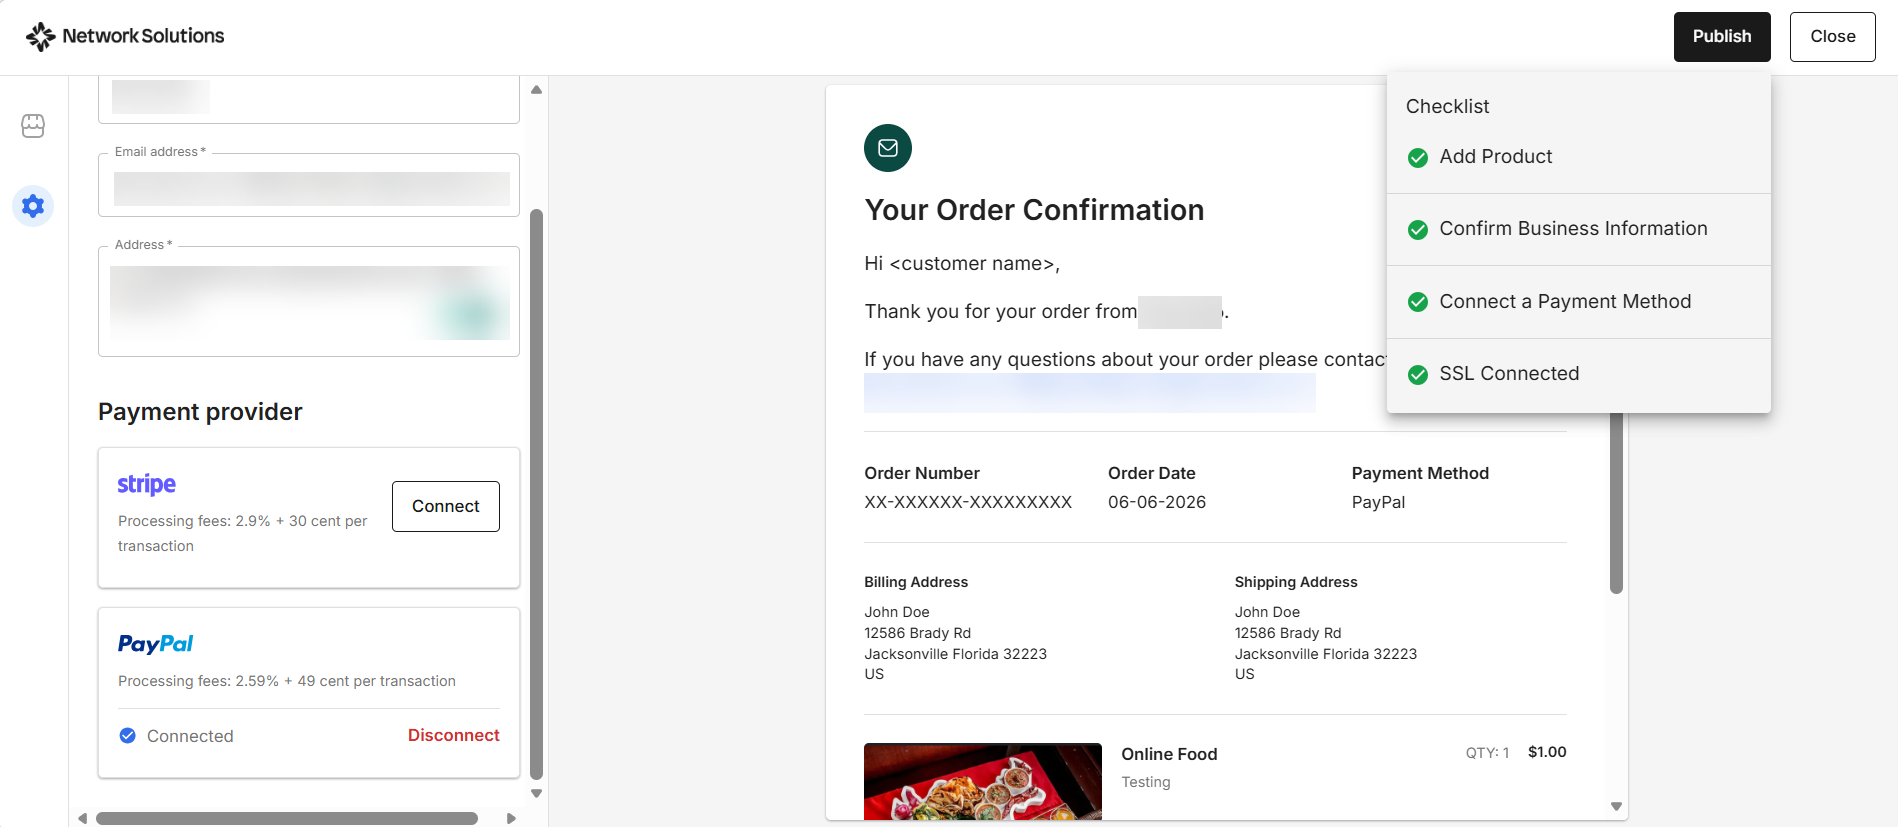
- Once the product details have been set up, you can move to the next step by clicking the gear icon in the left navigation of the page. This is where you will enter your business information.
- In the Settings page, you will see a pre-populated form using the information you entered when you registered your domain. If the information is correct, you can leave it as it is. However, you can also change the information on this page if you want to.
Note: Changing the business information settings in the Checkout app will not change the domain registration information. It will only change the settings for this application.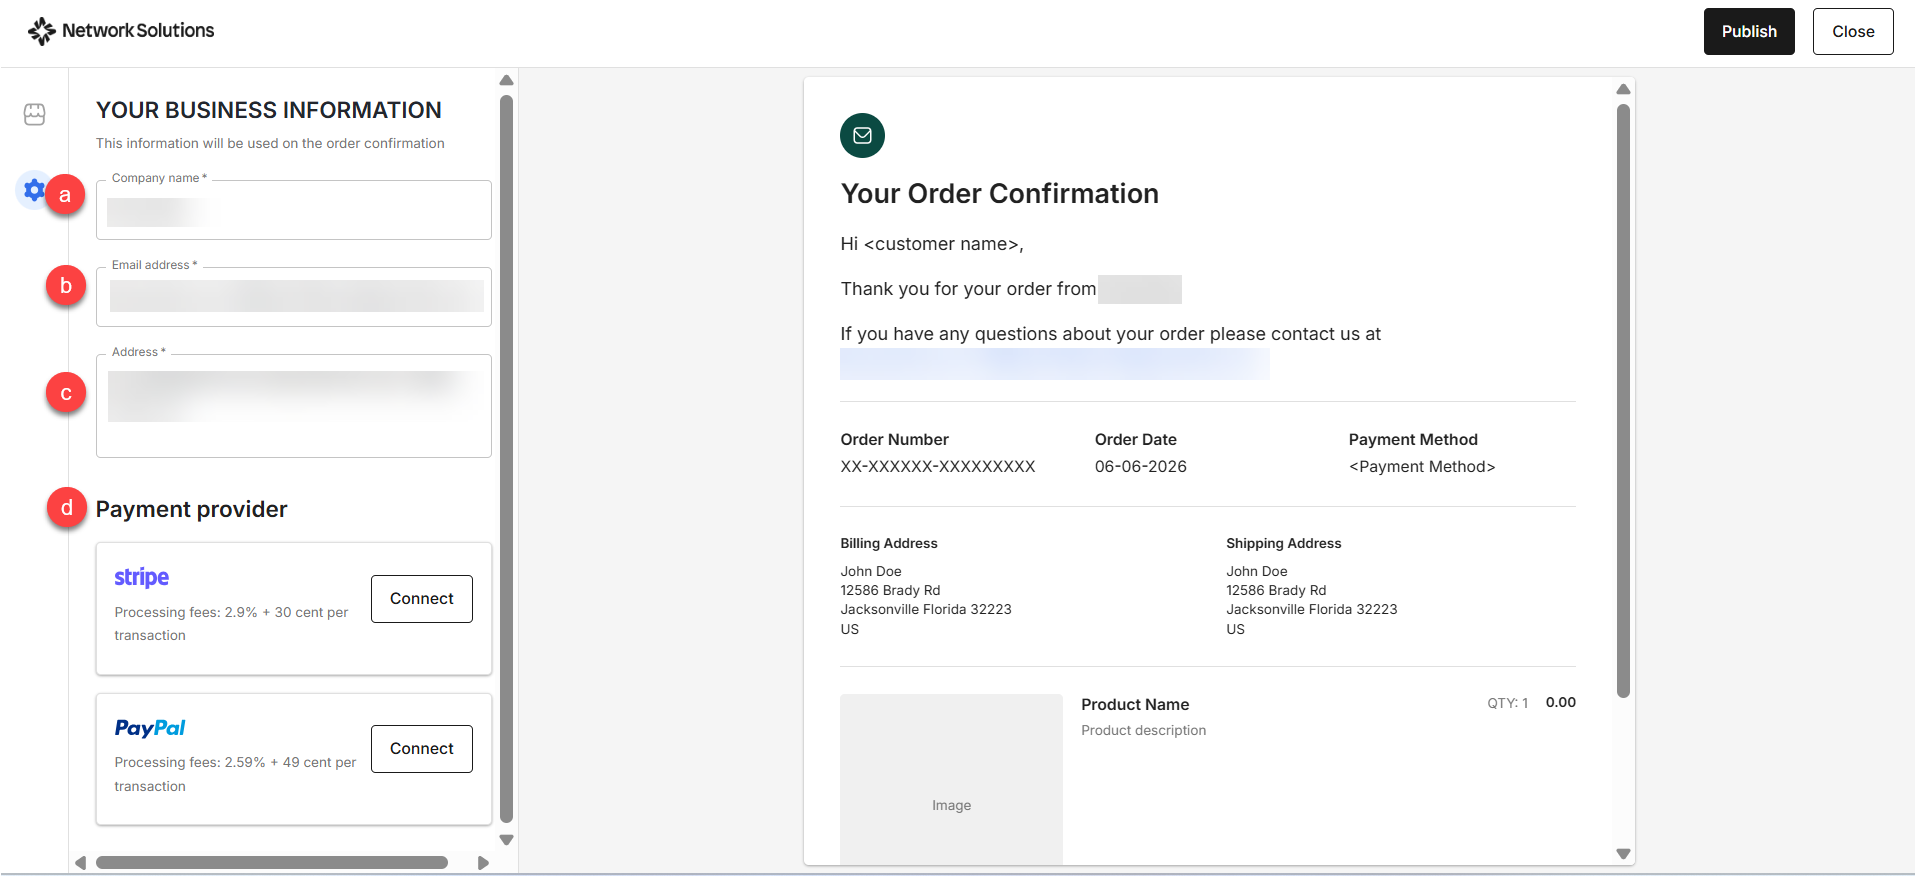
- Company name: The name used in domain registration. You can change this according to your preference.
- Email address: The email address that your customers can contact if they have any questions about their orders.
- Address: The address of your company.
- Payment provider: Click the Connect button to set up the payment processing platform that your customers can use to purchase your product. You must connect at least one payment method before publishing.
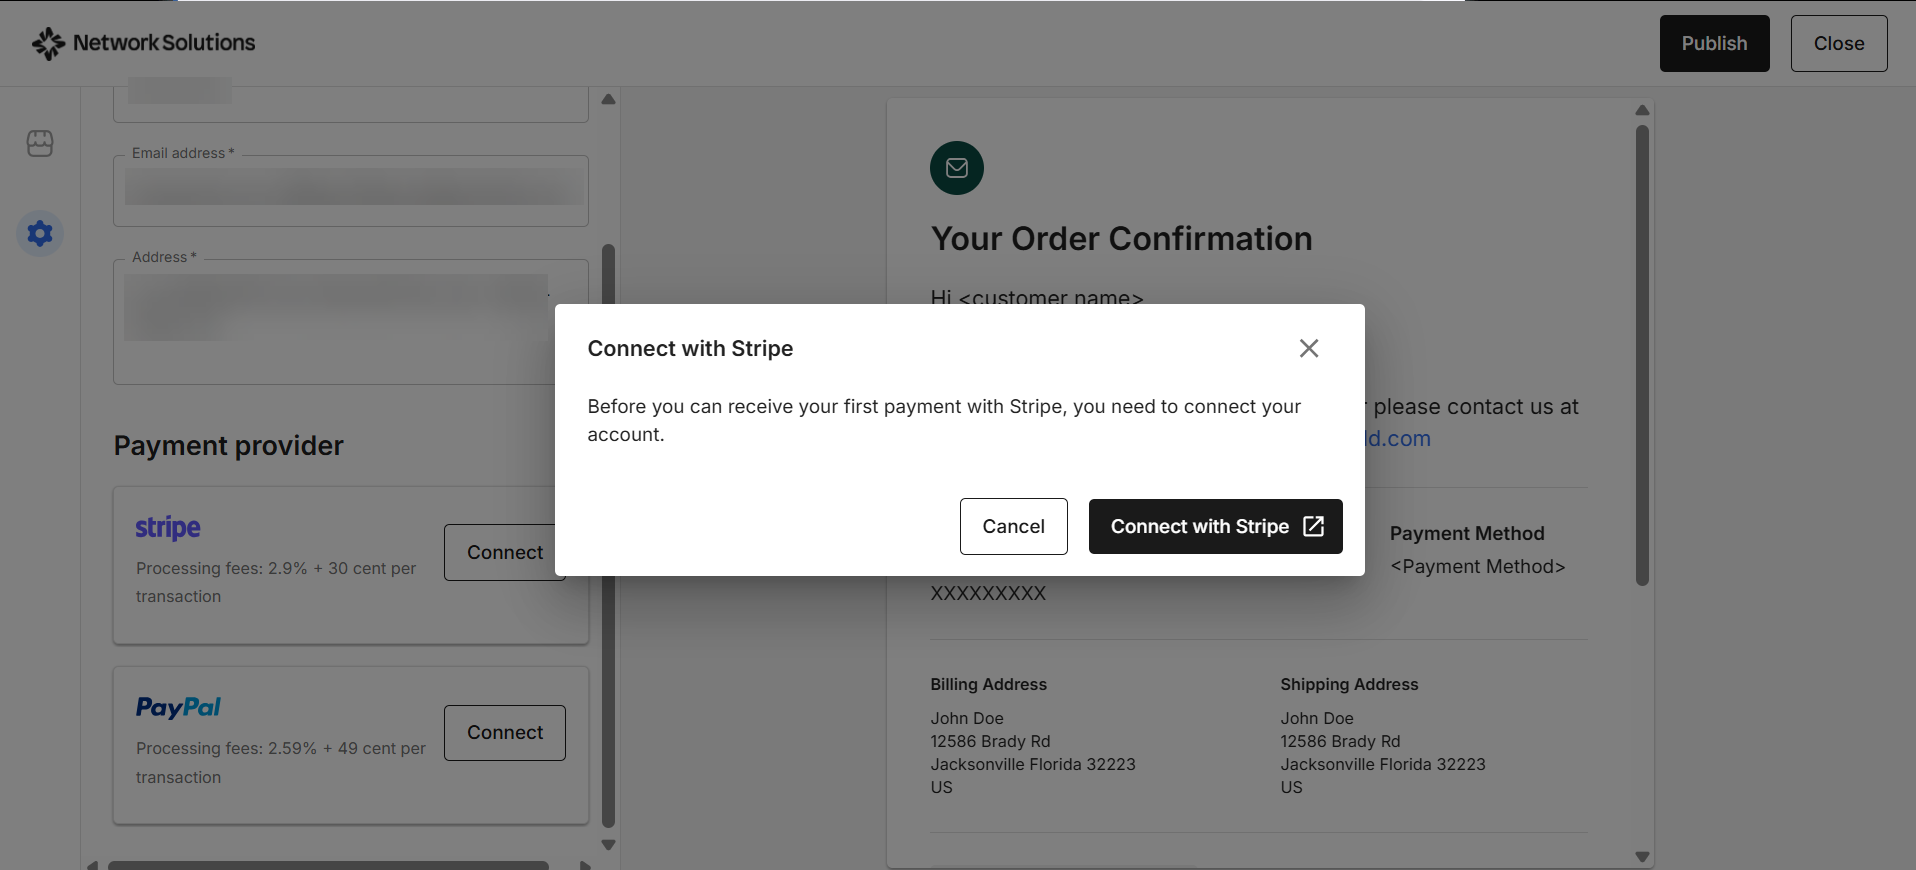
- Stripe: Click the Connect with Stripe button in the pop-up window. If you already have a Stripe account, you’ll log in. If you don’t, Stripe guides you through creating one.
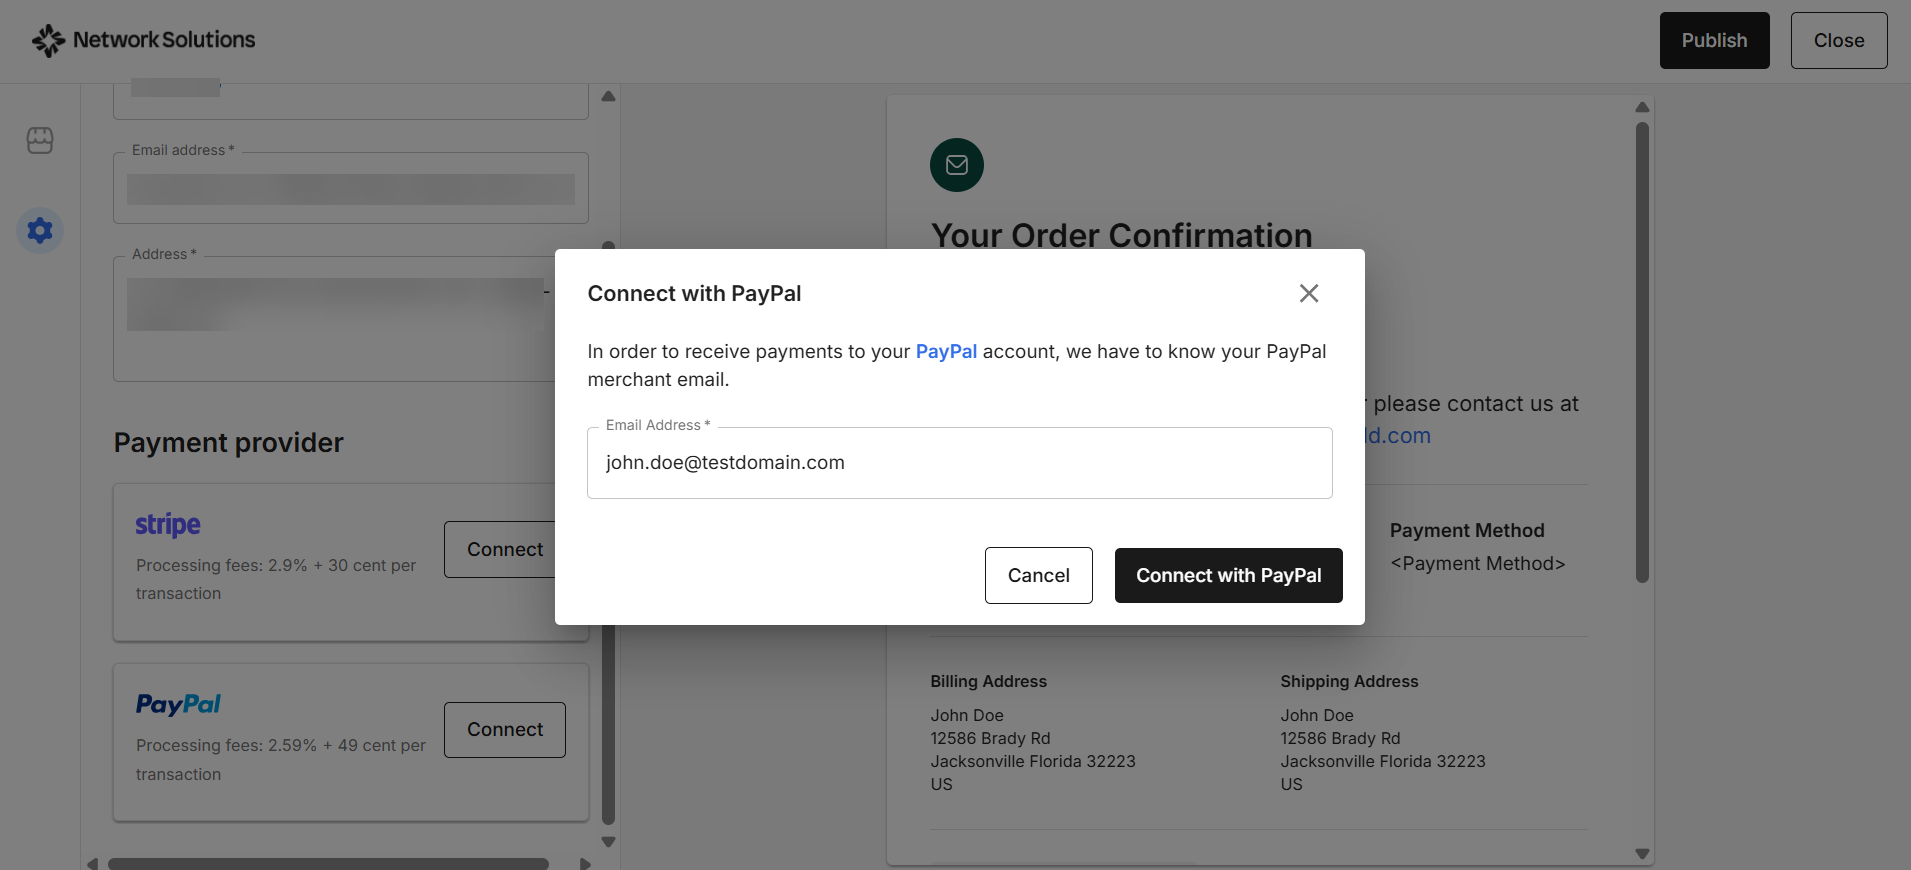
- PayPal: Enter your PayPal merchant email in the field provided, then click the Connect with PayPal button to authorize PayPal as a payment provider for your Checkout page.
- Stripe: Click the Connect with Stripe button in the pop-up window. If you already have a Stripe account, you’ll log in. If you don’t, Stripe guides you through creating one.
- Once the product details and business information have been set up, click the Publish button.
- Your Checkout page has been successfully published. After closing the editor or completing the publishing process, you will be automatically redirected to the Orders tab, where you can start managing your orders.
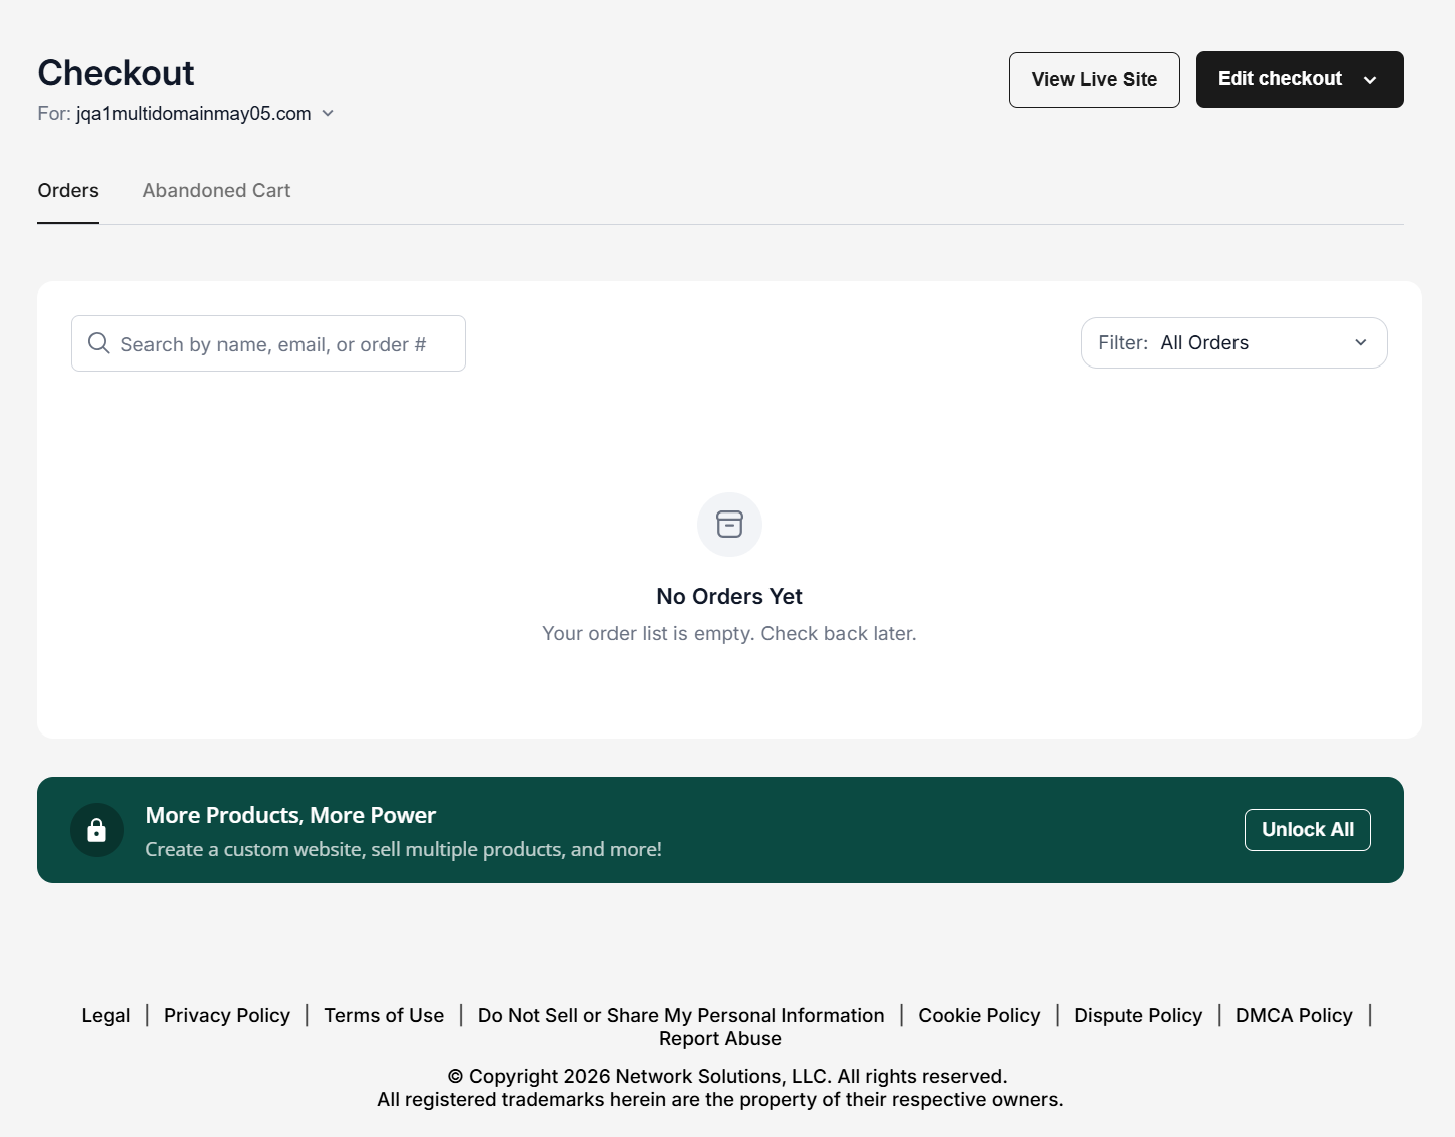
Note: If you need more advanced product options or want to sell multiple products, you can upgrade to eCommerce by clicking the Unlock All button in the More Products, More Power banner at the bottom of the page.You can check how your live Checkout page looks by clicking the View Live Site button.
Editing the Checkout page
In the event that you need to edit the previously saved settings in the Checkout page, you can go directly to the Checkout section of the Network Solutions account manager.
- Click Marketing on the left navigation menu, then select Checkout from the drop-down list.
- If you have multiple domains on the account, select the domain connected to the Checkout page you want to update. Click View Checkout.
If you only have a single domain on the account, proceed to the next step.
- Click the Edit checkout button in the upper right corner of the Checkout management page in your account manager. In the drop-down menu, you will have two options: Edit checkout page and Unpublish checkout.
Important: Selecting the Unpublish checkout option will automatically unpublish your Checkout page.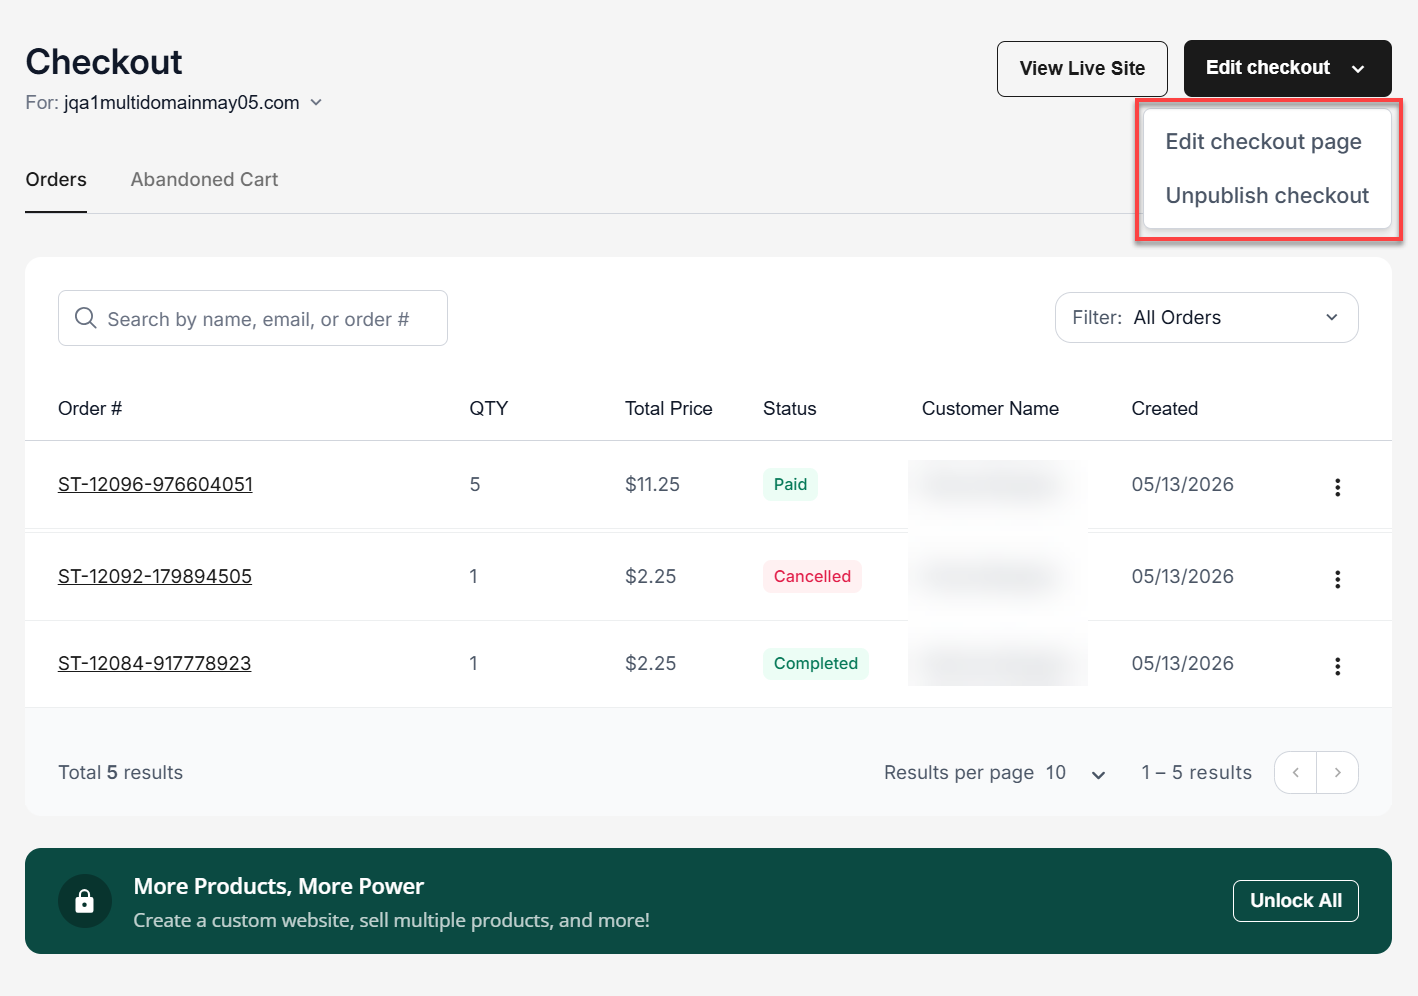
- In the Checkout builder, navigate to the settings you want to change. If you want to remove a payment provider, you can click the Disconnect button.
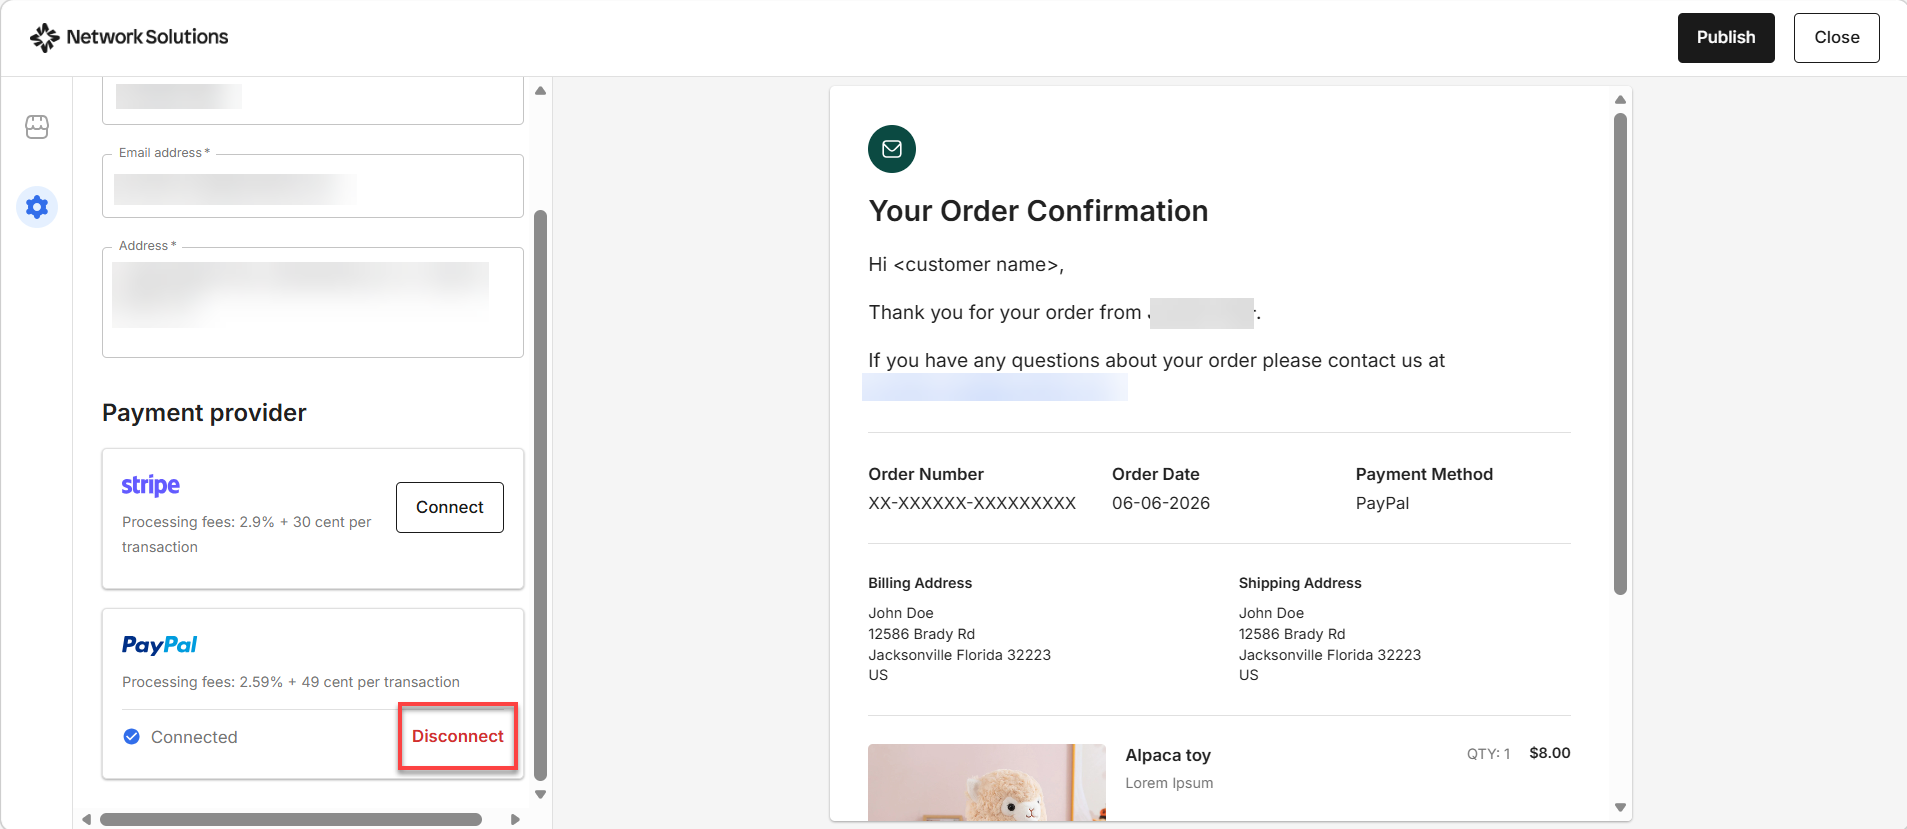
- Click Publish to save the changes you made to your Checkout page.
Related article
Review
The Network Solutions Checkout app is a simple, single-page e-commerce solution that enables customers to sell one standard or digital product directly from their domain. It is designed for straightforward transactions and supports products that do not require inventory management, shipping, variations, subscriptions, or tax calculations. With built-in AI-assisted setup, customizable business details, and integration with payment providers like Stripe and PayPal, the Checkout app provides a fast, secure, and easy way to start accepting online payments without the need for a full e-commerce website.
Get practical tips and product updates on LinkedIn.
Follow Network Solutions