Password Protected Directories
When you have information that you want to make available only to a selected group of people, you can password-protect a directory on your account. Doing this can further protect folders you do not want the general public to access. Anyone who attempts to access a protected directory will be prompted to enter the login credentials assigned to that specific directory. Another way to protect your website files and folders is to manage user access.
Setting Up Password Protection
There are two items under the password protection option—Web Folders and Web Logins. To enable password protection, specify the directory (Web Folder) you would like to protect and create logins and passwords (Web Logins) for individual users within those directories.
To set up Password Protection, you will need to:
Creating a Web Folder
Follow the steps below to set up password protection.
- Log in to your Account Manager via https://www.networksolutions.com/my-account/login.
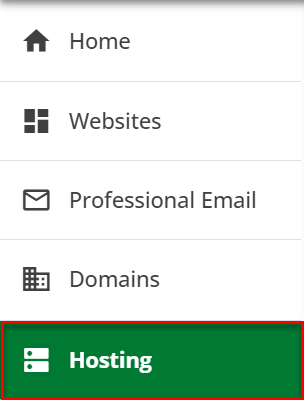
- Click Hosting on the left side of the page.
- Click the Manage button next to the hosting package you want to access to open the Hosting Control Panel.
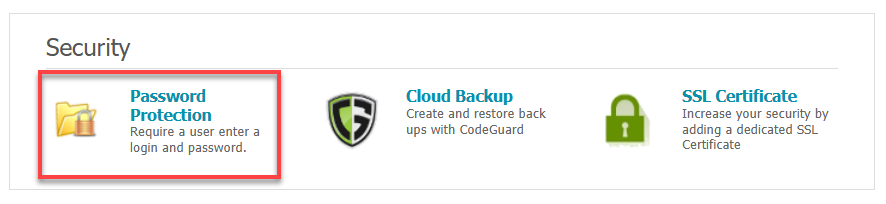
- Select the Password Protection option in the Security section.
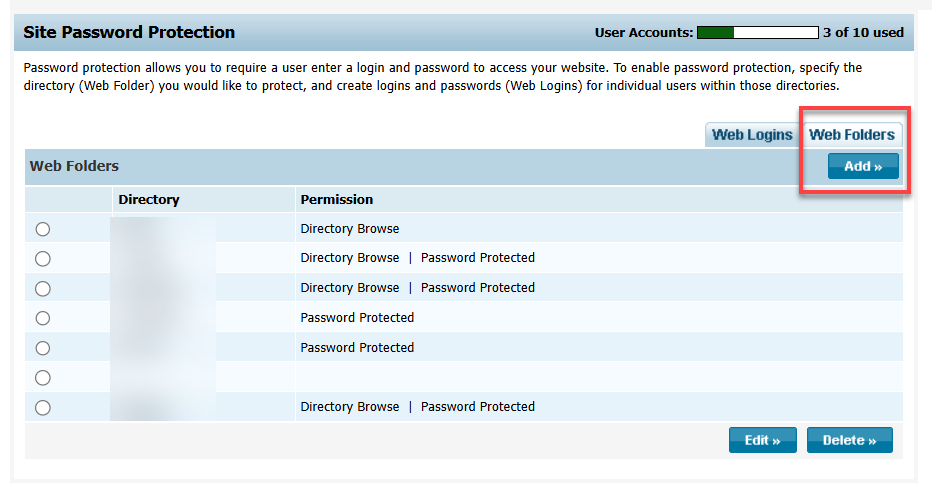
- Click the Web Folders tab, then click the Add button.
- Enter the directory name in the box provided.
- Select directory permissions.
- Directory Browse (Not Recommended): This option allows the user to view the list of files in that directory. If there is an index, home, or default page in a directory with the Directory Browse option selected, it will not show a listing of files but rather the webpage itself.
- Password Protected: This option prompts the user for a username/password to access the directory or website page.
- Access Write (Windows Only): This option allows the user to create and delete files in that directory.
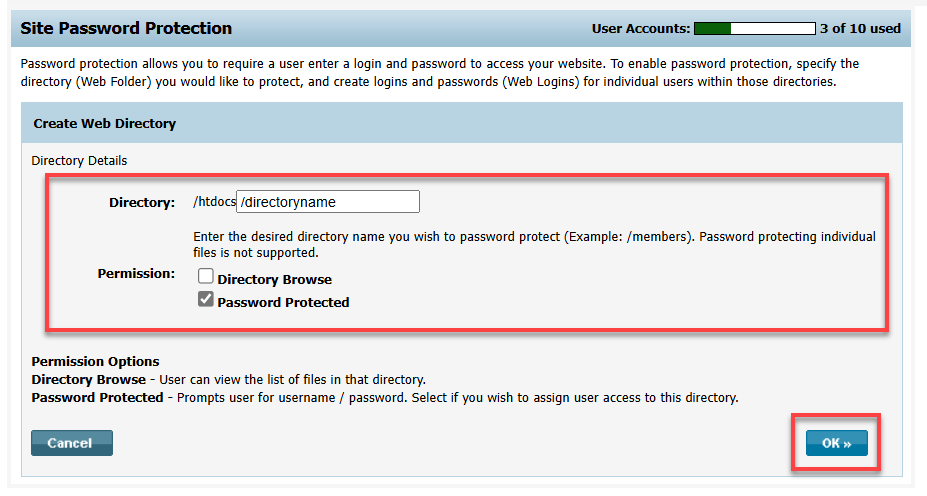
- Click OK.
The directory has been created successfully.
Creating Login Credentials and Assign Access to a Directory
Follow the steps below to create a username and password for a directory and assign access to users.
- After the Web Folder is created, switch to the Web Logins tab and click the Add button.
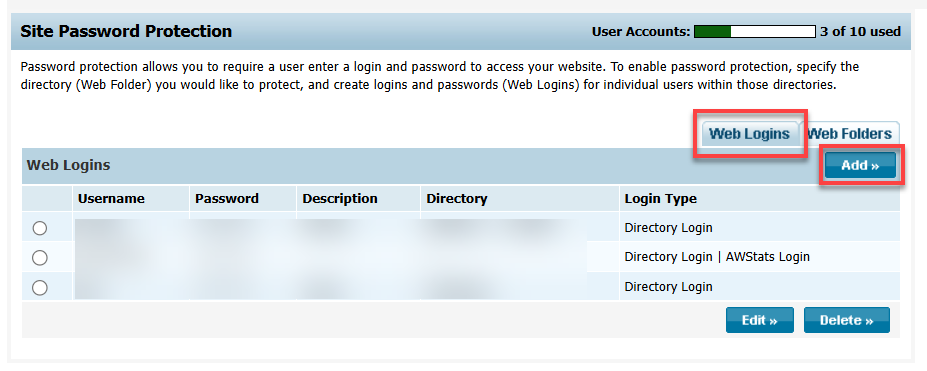
- Enter the desired directory username and password and assign those login credentials to a directory or directories, then click Add.
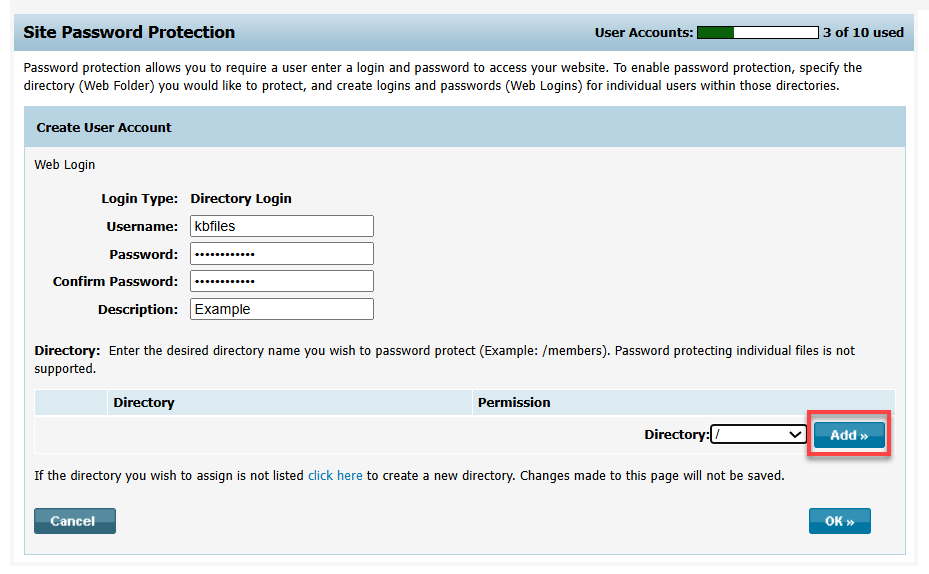
- Select directory permissions. The directory permissions can then be set to:
- No Access
- Read Only (Default)
- Change
- Full

- Click OK.
The user has been created successfully.
Alternative Method for Managing User Access
If you have reached the maximum limit for user accounts for Password Protect, you can manage user access using a Database. Creating user access rules varies depending on what database you are on. You can create them manually using MySQL, MSSQL, or MSAccess. If you are using WordPress, it has built-in functionality for users, which can be used to restrict what you can and cannot see on a site by user profile.
Get practical tips and product updates on LinkedIn.
Follow Network Solutions