Powered by Network Solutions: How to connect using an FTP client
Managing your website files becomes much easier when you understand how to securely access Network Solutions server and handle data transfers efficiently. This guide walks you through the necessary steps to set up your software so you can successfully connect using an FTP client like FileZilla or similar alternatives such as SmartFTP and CuteFTP. You will learn the difference between standard connections and secure SFTP options while discovering simple methods to upload or download your important documents. We also cover essential tips to adjust your settings and avoid common problems like IP blacklisting to ensure your file management experience remains smooth and trouble-free.
In this article, we will discuss:
- How to connect to FTP using FileZilla
- What is SFTP
- How to connect to SFTP using FileZilla
- How to upload files to Network Solutions with FileZilla
- How to download files from Network Solutions with FileZilla
- What are other FTP clients I could use
- How to prevent FTP blacklisting
- Options for SmartFTP
- CuteFTP performance
How to connect to FTP using FileZilla
- Download and install FileZilla onto your personal computer.
- Get your FTP settings (these steps use our generic settings)
- Open FileZilla.
- Fill out the following information:
- Host: ftp.yourdomainname.com
- Username: FTP username (Same as your hosting account username or the FTP account you created)
- Password: FTP password (Your FTP account password)
- Port: 21
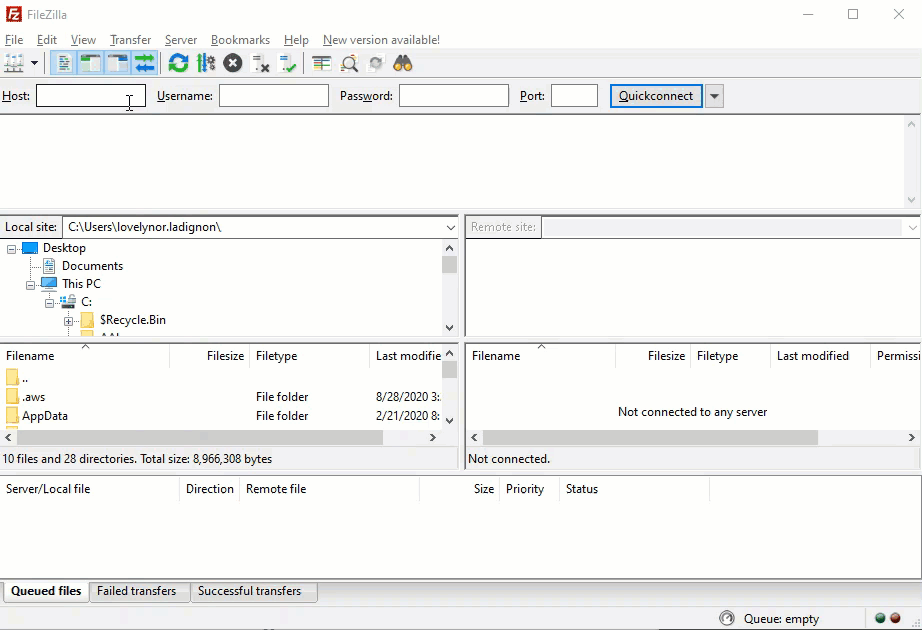
- Click Quickconnect.
- FileZilla will attempt to connect. It will display Directory Listing Successful once you are connected.
Note: By default, FTP root accounts are still created in a new account. However, while changing the password of the root user, the account password won't be updated.
What is SFTP?
While FTP is the traditional file transfer protocol, SFTP (Secure File Transfer Protocol) is an alternative to FTP that allows you to transfer files by adding a layer of security to the process. SFTP uses SSH (secure shell) encryption to protect the data being transferred.
How to connect to SFTP using FileZilla
- Open FileZilla.
- Go to File -> Site Manager. The Site Manager settings dialogue is displayed. Enter the following information under the General tab:
- Host/Address: ftp.PrimaryDomain, where PrimaryDomain is your hosting account's primary domain, is set in your Domains dashboard.
- Example: ftp.example.com (where example.com is the primary domain)
- Port: 2222
- Logon Type: Normal
- Protocol (Server Type): SFTP - SSH File Transfer Protocol
- User: FTP username (Same as your hosting account username or the FTP account created)
- Password: FTP password (Your FTP account password)
 Note: By default, FTP root accounts are still created in a new account. However, while changing the password of the root user, the account password won't be updated.
- Host/Address: ftp.PrimaryDomain, where PrimaryDomain is your hosting account's primary domain, is set in your Domains dashboard.
How to upload files to Network Solutions with FileZilla
- Connect to FTP.
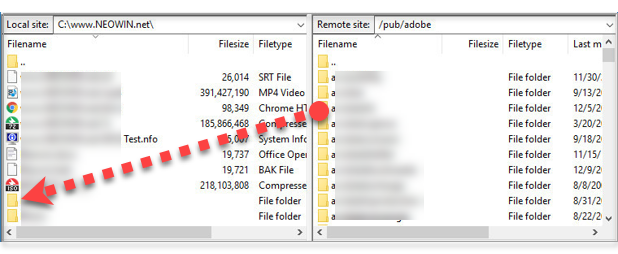
- Use the Local Site area of FileZilla to locate the folder containing the files you want to upload. The Local Site is where your computer files are situated.

- Use the Remote Site area of FileZilla to locate the folder in which you want to upload your files. The Remote Site is where your hosting files are located. It is a representation of your FileManager.
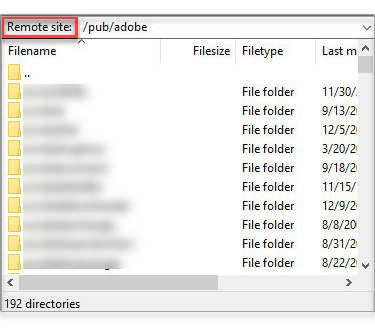
- Note that the contents for each folder are displayed just below the Local Site and Remote Site areas.
- Click and drag your file from the Local Site side onto the Remote Site side (Note that you can also select multiple files at a time).
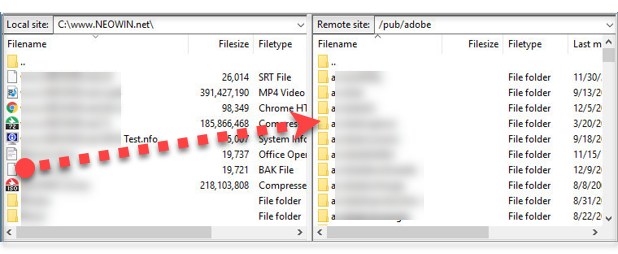
- Upload progress is displayed in the bottom area of FileZilla.
- Upload is complete once your uploaded files are listed on the Remote Site side.
How to download files from Network Solutions with FileZilla
- Connect to FTP.
- Use the Remote Site area of FileZilla to locate the folder containing the files you want to download.

- Use the Local Site area of FileZilla to locate the folder in which you want to download your files.

- Note that the contents for each folder are displayed just below the Remote Site and Local Site areas.
- Click and drag your file from the Remote Site side onto the Local Site side (Note that you can also select multiple files at a time).
- Download progress is displayed in the bottom area of FileZilla.
- The download is complete once your downloaded files are listed on the Local Site side.
Note: Click on the root folder ("/") if you wish to download all files on the server. Otherwise, select the subfolder or the files you intend to back up.
What are other FTP clients I could use
Here are a few options for you to consider:
How to prevent FTP blacklisting
As a security precaution against malicious attackers, Network Solutions FTP servers will blacklist the IP addresses of users who have an excessive number of consecutive failed login attempts. This blacklist prevents the user from gaining access to Network Solutions FTP servers, even if the user begins using the correct login credentials.
To avoid the risk of being blacklisted, make sure that you keep your FTP client's login credentials up to date. Additionally, we recommend that you limit the number of reconnection attempts inside your FTP client.
To limit the number of reconnection attempts inside of FileZilla:
- Go to Edit.
- Click on Settings.
- In the window that appears, we recommend that you enter the following settings:
- Maximum number of retries: 3
- The delay between failed login attempts: 300
Options for SmartFTP
How to set the timeout value?
- Select Favorites > Edit Favorites from the SmartFTP menu. The SmartFTP Favorites window appears.
- From the SmartFTP Favorites window, select the Favorite for which you want to set the Connection Timeout. Right-click on Favorite and select Properties. The Properties dialogue appears.
- Select Connection. From the Connection tab under the Options list, select Use Favorite Settings.
- You can set the number of Maximum Retries, Retry Delay time, and the Connection Timeout by typing out the value you want it to be set to, or you can use the up and down arrows. The default value for the Connection Timeout is 30 seconds.
- Click on the OK button to save the changes.
CuteFTP performance
Check out the CuteFTP knowledge base.
Review
This complete guide is an indispensable tool to help you keep your files on the web organized and easy to access. It does explain the security advantages of SFTP over connecting via unencrypted FTP in clear terms, however, and even tells you exactly how to connect with an FTP client such as FileZilla. You will find the step-by-step instructions on uploading and downloading documents simple, which is very helpful to make the site more manageable for novices. The manual also discusses potential technical issues by providing clear guidance on how to avoid IP blacklisting through the right configuration settings. In addition to exposing options like SmartFTP and CuteFTP, the piece makes certain readers retain the tools needed for making their presence online without hassle.
Get practical tips and product updates on LinkedIn.
Follow Network Solutions