Knowledge Base
Categories: Legacy Domain
Powered by Network Solutions: How to install a WordPress website
Note: Before you install WordPress you may need to remove any other websites. Please refer to this article: WebsiteBuilder - How to remove a WebsiteBuilder website.
- Log in to your account manager via https://www.networksolutions.com/my-account/login.
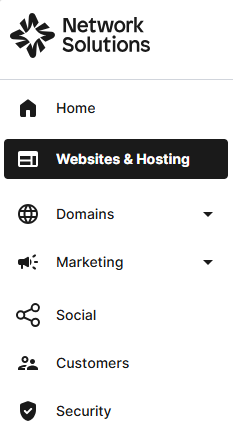
- Click Websites & Hosting from the left navigation menu.
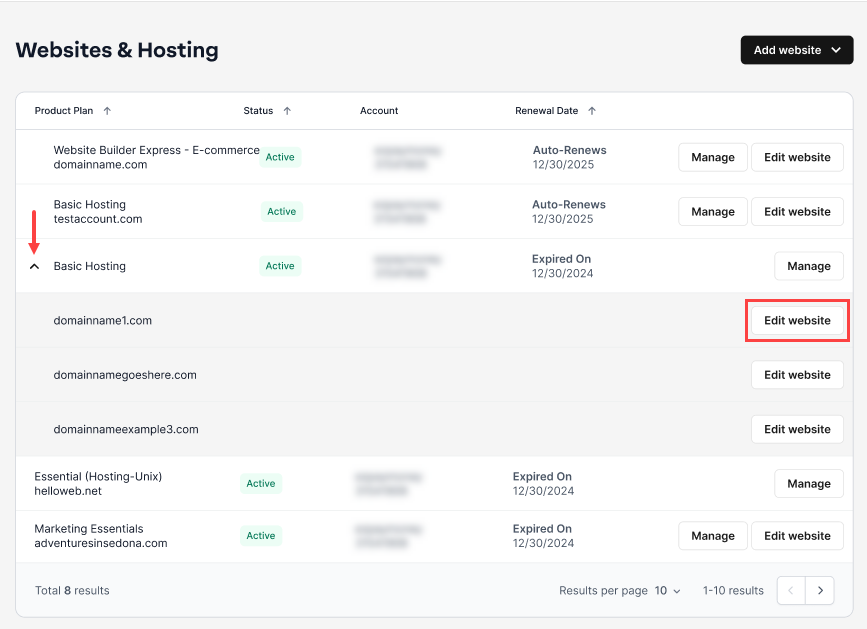
- Navigate to the hosting package you want to access, then click Edit website next to the domain name you want to manage.
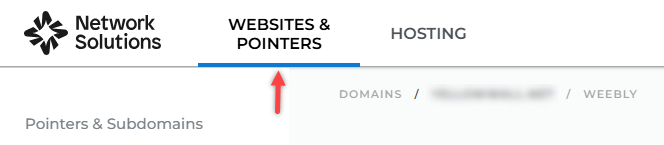
- Click WEBSITES & POINTERS.
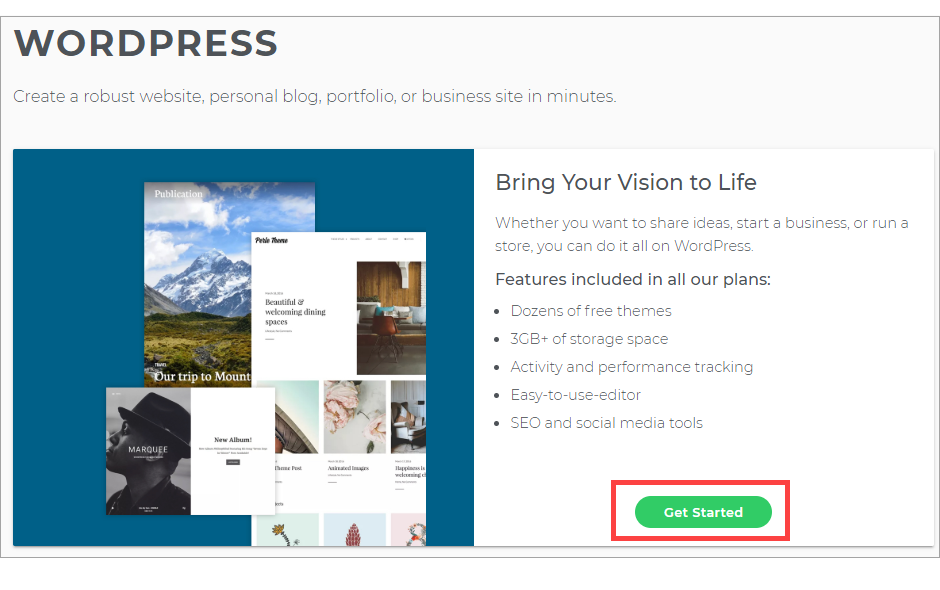
- On the WordPress Page, click Get Started.
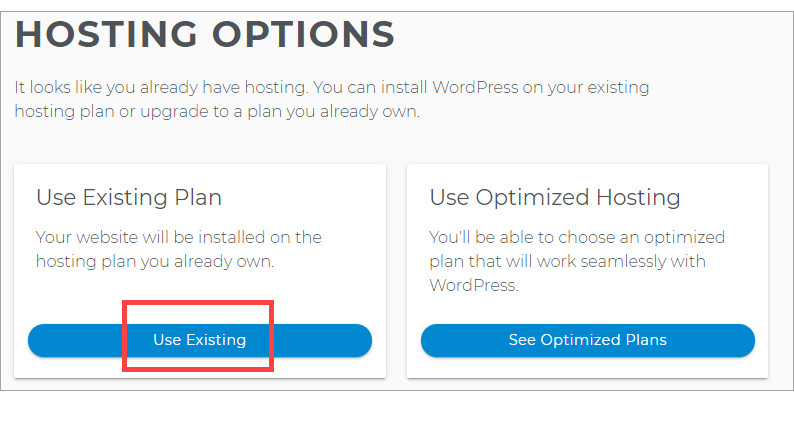
- If you have an existing plan, then click on Use Existing. Note that you can upgrade to Optimized Hosting for Super speed, enhanced security, and personalized support for WordPress.
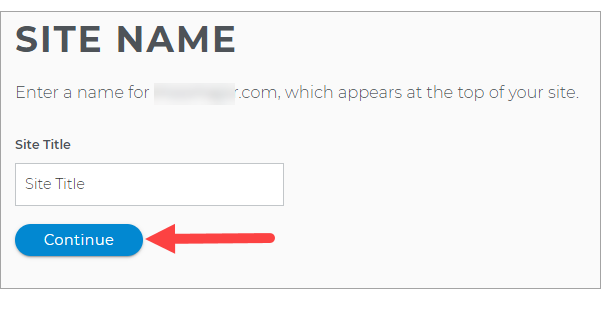
- Create your SITE NAME, which appears at the top of your site.
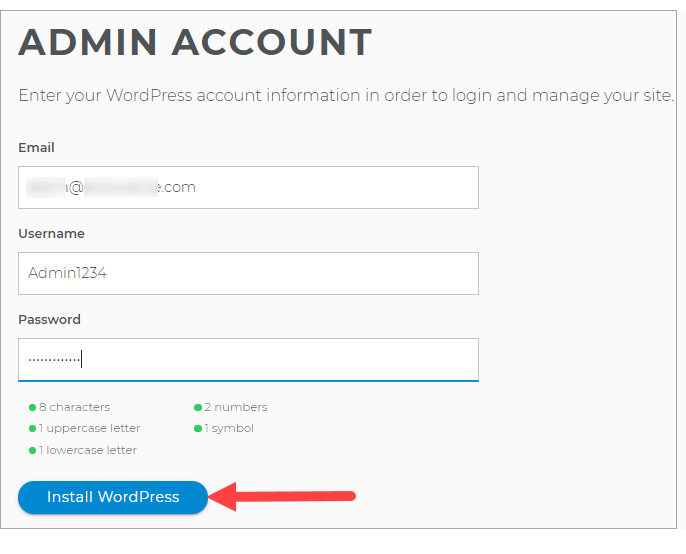
- Fill in with your Email, Username, and Password for your WordPress Dashboard.
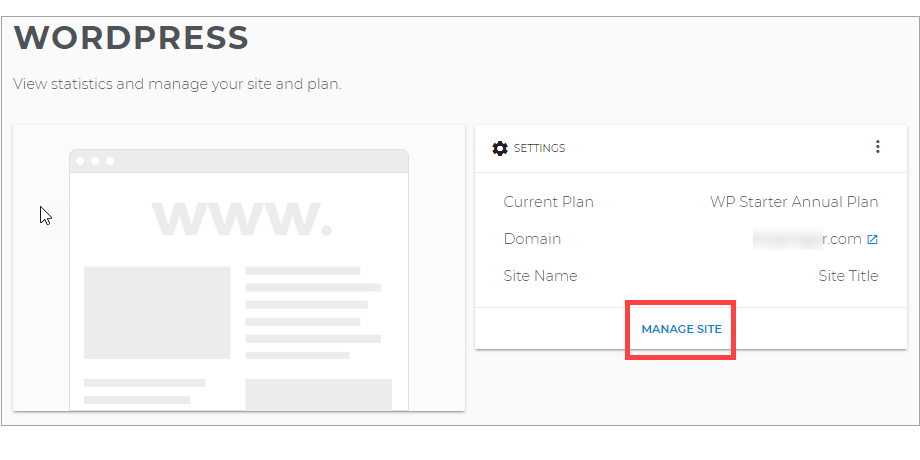
- To modify your WordPress site, click on MANAGE SITE.
Want to learn more about WordPress?
Check WordPress: Tutorial videos to help you quickly grasp the basics of creating a WordPress website. You can always check out WordPress.com and browse their codex or online help forums.
Get practical tips and product updates on LinkedIn.
Follow Network Solutions
Did you find this article helpful?