Knowledge Base
Categories: Powered by Network Solutions
Powered by Network Solutions: WebsiteBuilder - How to place navigation in different locations
Important: The instructions provided below apply to customers with the Legacy WebsiteBuilder editor only. They do not apply to customers with the WebsiteBuilder Express editor.
- Log in to your account via https://www.networksolutions.com/my-account/login.
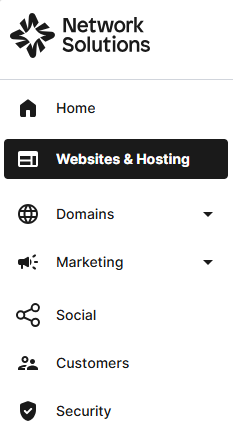
- Click Websites & Hosting from the left navigation menu.
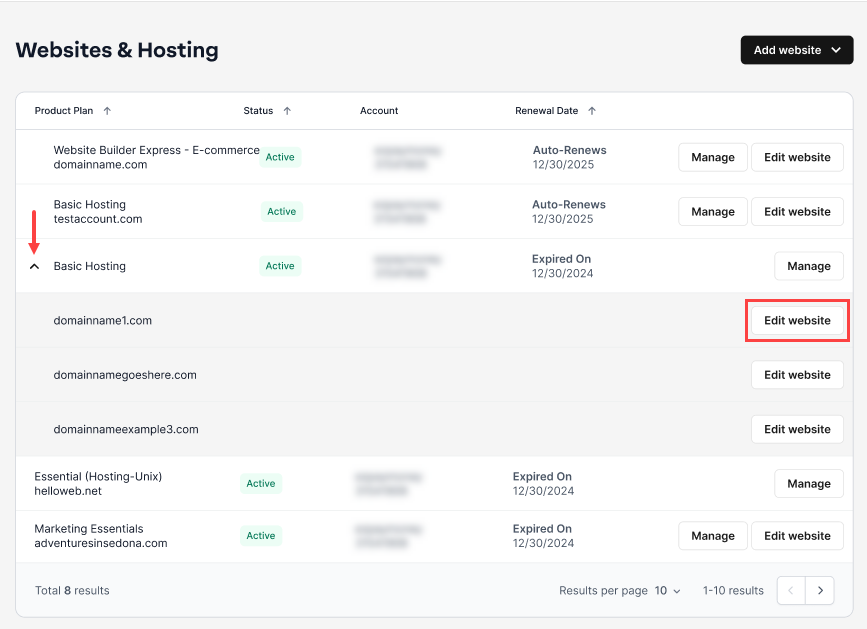
- Navigate to the hosting package where you want to access your WebsiteBuilder and add a Site Navigation element, then click Edit website next to the domain name you want to manage.
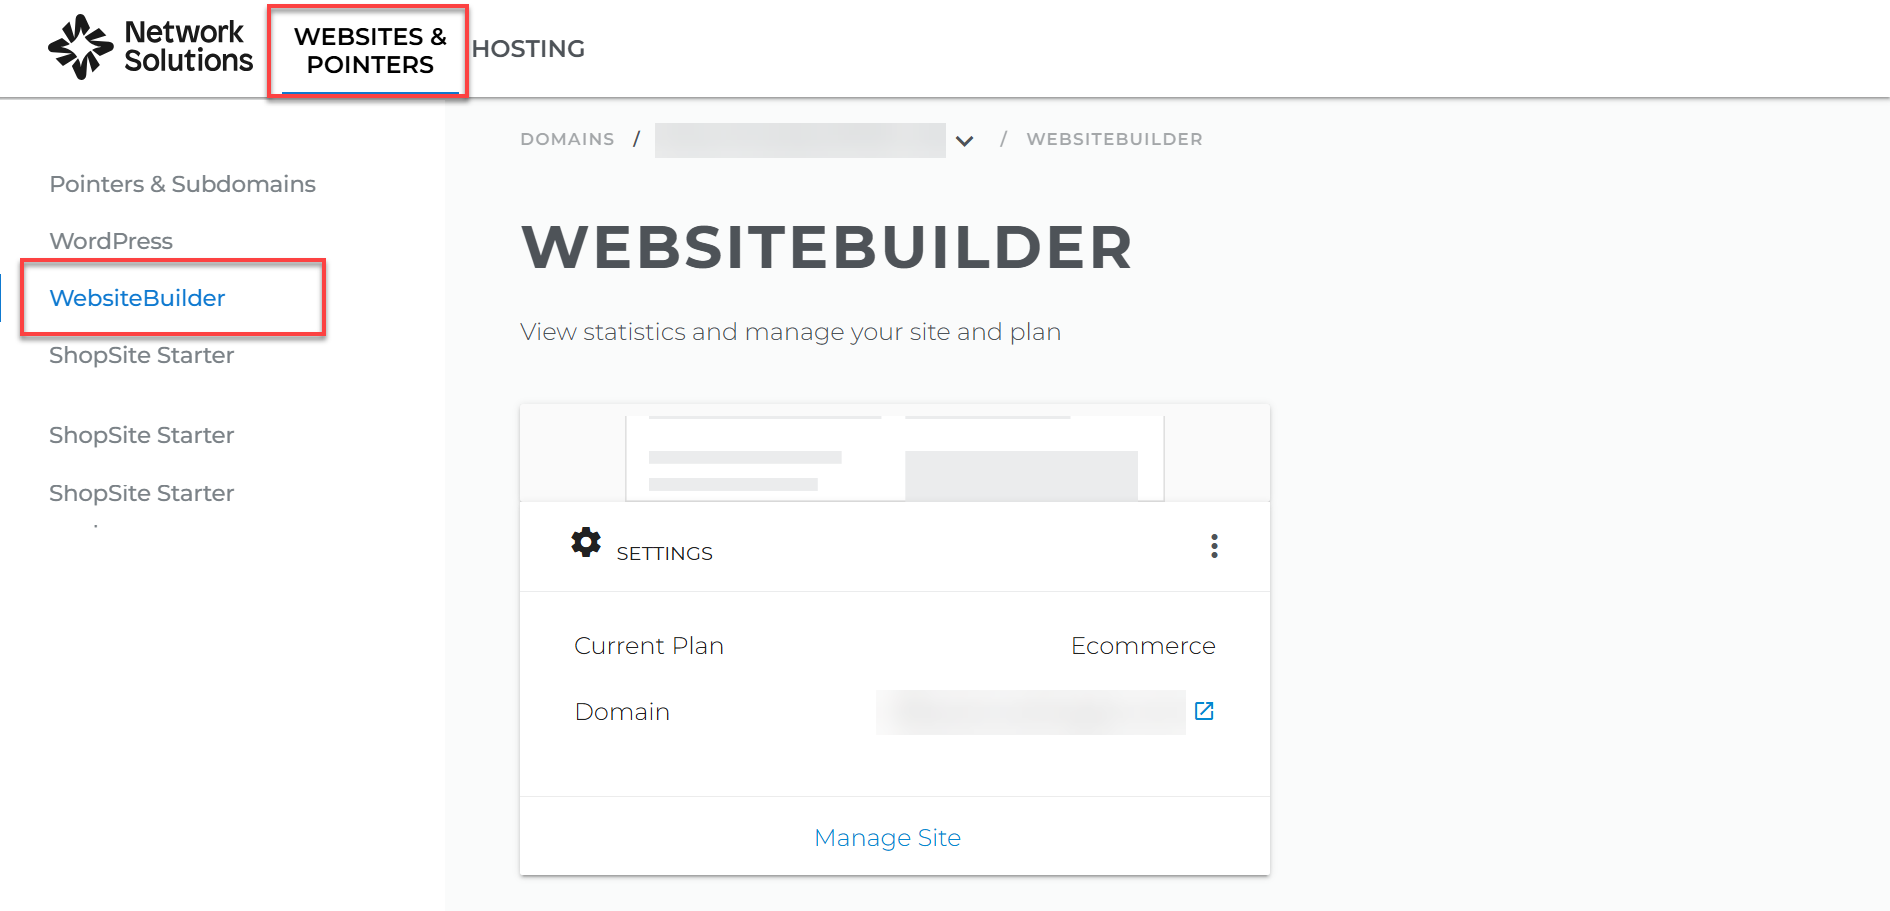
- Go to WEBSITES & POINTERS, then select WebsiteBuilder.
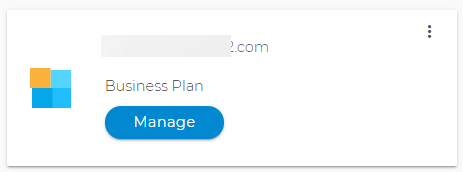
- Hit Manage to open your WebsiteBuilder Legacy editor.
- On the left pane options, look for Elements.
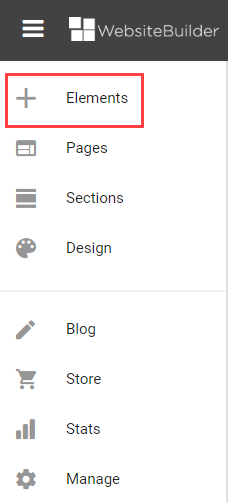
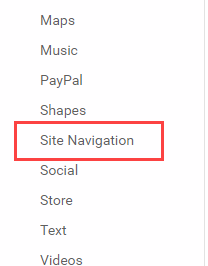
- From the list of Elements, choose Site Navigation.
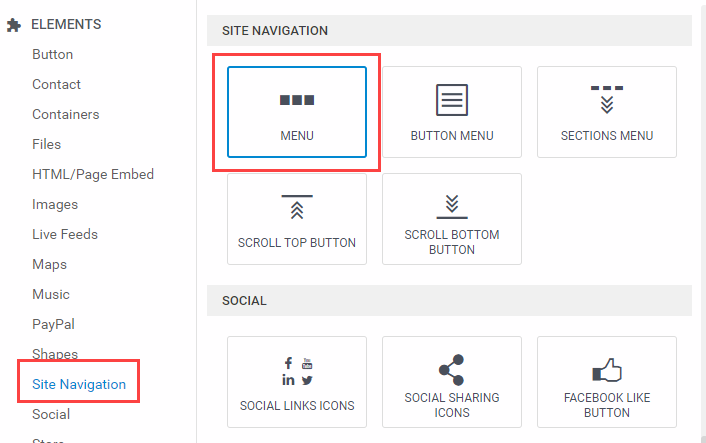
- Inside the Site Navigation Settings, click Menu. Drag this element to the desired location in your editor.
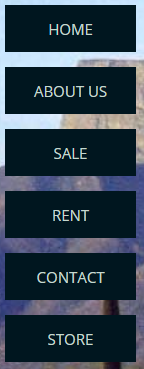
- To change the design of the navigation menu, click on the navigation menu and select the change design icon. There are 20+ designs that you can choose from. The navigation menus can be in horizontal, vertical, or grid orientation.

- Horizontal menu

- Vertical menu
- Grid menu
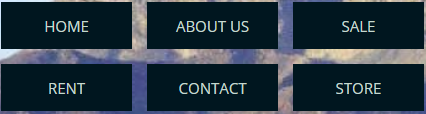
- Horizontal menu
- To change the design of the navigation menu, click on the navigation menu and select the change design icon. There are 20+ designs that you can choose from. The navigation menus can be in horizontal, vertical, or grid orientation.
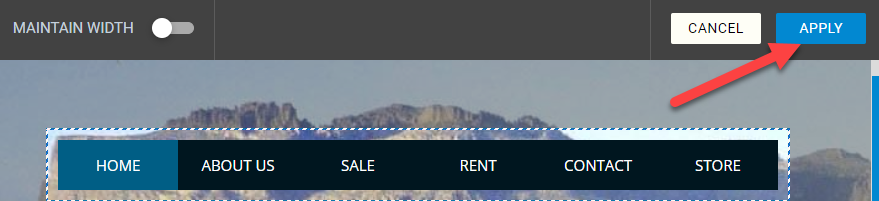
- Always hit the APPLY button on the upper-right corner to save the changes.
Get practical tips and product updates on LinkedIn.
Follow Network Solutions
Did you find this article helpful?