Knowledge Base
Categories: Powered by Network Solutions
Powered by Network Solutions: Scripting - How to set default page priority
Standard default pages
- index.html
- index.htm
- index.php
- default.htm
- default.html
- default.htm
- index.py
- index.php3
- index.pl
- index.cgi
- home.html
- home.htm
- Home.chtml
- Home.html
- Home.htm
- index.shtml
- default.shtml
To set default page priority
- Log in to your account manager via https://www.networksolutions.com/my-account/login.
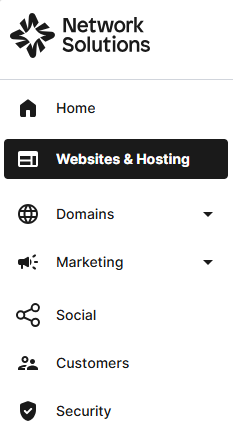
- From the left-hand menu, click the Websites & Hosting tab.
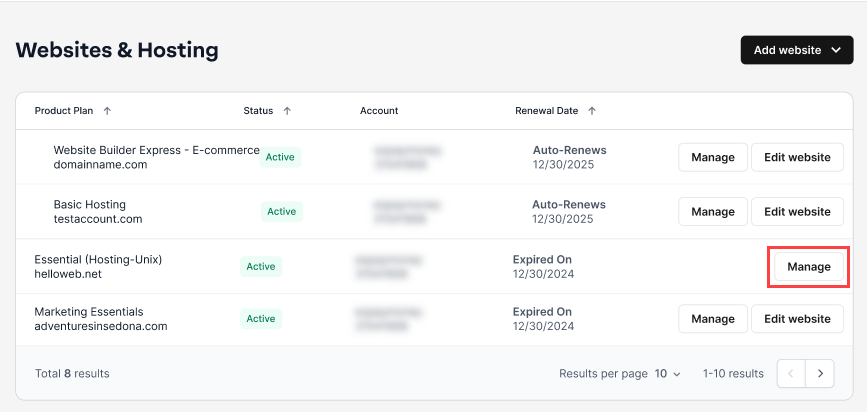
- If you have a single hosting package in the account, you will be redirected to the control panel. If you have multiple hosting packages in your account, click the Manage button on the respective hosting package that you need to access.
- Click the HOSTING tab from the top menu, then select .htaccess Editor from the left pane.
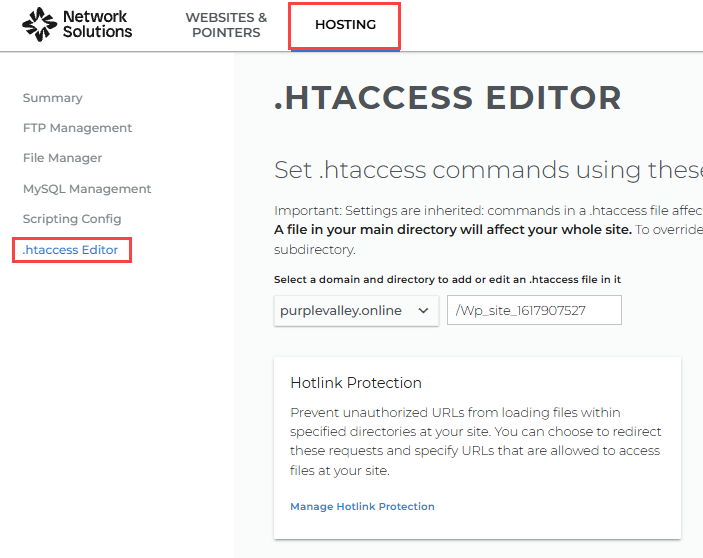
- Once you are on the .HTACCESS EDITOR page, your first step will always be to select the domain and directory where you are applying the changes.

First, Click on the domain selector and select the domain that you want to modify.

Second, click on the directory selector to select the folder where you want to add or edit a .htaccess file in it.
Click the Select button once done.

- Scroll down and look for the Default Pages card, then click on Manage Default Pages.

- From here, you can do the following actions:
A. Add a file
To add a file and create your list of default page filenames:
1. Click the plus sign next to Add New Filename.

2. Type the name of your file and then click the Add Filename button.

3. Repeat these steps until you complete your list.

B. Re-order files
To change the order of your file list:
1. Select the file that you want to move.
2. Drag the file and drop it to where you want to be.

3. Repeat the above steps until you are done re-arranging your pages.
4. Click the Update button to save the changes.

Note: Clicking Reset will return the list to its previously saved settings. Clearing the list of all filenames and then clicking Save will return it to the default settings.
C. Delete a file
To delete a file from your list, simply click the "X" on the right of the file that you want to delete.

Important: Your customized settings will be inherited by all subdirectories of your selected directory. However, any custom settings for those subdirectories will override their parent directory's settings.
Get practical tips and product updates on LinkedIn.
Follow Network Solutions
Did you find this article helpful?