Knowledge Base
Categories: Powered by Network Solutions
Powered by Network Solutions: WebsiteBuilder - How to add a Blog
This article discusses the basics of adding a blog to your website. Follow the steps below to get you started!
- Log in to your account manager via https://www.networksolutions.com/my-account/login.
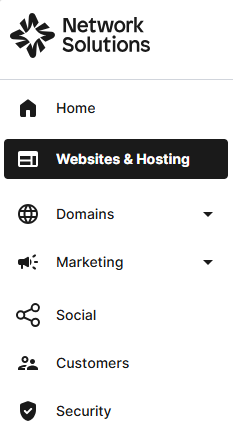
- Click Websites & Hosting from the left navigation menu.
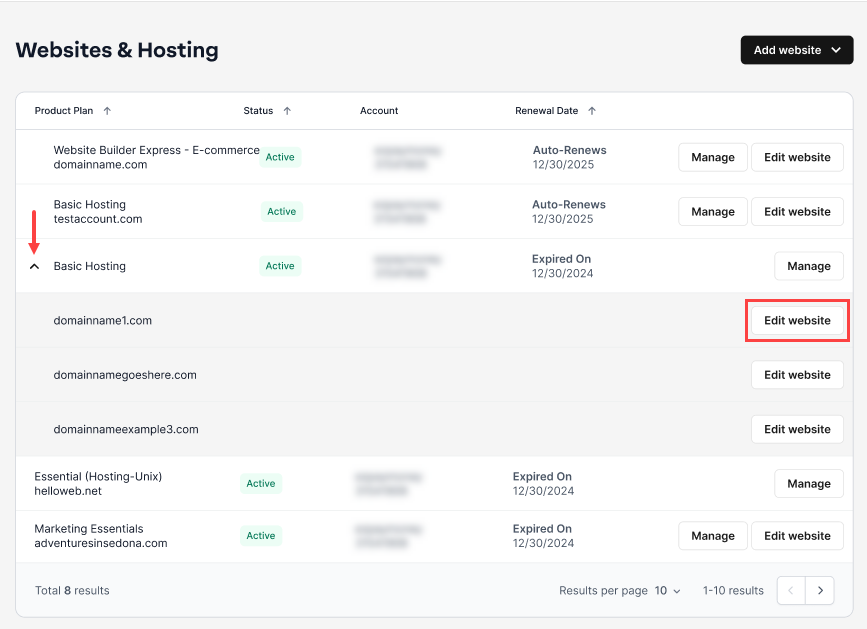
- Navigate to the hosting package you want to access, then click Edit website next to the domain name you want to manage.
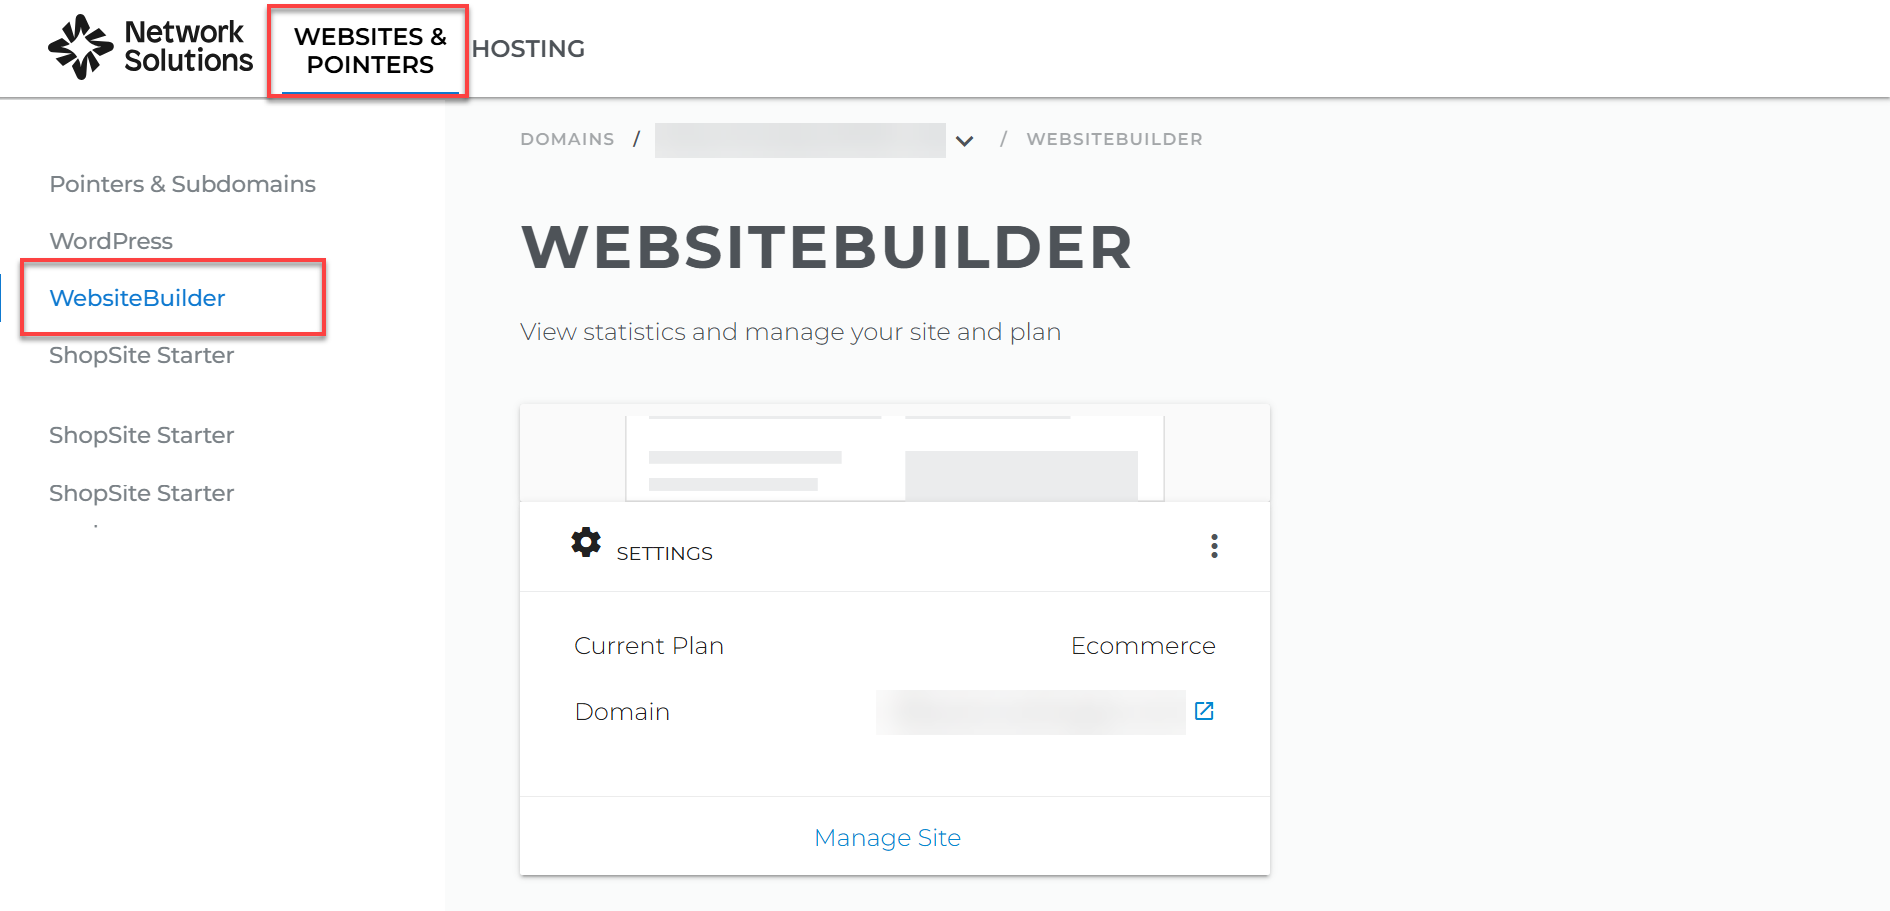
- Click WEBSITES & POINTERS. In the left pane, click WebsiteBuilder.
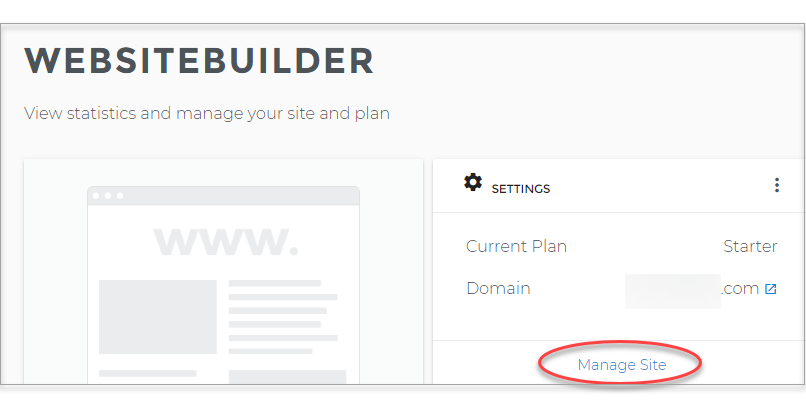
- From the WebsiteBuilder page, click the Manage Site link.
- Scroll down and look for the Plus sign between the sections of your existing posts.
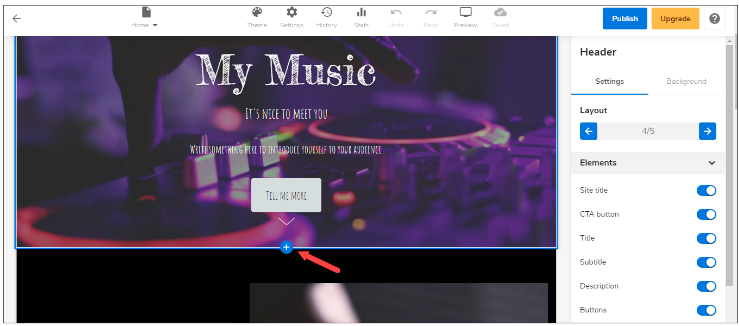
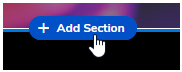
- Once found, hover your mouse pointer over it and click Add Section.
- From here, you can now choose a layout from the left pane. This action will add a new section, blog, and post to this current page.
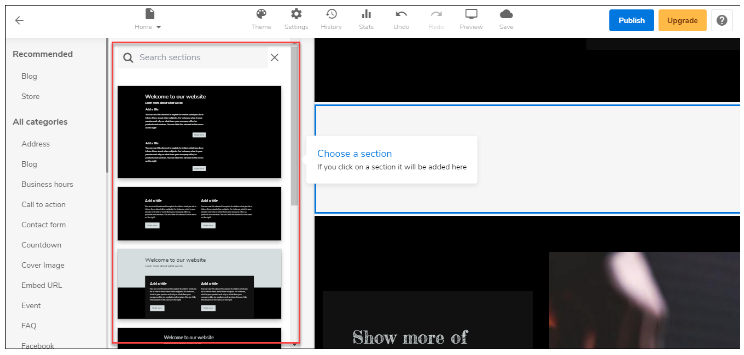 Note: The changes you make here will only affect the look of your Posts. If you wish to manage or add a new post. Please click here.
 - Don't forget to save your work by clicking the Save icon. Once saved, click on the Publish button on the upper part of your editor screen. Remember that changes are only visible after you have saved and published your work.

Get practical tips and product updates on LinkedIn.
Follow Network Solutions
Did you find this article helpful?