Knowledge Base
Categories: Powered by Network Solutions
Powered by Network Solutions: WebsiteBuilder - How to add, modify, or remove social media accounts
Connecting to people on different social media platforms is a very good strategy to reach out to customers and strengthen your online presence. In this article, we will guide you through the steps on how to add, modify, and remove your social media account to your website. Let's get started.
Launch WebsiteBuilder and manage your website
- Log in to your account via https://www.networksolutions.com/my-account/login.
- Click Websites & Hosting from the left navigation menu.
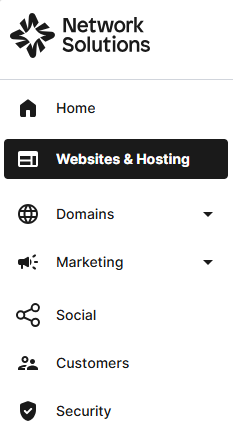
- If you have a single website builder in the account, you will be redirected to the Website Builder dashboard. If you have multiple website builder accounts, click the Edit website button on the respective website package that you need to access.
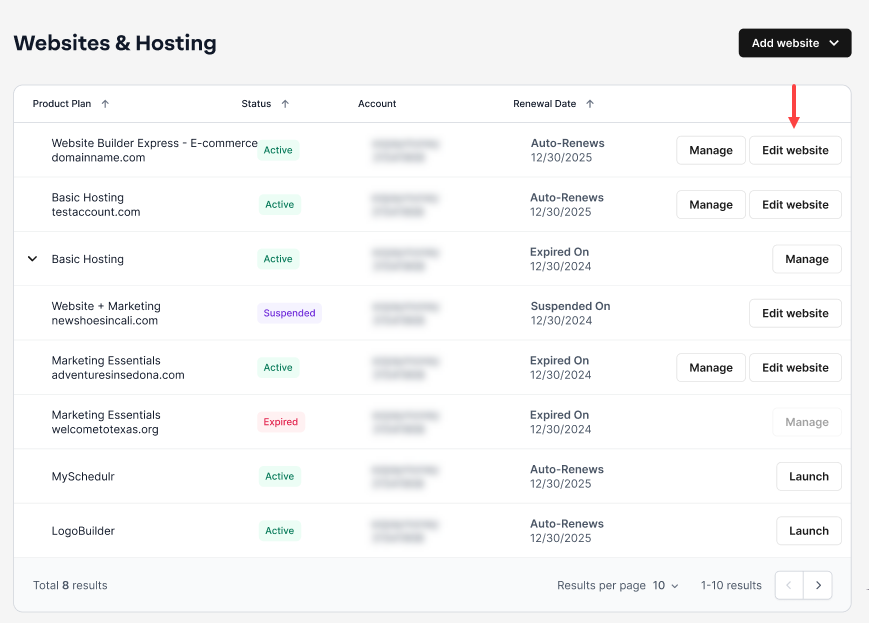
- Launch your website editor by choosing Edit Site.

Add, modify, or remove social media account/s
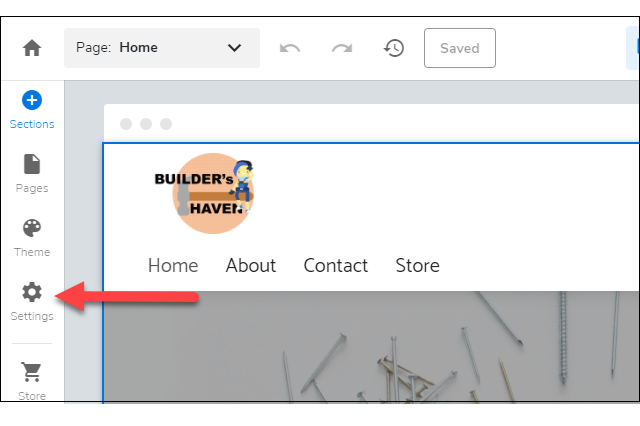
- Click Settings on the left.
- Click Social accounts under Settings.
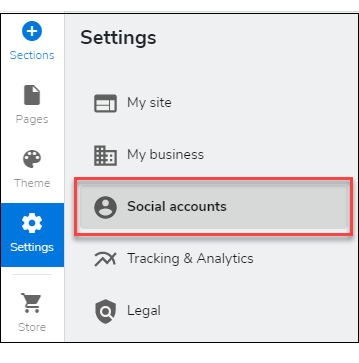
- Add, modify, or remove the URLs of your social accounts which will be shown in your site's footer, allowing your visitors to go directly to your social accounts.
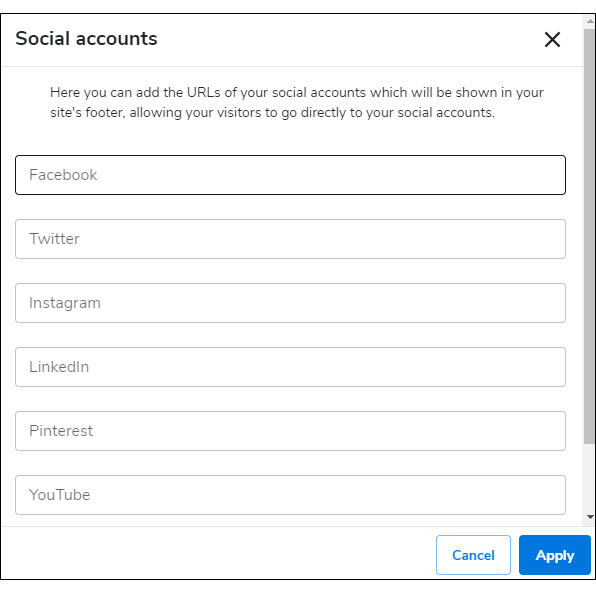
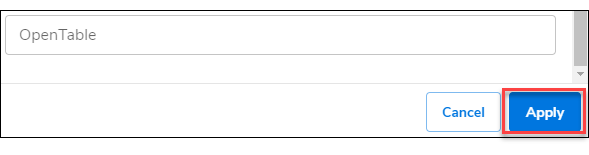
- Click the Apply button.
- When you are done, click on Save. If you want to make all changes to be updated on your live website, click Publish. Both these options are placed on top of your editor. Note: If you only save changes, it would not appear on the website unless you click Publish.

Get practical tips and product updates on LinkedIn.
Follow Network Solutions
Did you find this article helpful?