Knowledge Base
Categories: Powered by Network Solutions
Powered by Network Solutions: WebsiteBuilder - How to set up payment providers
There are several payment providers associated with WebsiteBuilder, such as PayPal, Stripe, and even Cash-On-Delivery (COD). Note that the payment providers depend on your store's location and the currency configured.
Note: We offer two different versions of WebsiteBuilder. Our original implementation of the builder is the Legacy WebsiteBuilder editor, while WebsiteBuilder Express editor is the newest interface commonly found in the Foundation dashboard. It is not possible to upgrade a Legacy WebsiteBuilder site to the Express editor. The site will need to be recreated with the Express editor. All new WebsiteBuilder installations will be the Express editor.
Follow the instructions that match your WebsiteBuilder version.
Legacy WebsiteBuilder editor vs. Express editor
| Legacy WebsiteBuilder | WebsiteBuilder Express editor |
|---|---|
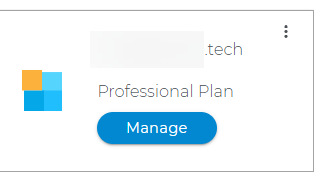 |
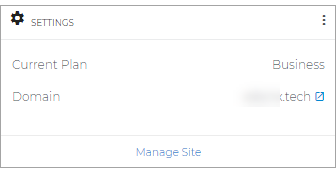 |
How to launch the WebsiteBuilder
- Log in to your account manager via https://www.networksolutions.com/my-account/login.
- Click Websites & Hosting from the left navigation menu.
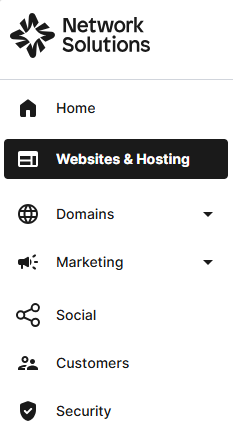
- Navigate to the hosting package that you want to update, then click Manage to continue.
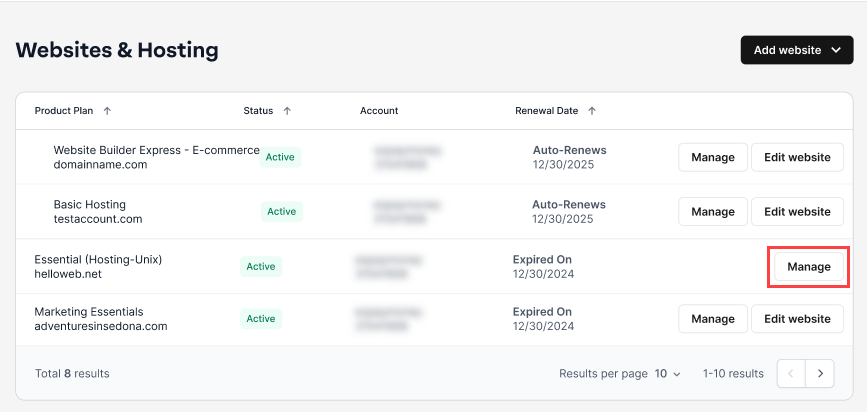
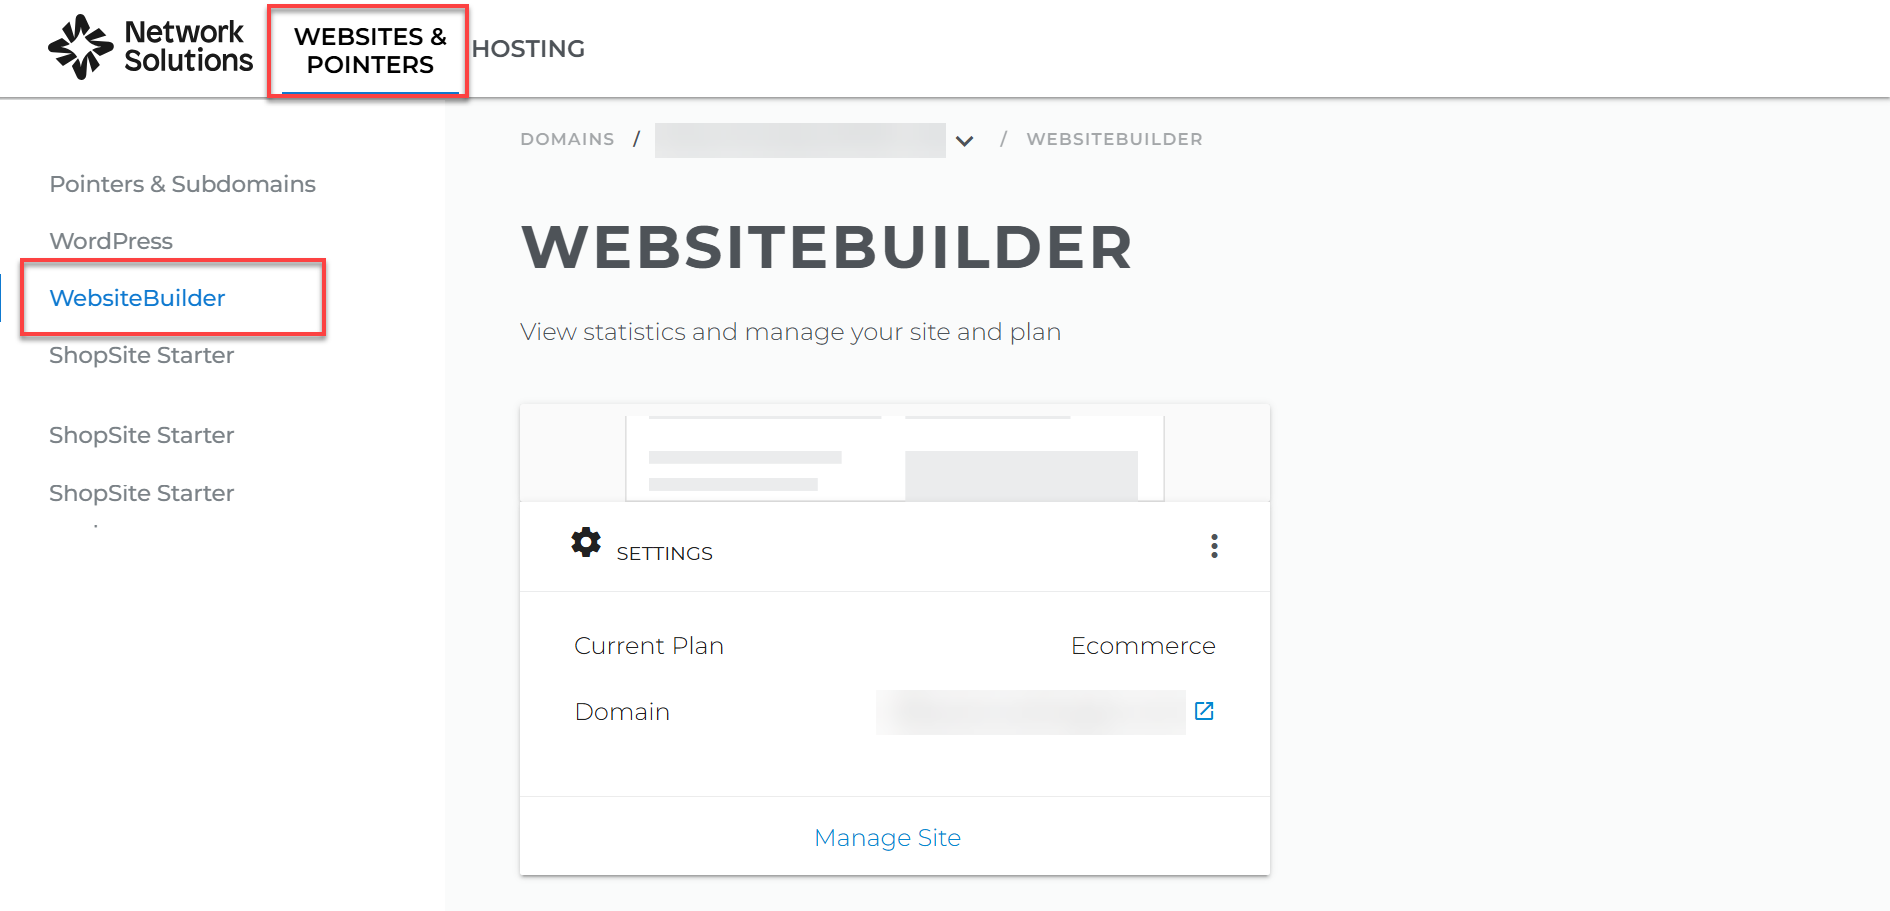
- Click WEBSITES & POINTERS. In the left pane, click WebsiteBuilder.
Legacy WebsiteBuilder editor: Set up payment providers
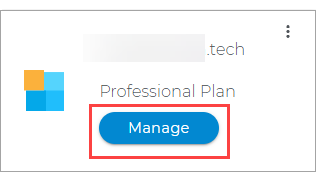
- To launch your Legacy WebsiteBuilder editor, click Manage.
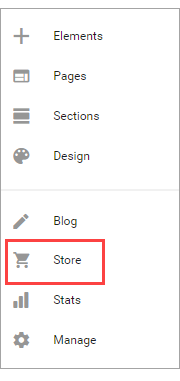
- Once you are in, click on the Store Section on the left menu.
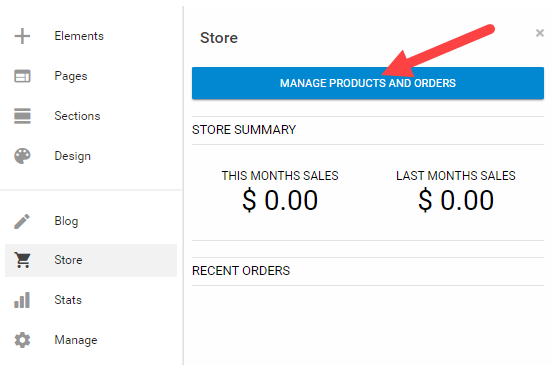
- Then, hit Manage Products and Orders.
- On the left pane of your Manage Store page, look for Settings.
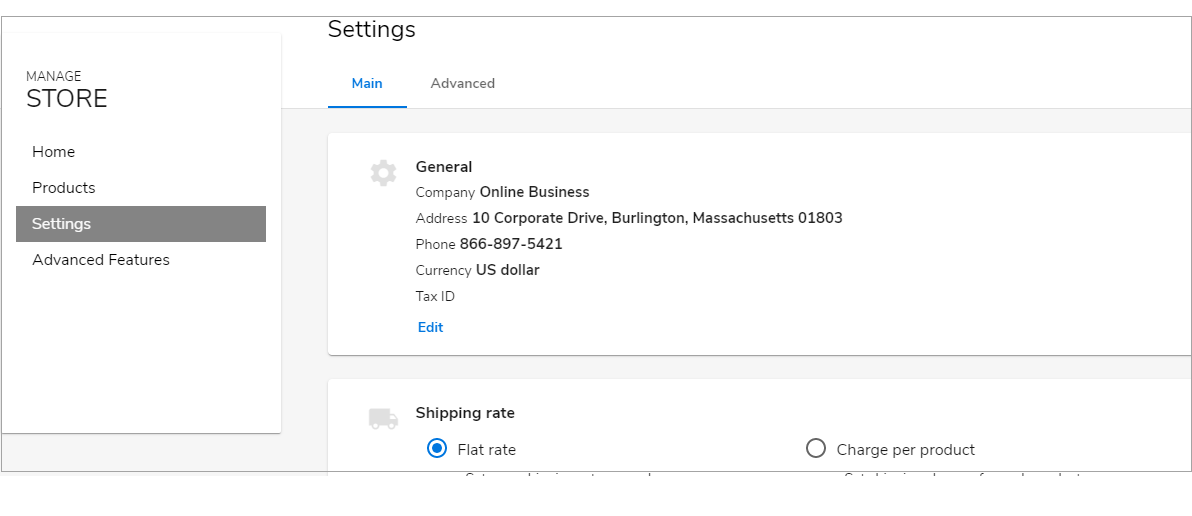
- Under Main settings, scroll to the bottom part of the screen, and you will see Payment Providers. Hit Edit to make the necessary changes.
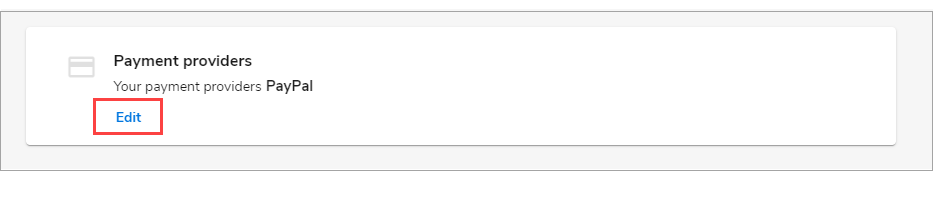
- Once clicked, you will then see the payment provider options for PayPal, Stripe, and Cash on Delivery. Enable it as your payment provider by clicking on the respective ACTIVATE buttons.
Note: If you have activated a payment provider, you can click on Edit to make changes to it.
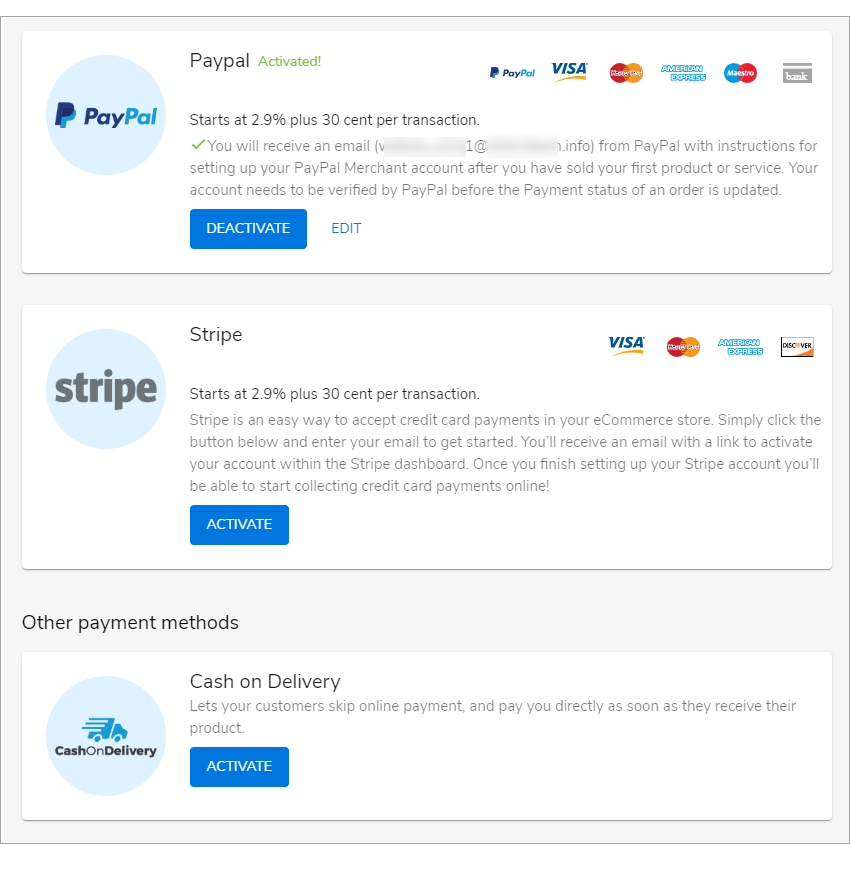
- Click on Back to Editor on the upper right of the Manage Store Page.
- Once all is done, click the
Save button in the top section of your editor. Once you are ready to make changes public hit Publish. Note that by saving changes, it will not appear on the live website until you publish changes.

WebsiteBuilder Express Editor: Set up payment providers
- To launch your WebsiteBuilder Express editor, click Manage Site.
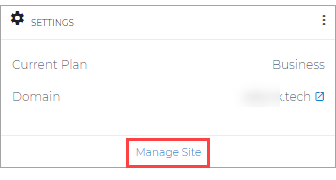
- On the top section of your editor screen, look for the drop-down of pages, then click Store.
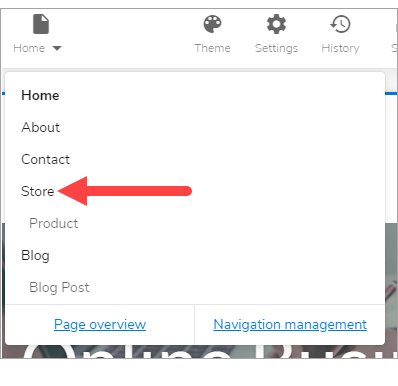
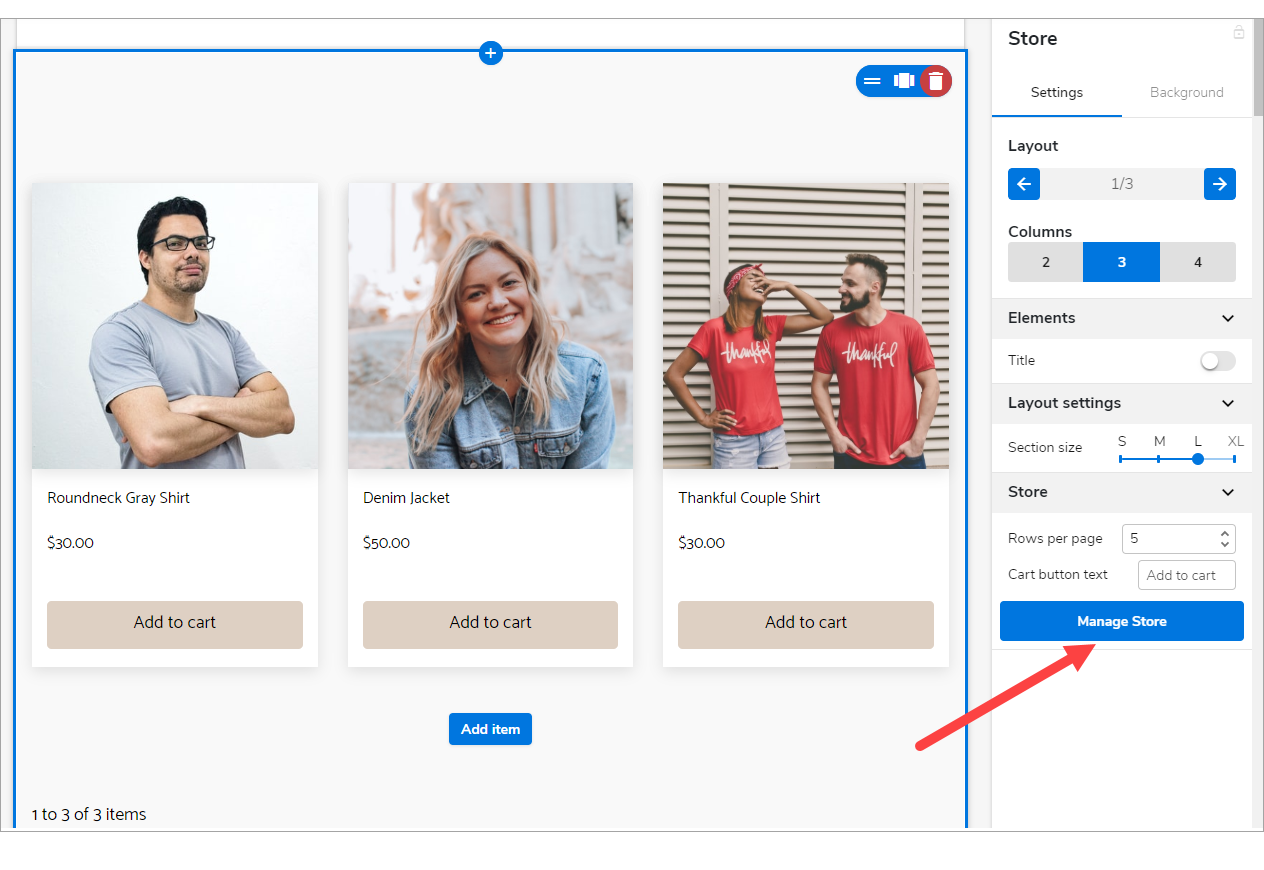
- Hover your mouse over one of the sections and notice that several options will slide on the right pane. Look for Manage Store.
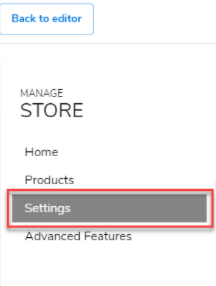
- On the left pane of your Manage Store page, look for Settings.
- Under Main settings, scroll to the bottom part of the screen and see Payment Providers. Hit Edit to do the necessary changes.
- Once clicked, you will then see the payment provider options for PayPal, Stripe, and Cash on Delivery. Enable it as your payment provider by clicking on the respective ACTIVATE buttons.
Note: If you have activated a payment provider, you can click on Edit to make changes to it.
- Then, on the upper left corner of the Manage Store page, click Back to the editor.
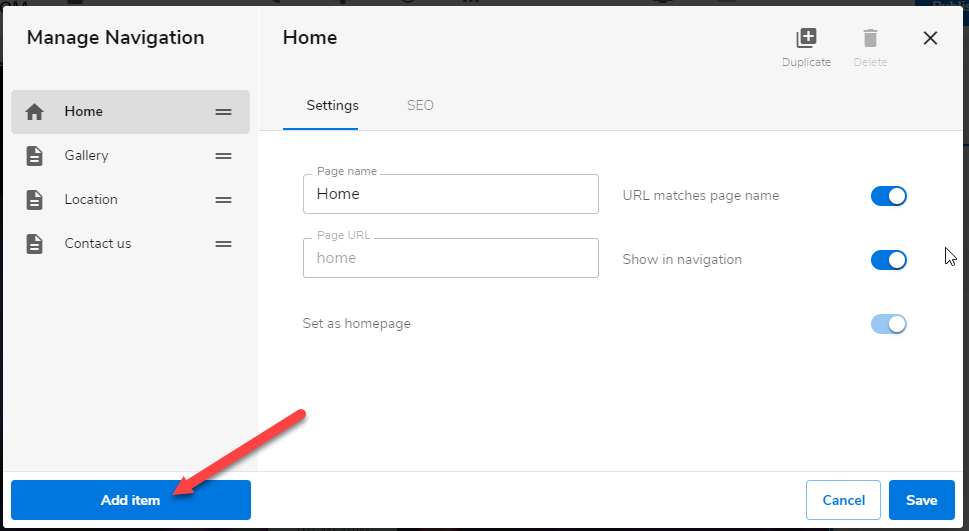
- Once done, click the Save button in the top section of your editor. And once that you are ready to make changes public, hit Publish. Note that by saving changes, it will not appear on the live website until you publish changes.

Additional information
Activating a payment provider
To activate a payment option, follow these steps:
- Select the Activate button over the option you would like to use.
- A pop-up will appear for you to enter your information to begin accepting payments.
- When you set up a payment option, you can create an account or connect an account by entering your email linked to an existing account. Once activated, you can manage payment options by clicking the Edit on your Payment Providers screen.
Note: Once you sell your first product via PayPal, you will receive an email to set up your account through your new PayPal portal
After selecting a payment provider, customers will be able to add products to their shopping cart and choose the option that you've selected, either PayPal or Stripe, and check out just like they're used to when shopping online.
Available payment options – by country
- PayPal: Supported in all countries, in the following currencies: "AUD", "BRL", "CAD", "CZK", "DKK", "EUR", "HKD", "HUF", "ILS", "JPY", "MYR", "MXN", "NOK", "NZD", "PHP", "PLN", "GBP", "RUB", "SGD", "SEK", "CHF", "TWD", "THB", "USD"
- Stripe: Supported in all countries, in the following currencies: "AU", "CA", "DK","FI", "FR", "IE", "JP", "NO", "SG", "ES", "SE", "GB", "US", "AT", "BE", "DE", "HK", "IT", "LU", "NL", "NZ", "PT", "CH", "BR", "MX"
- Mollie: Supported in countries "NL", "BE", "LU," in the currency: "EUR"
- PagSeguro: Supported in the country "BR," in the currency, "BRL."
- PayU: Supported in the country "IN," in the currency, "INR."
- Cash on Delivery: Supported in all countries and in all currencies.
Get practical tips and product updates on LinkedIn.
Follow Network Solutions
Did you find this article helpful?