Knowledge Base
Categories: Powered by Network Solutions
Powered By Netwrok Solutions: WebsiteBuilder - How to Work with Favicons
What is a Favicon?
A Favicon is a website's logo/icon displayed on the left part of a browser's tab. It makes it easier to identify what website you currently have up on a specific tab.

If you want your website to have a Favicon, you have to create a 32x32 pixel image. Then, upload it using the steps below:
- Log in to your Account Manager via https://www.networksolutions.com/my-account/login.
- On the left side of the page, click Hosting.

- If you only have one hosting package, you will be taken directly to the Hosting control panel.
- If you have multiple hosting packages, you will need to select a package name and then click the MANAGE button to access the Hosting control panel.
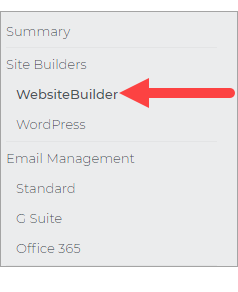
- On the left pane, click on WebsiteBuilder, under Site Builders.
- Click Manage.
For Legacy WebsiteBuilder For WebsiteBuilder Express 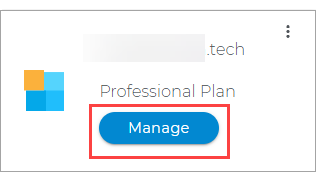
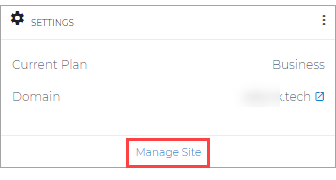
- Click Manage.
- This action will open your WebsiteBuilder screen on a new tab:
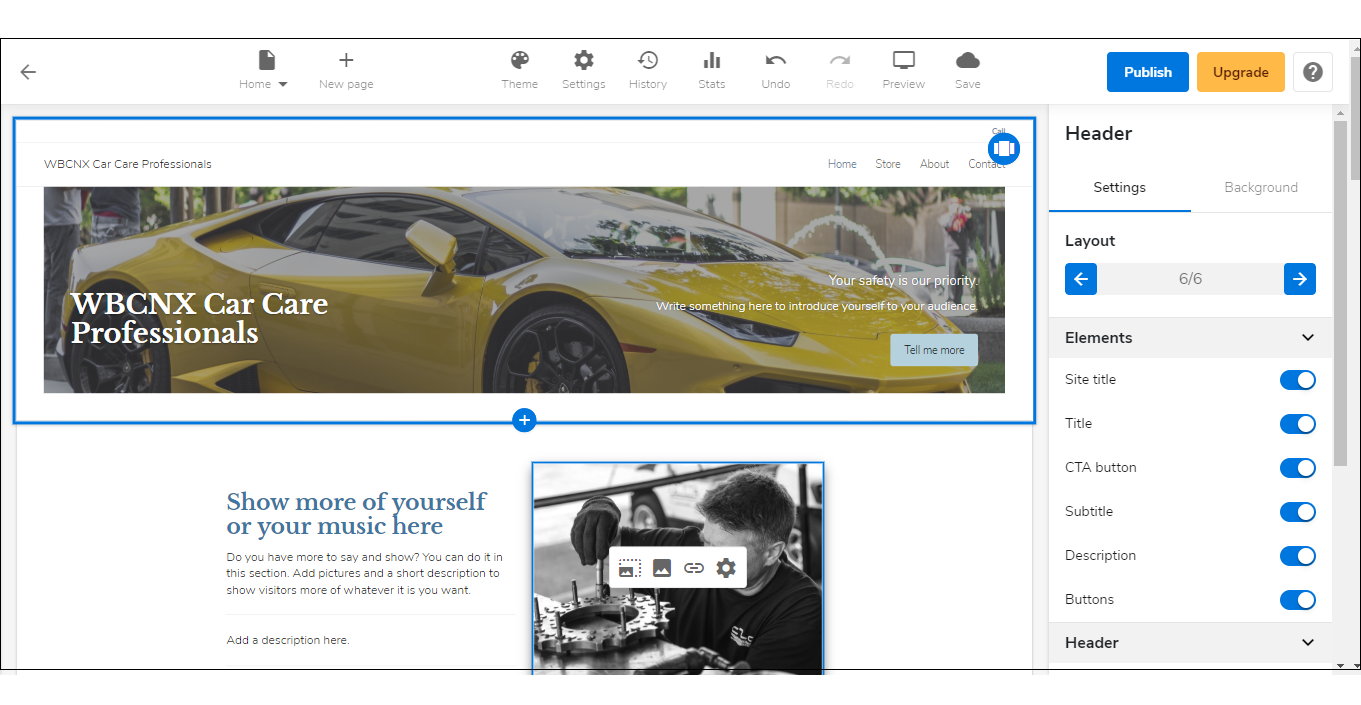
Legacy WebsiteBuilder looks like this: WebsiteBuilder Express looks like this: 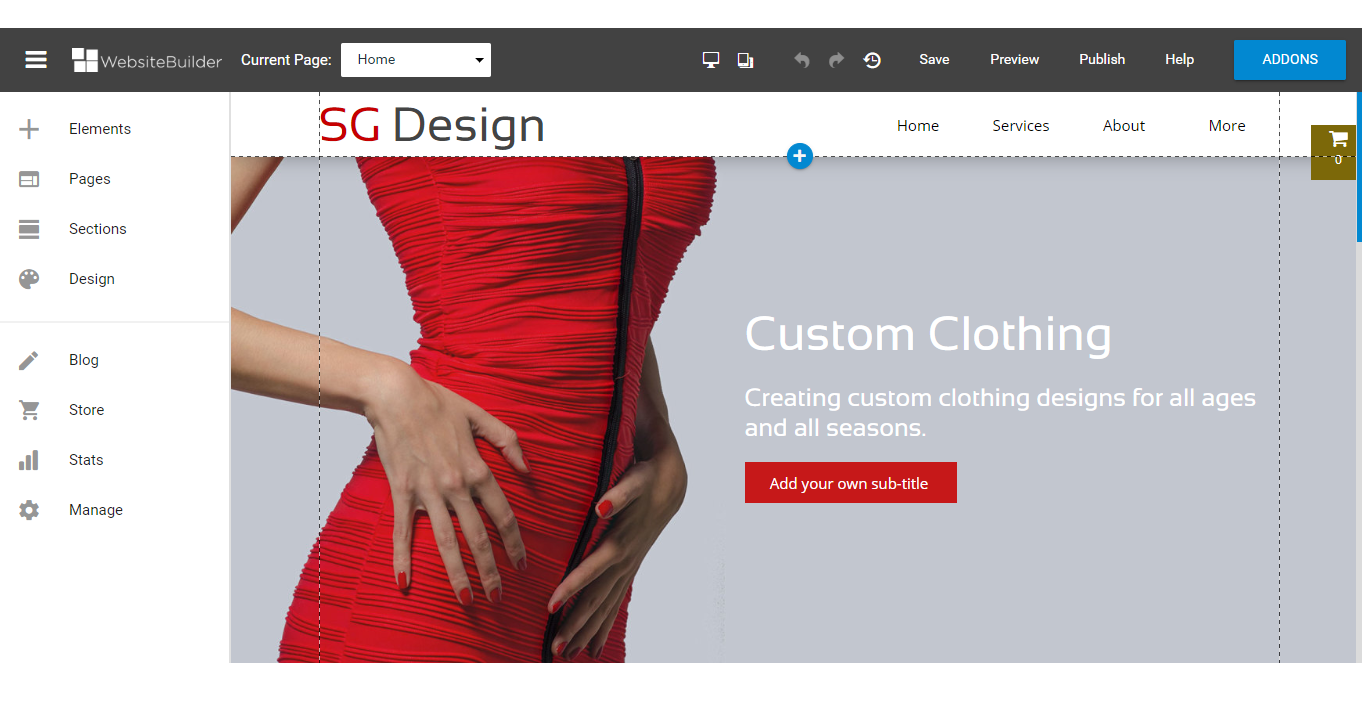
 Note: If you are unsure which type of WebsiteBuilder you are using, you may reach out to our customer service support to help you determine it.
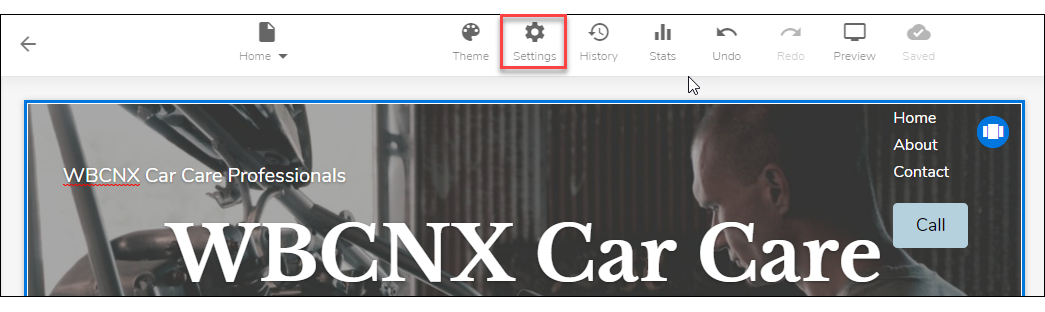
 - Once you have your WebsiteBuilder editor up, open the Site Settings window by clicking Settings.
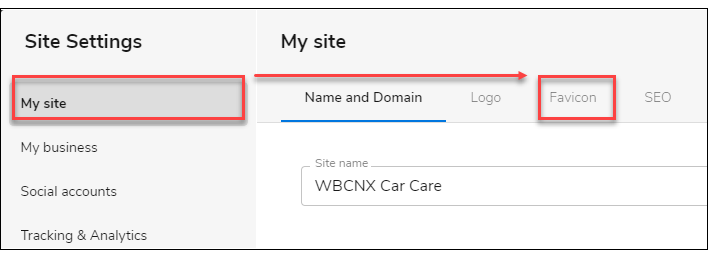
- Then click on My site, and then click Favicon.
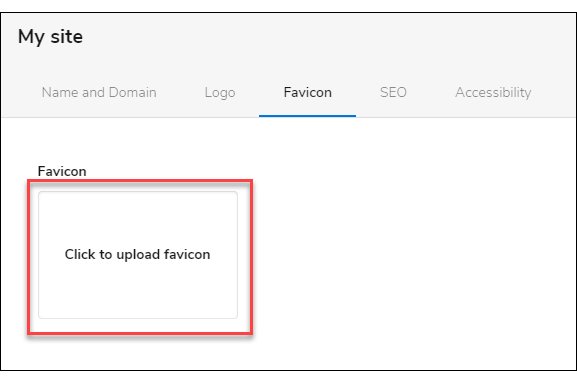
- Click this box to upload your Favicon.
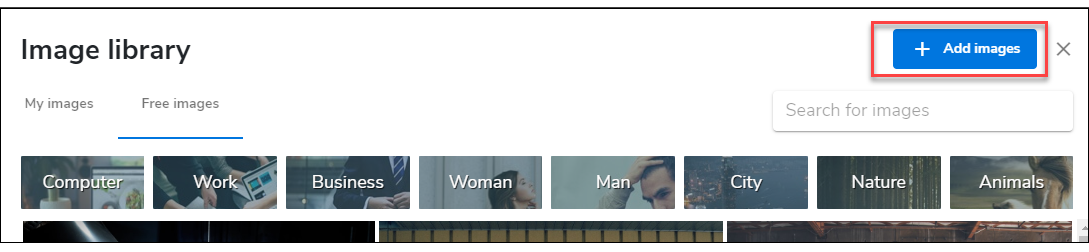
- Click the Add images button.
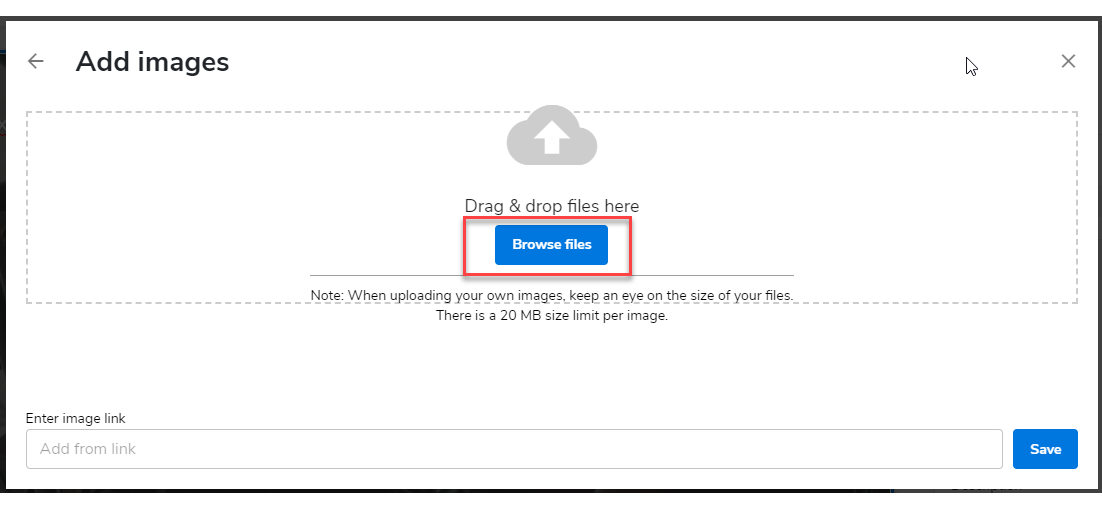
- Click the Browse files button and locate the image that you want to upload.
- Save this setting by clicking the Save button on the lower right.
- Now to save the changes you've made on your website, click the Save icon on the upper part of the editor screen. Once saved, click on the Publish button on the upper right. Remember that changes are only visible after you have saved and published your work.

Get practical tips and product updates on LinkedIn.
Follow Network Solutions
Did you find this article helpful?