Knowledge Base
Categories: Powered by Network Solutions
Powered by Network Solutions: WebsiteBuilder - Social media image
It is always a good option to choose a photo that truly represents your business any time you post something on social media; you can change this depending on certain events or specific things going on. Incorporating your business into social media in this way is a great feature. By following these instructions, it can easily be achieved.
Important: We offer two different versions of WebsiteBuilder. Our original implementation of the builder is the Legacy WebsiteBuilder editor, while WebsiteBuilder express editor is the newest interface commonly found in the dashboard. This feature is NOT available in the Legacy WebsiteBuilder editor.
The steps are for WebsiteBuilder express editor only.
The steps are for WebsiteBuilder express editor only.
How to update social media image?
- Log in to your account manager via https://www.networksolutions.com/my-account/login.
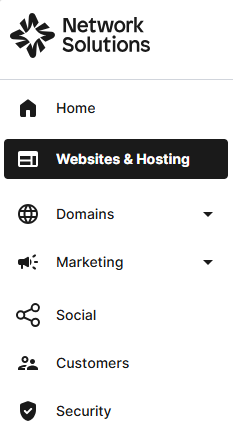
- From the left-hand menu, click the Websites & Hosting tab.
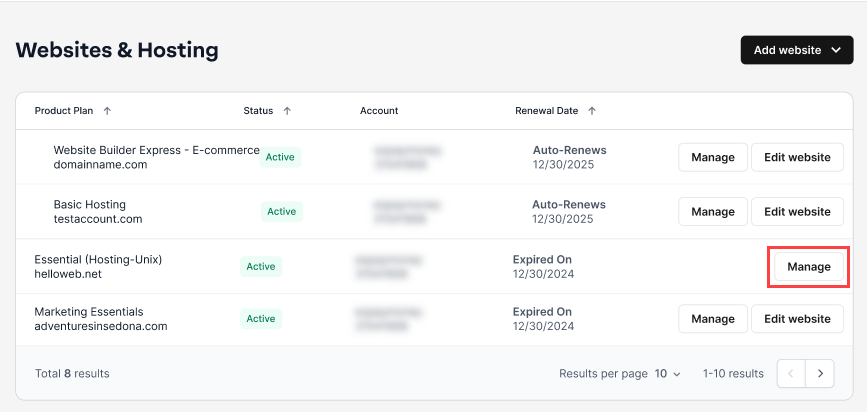
- If you have a single hosting package in the account, you will be redirected to the control panel. If you have multiple hosting packages in your account, click the Manage button on the respective hosting package that you need to access.
- Click the WEBSITES & POINTERS tab from the top menu, then select WebsiteBuilder from the left pane.
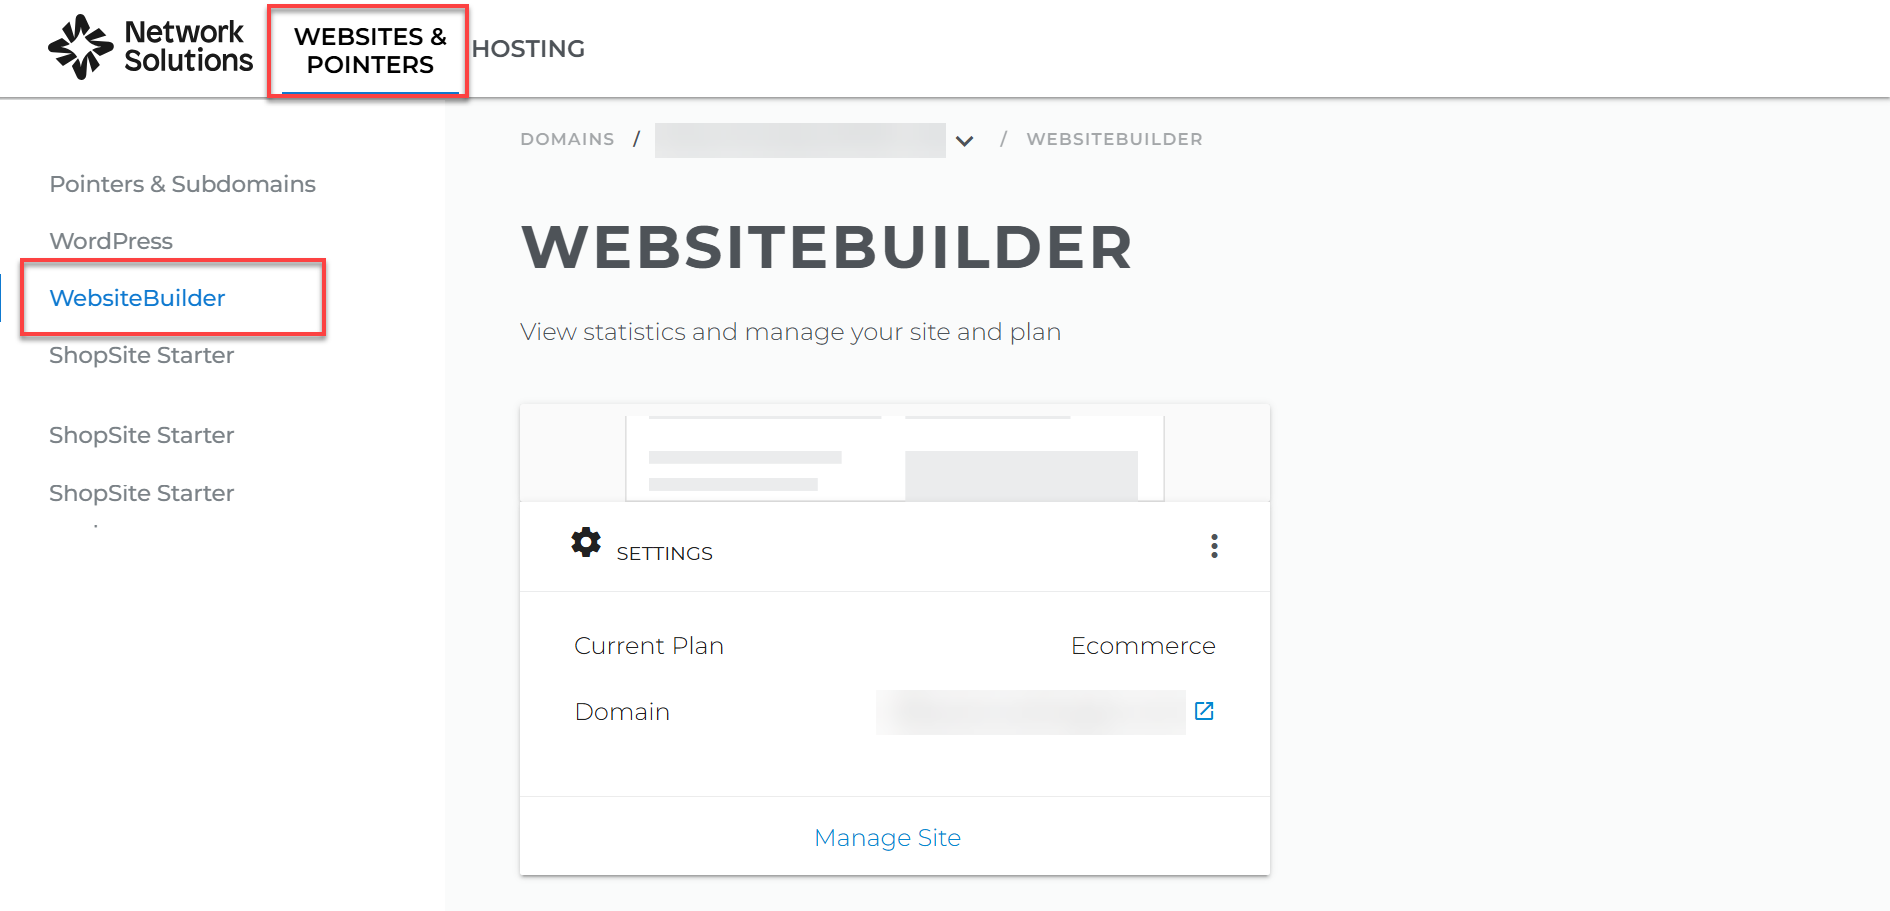
- To launch your WebsiteBuilder editor, click Manage Site.
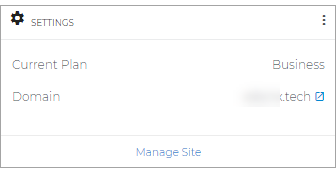
- On the top section of your editor, look for Settings.

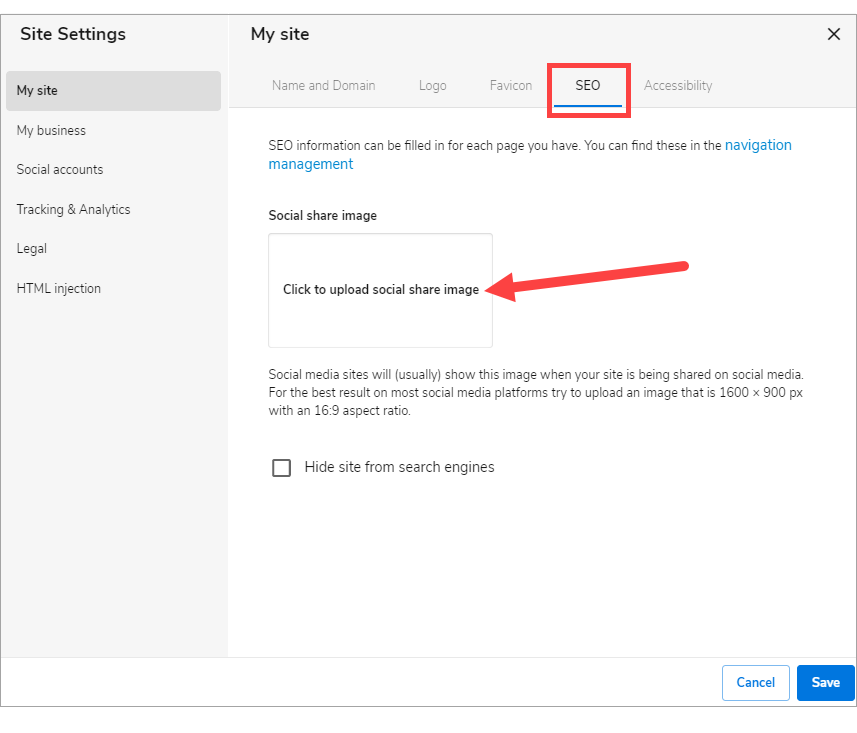
- Look for SEO and click the box that says Click to upload social share image.
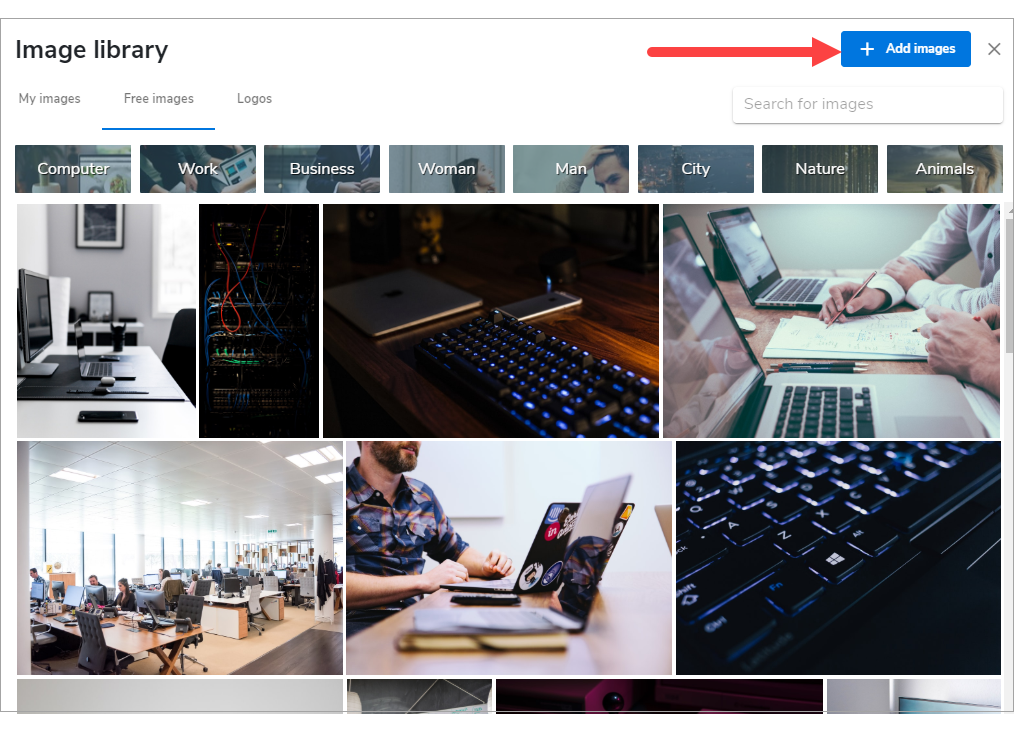
- The image library will pop up, then at the upper right, click Add images.
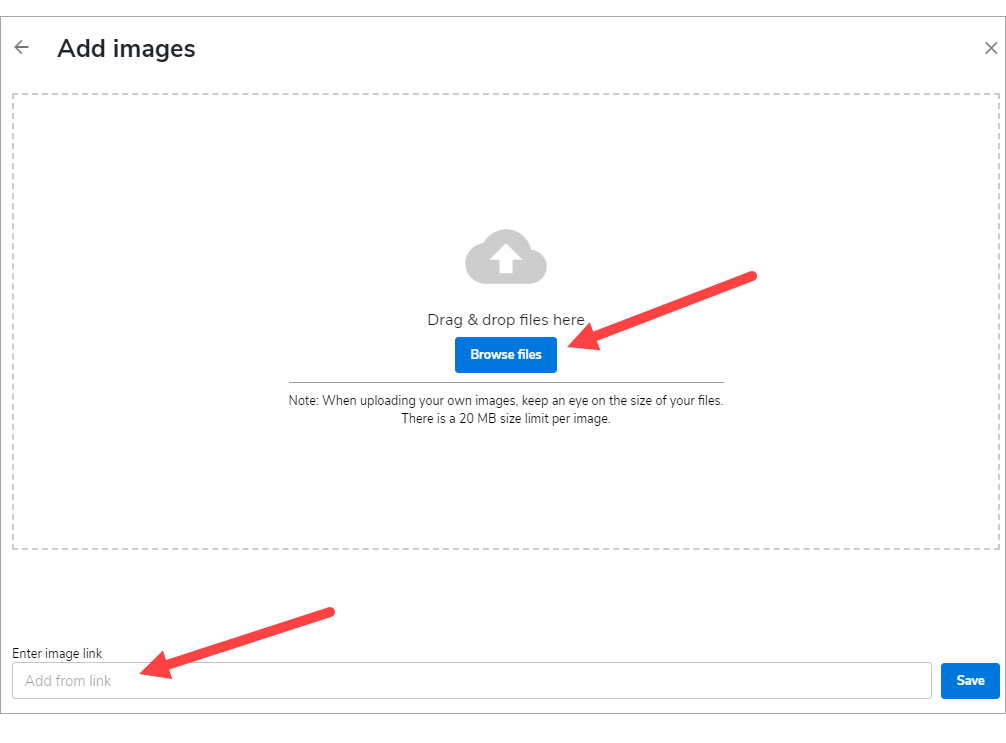
- Upload the file by drag and drop files, browse files or enter the image link.
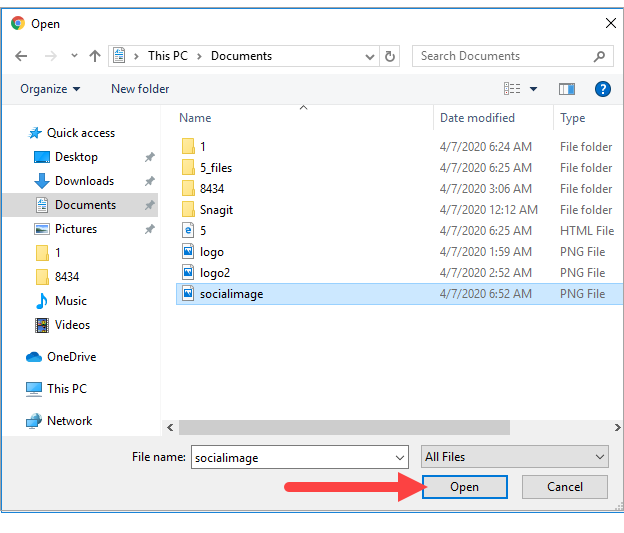
- Select your image from your computer files, then click Open.
- Hit Save once the image is already uploaded.
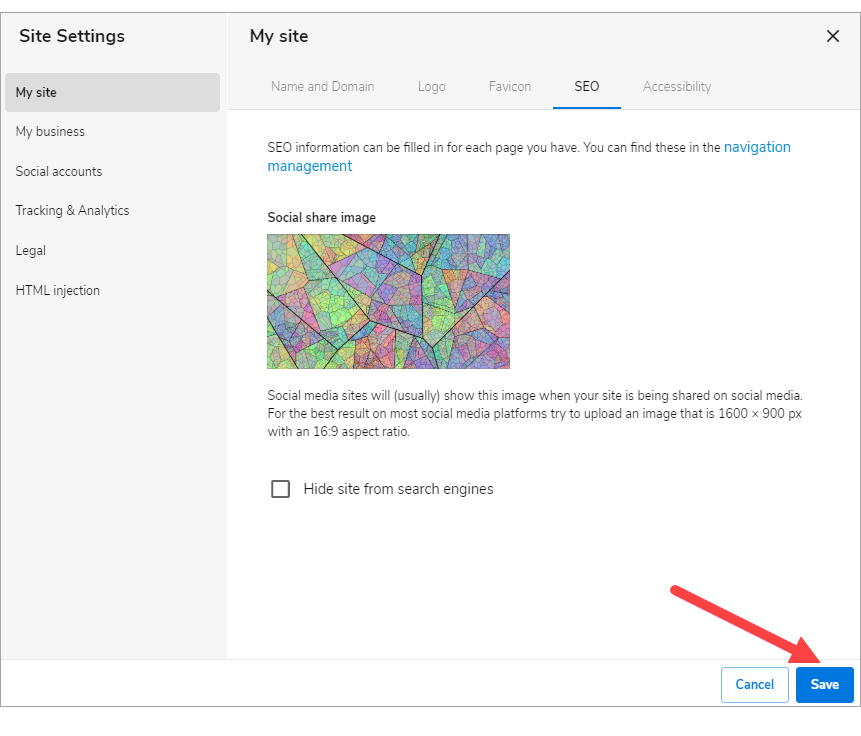
- Once editing is done, click on Save. If you want to make all changes to be updated on your live website, click Publish. Both these options are placed on top of your editor.
Note: If you only save changes, it would not appear on the website unless you click Publish.

Note: You may test this by posting your site on any social media to make sure it displays the correct image.
Get practical tips and product updates on LinkedIn.
Follow Network Solutions
Did you find this article helpful?