Email Marketing app – Campaigns
Your Email Marketing app's campaigns list serves as your central hub for email campaigns, providing a high-level overview of every campaign sent from it. You can monitor the statuses of your email campaigns, such as Scheduled, Sent, and Failed, which helps you get important insights on the lifecycle of the communications you've sent and build your game plan to grow your customer base.
Read on for an in-depth look at the campaigns tab features. You’ll learn how to navigate each section to track delivery, manage your history, and use real-time data to sharpen your email strategy.
In this article, we will discuss:
The Campaigns tab
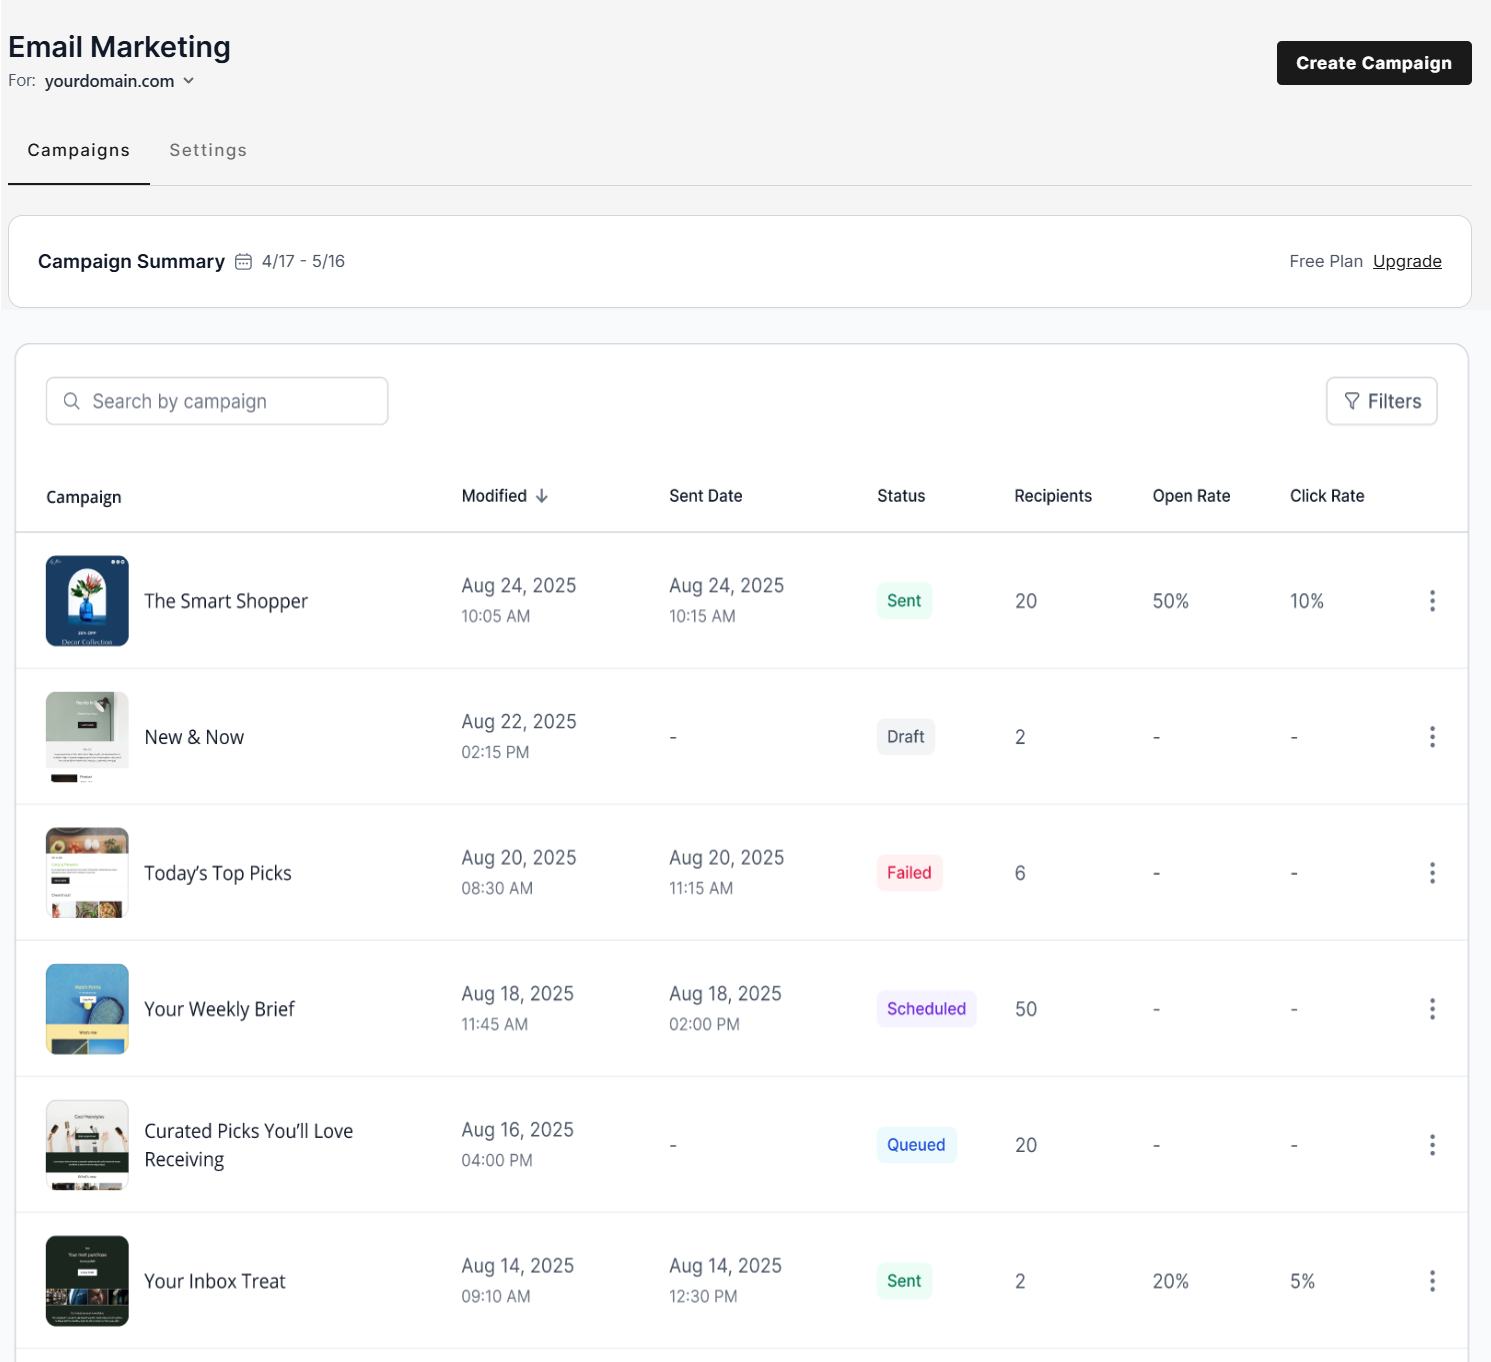
Your Campaigns tab has 3 sections:
Located at the top of the page, this feature lets you switch to a different domain's version of the app. It opens that domain's campaigns immediately, without making you go back to the domains list page. Just choose your desired domain with the drop-down. The option to create a new campaign is conveniently located on the right side of this section.

This section shows the date coverage of the current period. Each month, you are allocated 100 sends in the free Email Marketing app. The date in your summary indicates when the current month will end and your next period will begin, as well as a link to upgrade to a paid plan.

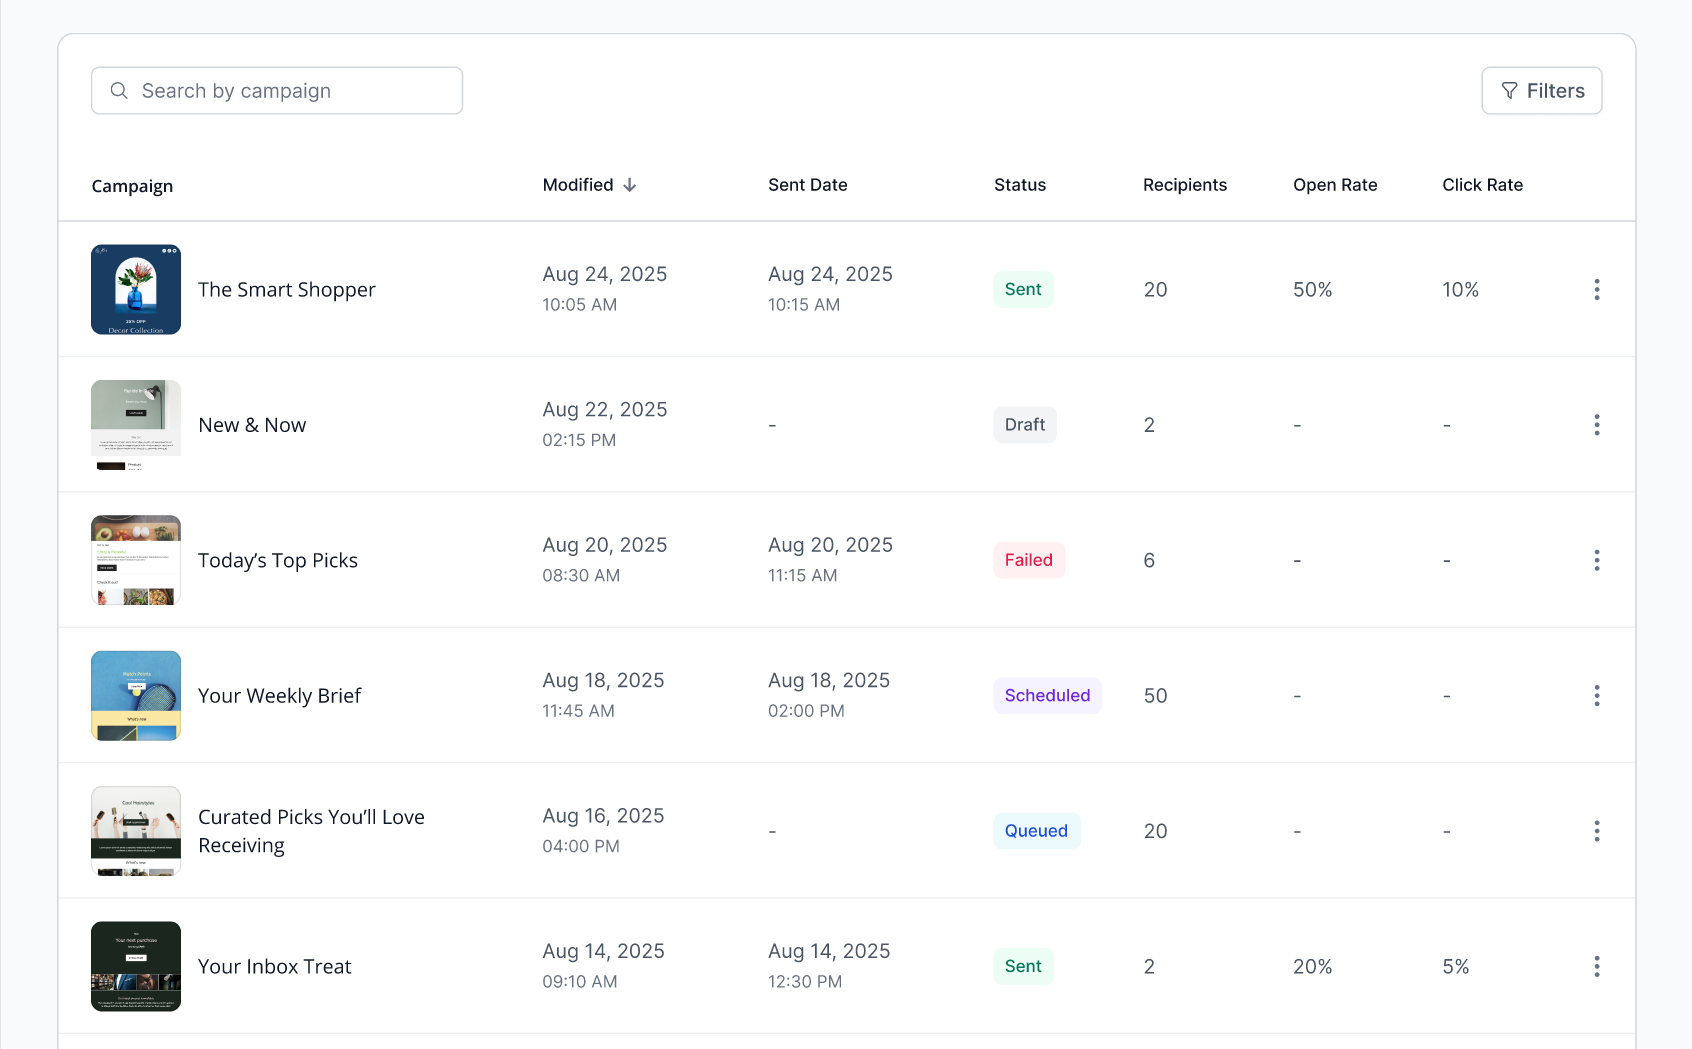
This section shows all the campaigns you have for the selected domain, including the last modified date, sent date, status, number of recipients, open rate, and click rate. You can also search your campaign by name through the search bar found at the top of the table.
Filtering and sorting options

- You can sort your campaigns list by clicking the column name in the table header. So you can sort the list by:
- Last modified date
- Sent date
- Campaign status
- Number of recipients
- Open rate
- Click rate
- You can filter your campaigns list by clicking the filter icon in the top-right corner of the table. The filtering options are:
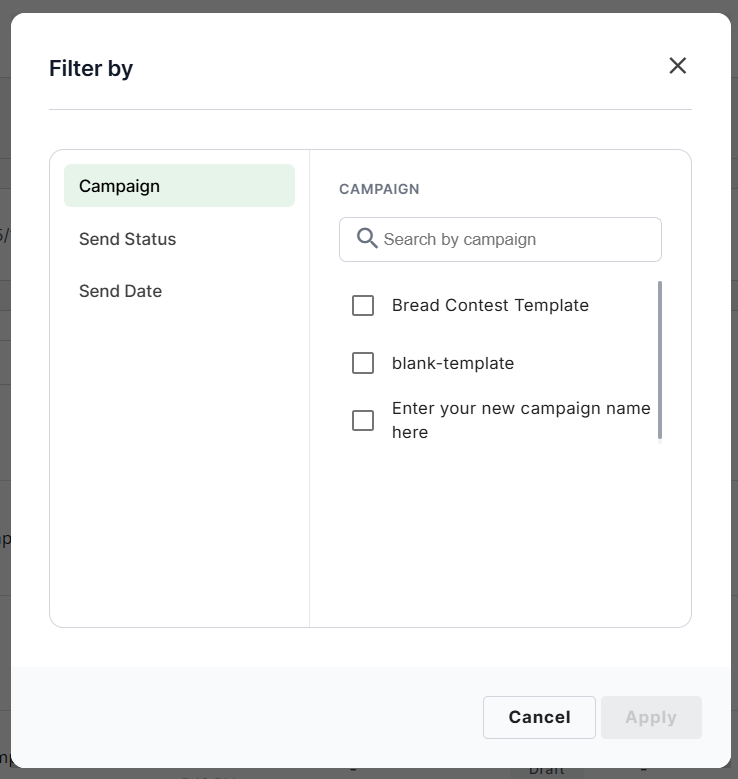
- Campaign Name
- Campaign Status
- Send Date
Note: You can choose a combination of filtering options for one or more of the categories to refine your filter.
Manage your campaigns
Each different campaign status has different actions that can be performed for that specific campaign.
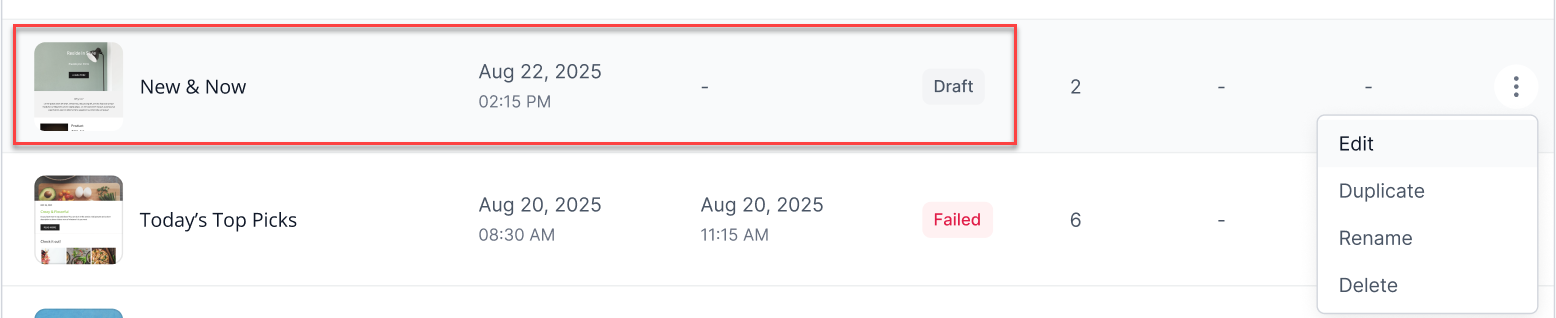




Available actions
Below are the step-by-step guides for each available campaign action.
To edit a campaign:
- In the campaigns list, click the vertical ellipsis beside the campaign you want to edit.
- Click the Edit option from the dropdown.
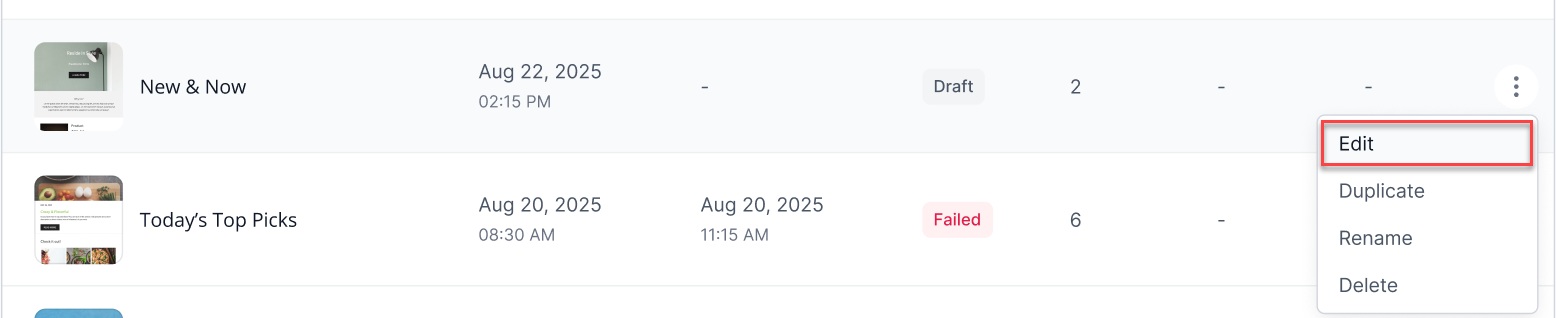
- The campaign will be loaded in the campaign editor, where you can make your changes.
To delete a campaign:
- In the campaigns list, click the vertical ellipsis beside the campaign you want to delete.
- Click the Delete option from the dropdown.
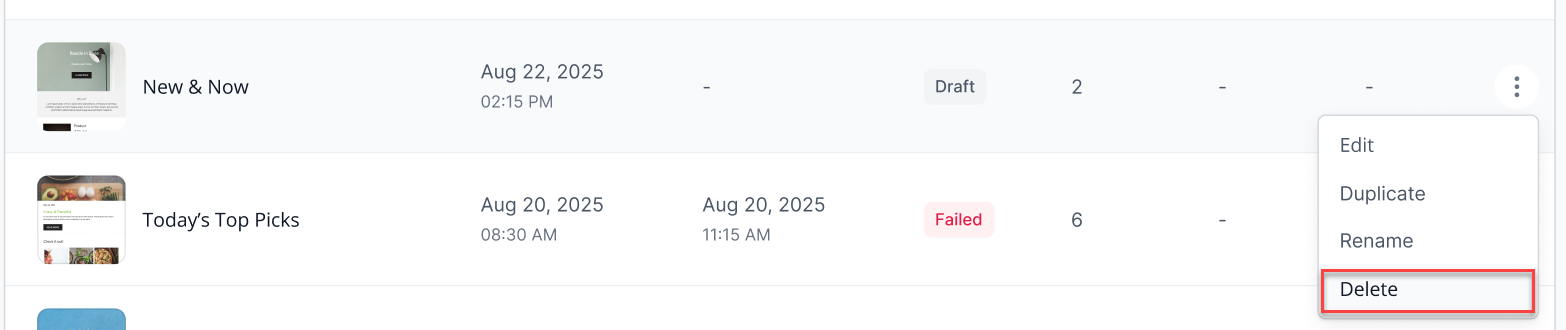
- Then click the Yes, Delete button on the pop-up window to confirm.
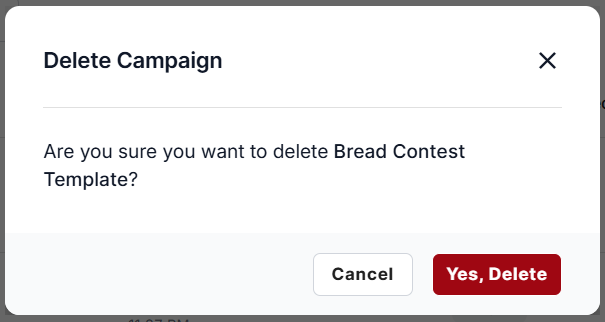
A success message will show in the top-right corner of the campaigns tab to confirm the deletion.
To duplicate a campaign:
- In the campaigns list, click the vertical ellipsis beside the campaign you want to duplicate.
- Click the Duplicate option from the dropdown.
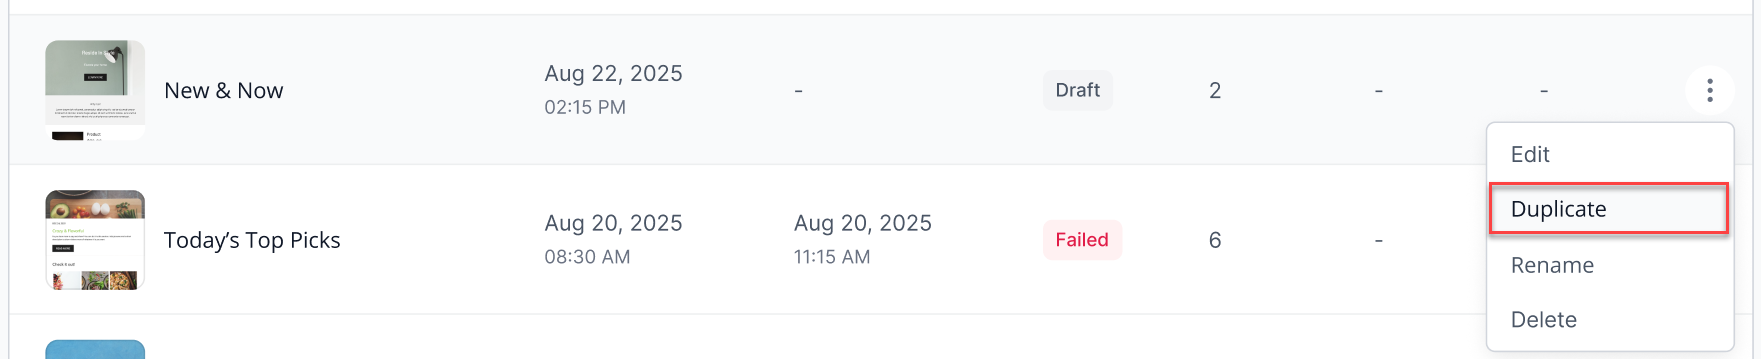
- Then click the Duplicate button on the pop-up window to confirm.
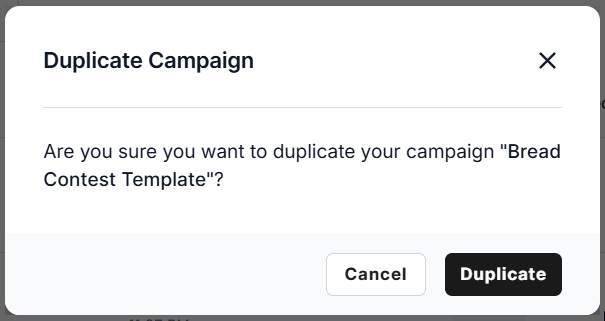
A success message will appear in the top-right corner to confirm the duplication, and the duplicated campaign should appear in the campaigns list.
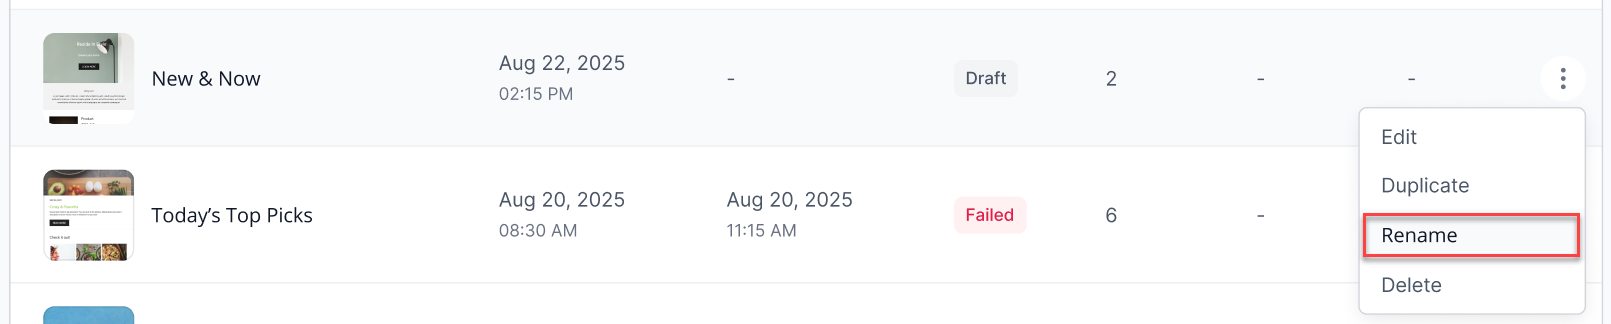
To rename a campaign:
- In the campaigns list, click the vertical ellipsis beside the campaign you want to rename.
- Click the Rename option from the dropdown.
- Enter the new campaign name you want to change it to.
- Click the Rename button to save.
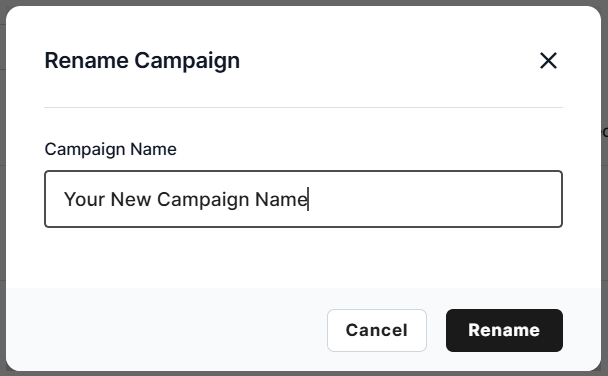
A success message will appear in the top-right corner to confirm the new name, and the campaign's new name should be updated in the campaigns list.
To reschedule a scheduled campaign:
- In the campaigns list, click the vertical ellipsis beside the campaign you want to reschedule.
- Click the Reschedule option from the dropdown.
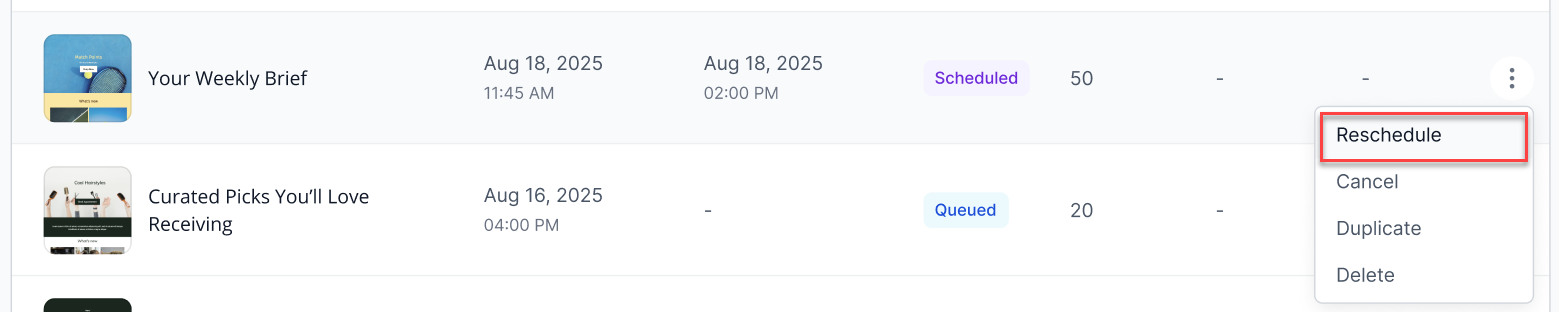
- Select the new date and time you want to change it to from the dropdown.
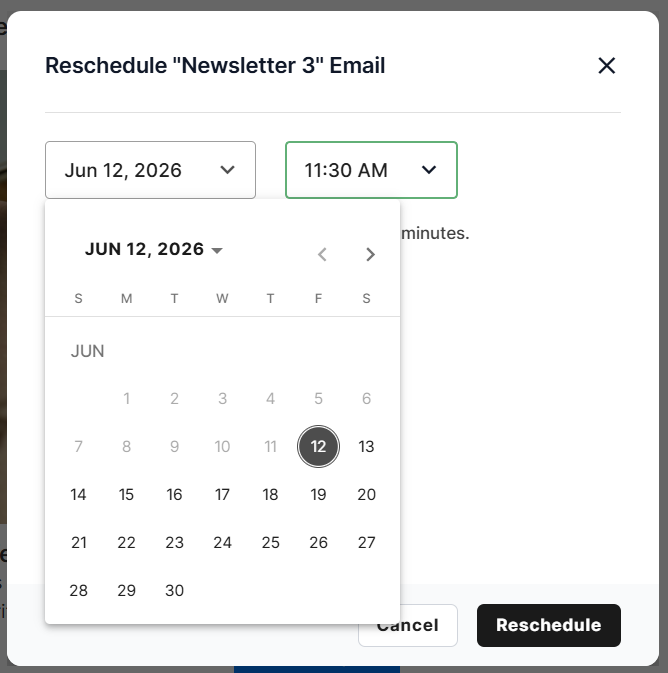
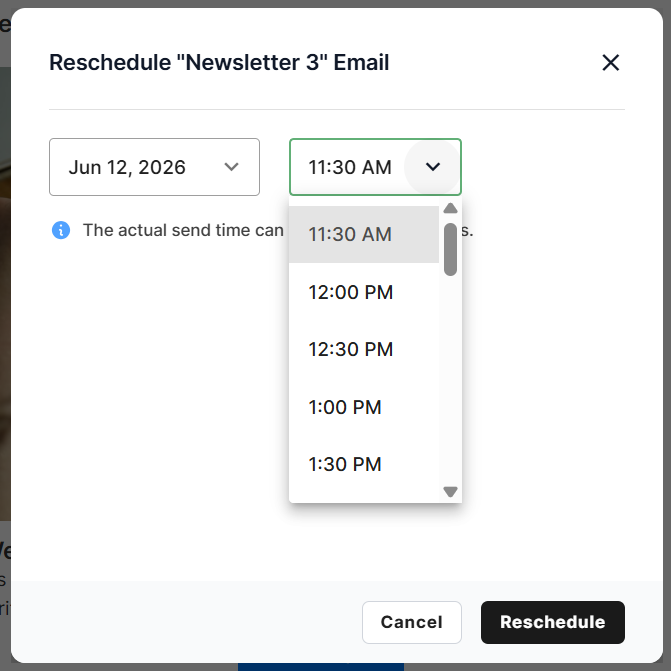
- Click the Reschedule button to confirm.
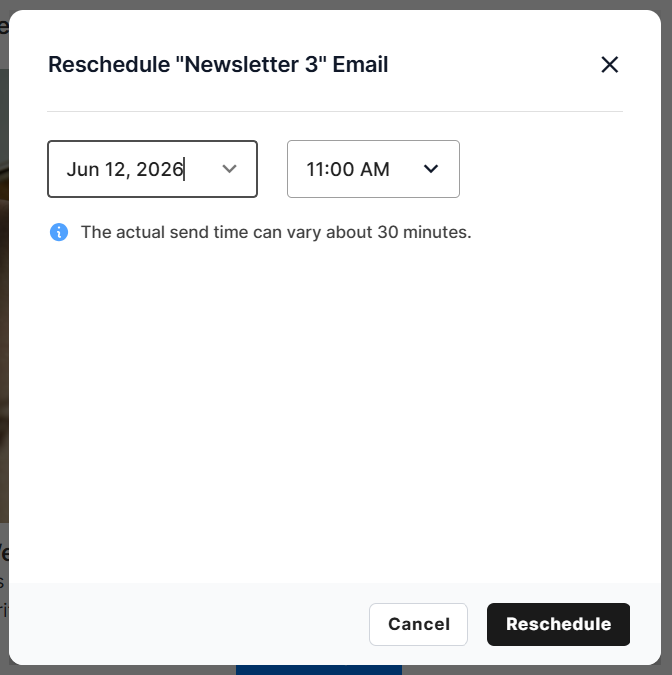
A success message will appear in the top-right corner to confirm the new schedule, and a few moments later, the campaign's sent date will be updated in the sent date column of the campaigns list.
To cancel a scheduled campaign:
- In the campaigns list, click the vertical ellipsis beside the campaign you want to cancel.
- Click the Cancel option from the dropdown.

- Then click the Cancel Campaign button on the pop-up window to confirm.
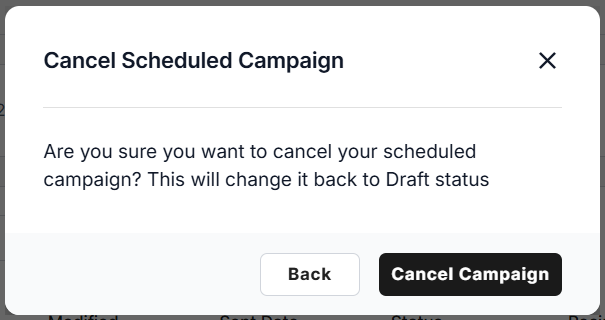
A success message will appear in the top-right corner to confirm the cancellation, and a few moments later, the campaign will return to draft status.
To check a failed campaign:
- In the campaigns list, click the vertical ellipsis beside the failed campaign.
- Click the Show report option from the dropdown.

- You will be shown a report as to why sending the campaign failed.
Review
Manage your email marketing campaigns with an immediate view of your open and click-through performance with the Email Marketing app's Campaigns tab. Getting comfortable with this dashboard is your first step toward high-impact email marketing and consistent audience growth.
Get practical tips and product updates on LinkedIn. Follow Network Solutions