How do I get started with web hosting?
Setting up your web hosting account is one of the first steps to getting your website online. This guide will walk you through assigning a domain to your hosting package, setting up your business email, and choosing the best way to build and publish your website. Whether you are using the built-in Website Builder or uploading your site through FTP, these steps will help you configure your hosting correctly so your website and email work as expected.
In this article, we will discuss:
Assigning a domain to your hosting package
Assigning a domain to your hosting package makes it easier for users to find your website. To assign a domain to your hosting package, follow the steps below:
- Log in to your account via https://www.networksolutions.com/my-account/login.
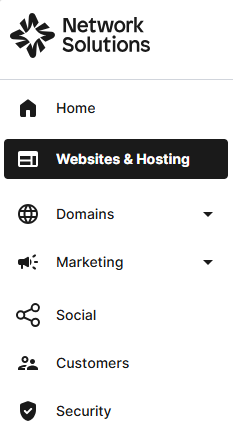
- Click Websites & Hosting from the left navigation menu.
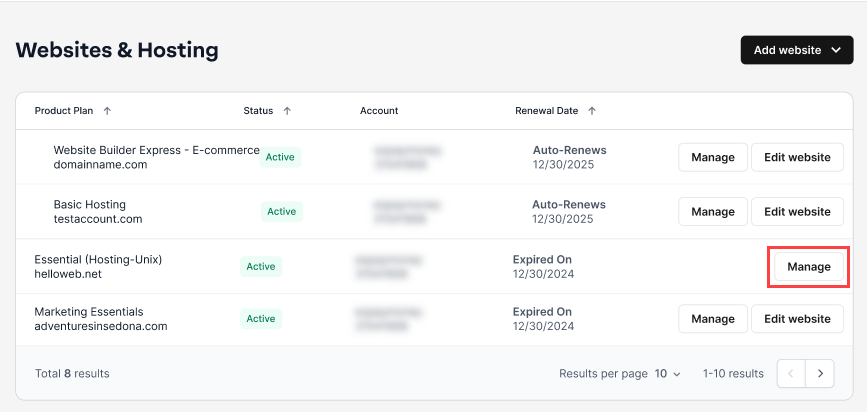
- Navigate to the hosting package that you want to assign or edit a domain for, then click Manage to continue.
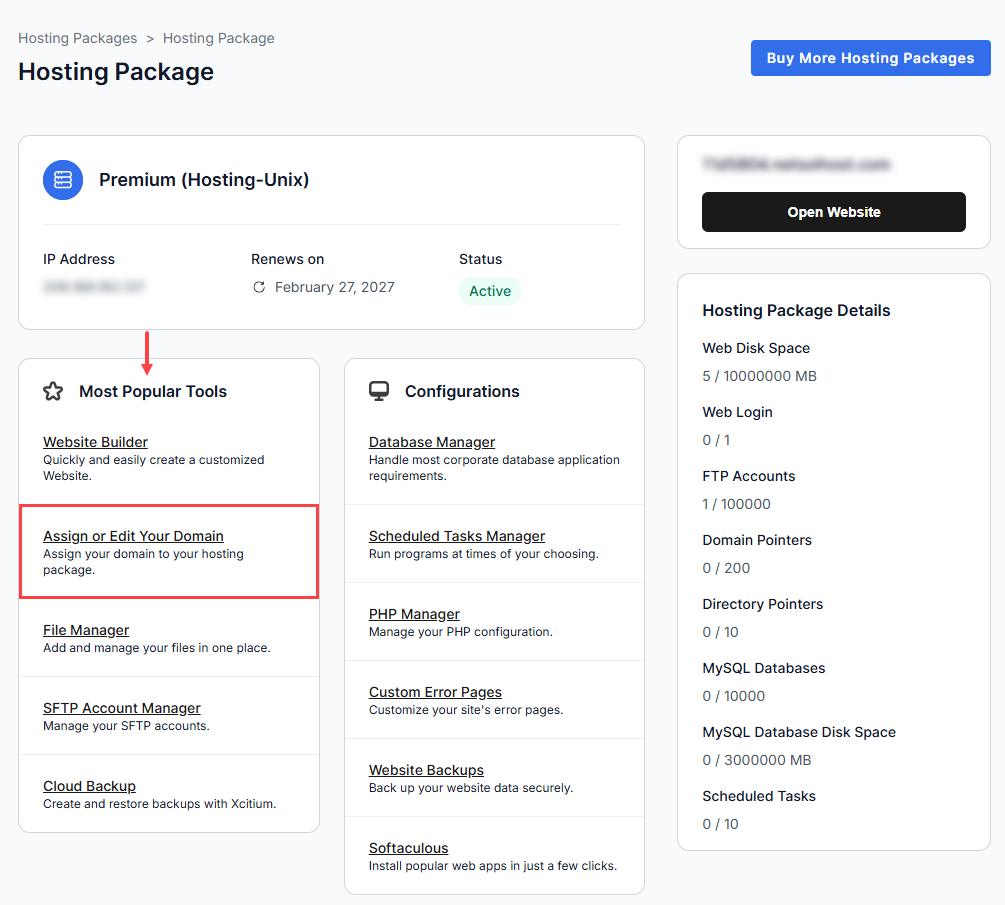
- Go to Most Popular Tools, then select Assign or Edit Your Domain.
- Next, click the Assign New button.

- Click the Select a Domain drop-down and choose the domain you will be assigning to the hosting package. Click Select.

- If your domain is not listed, click Add domain not listed, then click Select.

- Enter the domain name in the field provided, then click Select.
- If your domain is not listed, click Add domain not listed, then click Select.
- Follow the instructions displayed to configure the DNS to point correctly to your site. This will allow your website to work properly, especially if your domain name is registered with another provider. Click Continue.

This will be submitted to our fulfillment engine. However, nameserver changes may take 24-48 hours to update throughout the internet.
How to set up your email
Your hosting package comes with free email boxes. The number of email boxes and storage depends on the package you purchased. This service can make your business email address personalized and more professional. To set up your email, please refer to How to create and manage a mailbox. If you have issues connecting your email to your email device or software, please refer to How to troubleshoot email connection issues.
How to build and upload your website
When building or uploading your website, you have two options: use the website builder tool included in your hosting package or design your website using FTP (File Transfer Protocol).
For beginners, using the website builder tool is the easiest way to build a website. FTP allows you to manage your website entirely and involves copying files from your local computer to your website and vice versa.
Option 1: Use our built-in Website Builder tool
- Use the built-in Website Builder tool to build and publish your site. No web design experience is necessary! Just go to the hosting control panel and scroll down to the SFTP & Content Publishing section, then click Website Builder.
Option 2: Design your website and upload your site via FTP
- You can download an FTP client and set up an FTP account. To set up an FTP account, you will need to go to the hosting control panel and click the SFTP Account Manager option from the SFTP & Content Publishing section. You will need the FTP Server/Host Address and one of the FTP usernames and passwords to use the FTP software.
Review
Setting up your web hosting account correctly helps ensure your website, domain, and email work together without issues. By following the steps in this guide, you can assign a domain, configure your DNS, create professional email addresses, and choose the best way to build and publish your website. Taking the time to complete these important setup tasks will help you get the most out of your web hosting package and create a reliable online presence for your visitors.
Get practical tips and product updates on LinkedIn.
Follow Network Solutions