How to manage website files using File Manager
File management is key to all computer systems, from basic home Personal Computers (PCs) to elaborate servers. A well-structured system of files not only enables you to find resources quickly and easily, but it also lets you provide web access to files you wish to make accessible online. Whether you're a beginner or looking to refine your file management skills, this resource will provide the information needed to manage website files efficiently. This article will show you how to manage your website files effectively using the File Manager tool.
In this article, we will discuss:
What is a File Manager?
A File Manager is a web-based program that allows you to manage your website without the need for FTP. It also provides numerous management options not found in FTP programs, like on-server processing and integration with the hosting control panel.
Files are organized using directories, which are like folders. Directories contain files and other directories. When using File Manager, you have one root directory that contains all other directories and files.
How to access File Manager
Below are the steps to access the File Manager integrated in your hosting control panel.
- Log in to your account manager via https://www.networksolutions.com/my-account/login.
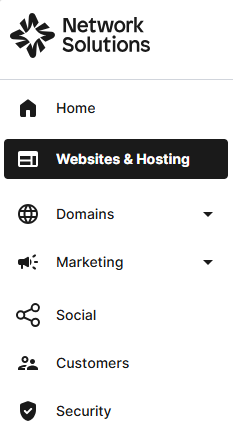
- Click Websites & Hosting.
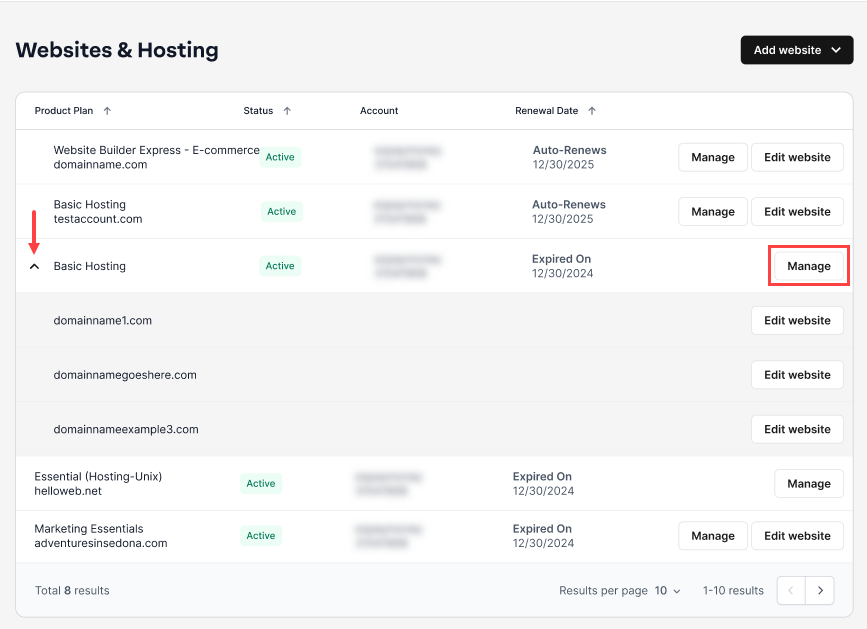
- Depending on the number of website and hosting packages in your account, the interface may look slightly different. Full descriptions of each feature are discussed below.
- If you only have one hosting package in your account, you will be redirected to the hosting control panel right away.

- If you have multiple hosting packages in your account, click the Manage button on the respective hosting package that you need to access.
- If you only have one hosting package in your account, you will be redirected to the hosting control panel right away.
- In the hosting control panel, scroll down to the Most Popular Tools or FTP & Content Publishing section and click the File Manager option.

You have accessed the File Manager.
File Manager tutorial
Uploading files
Below are the steps to upload files from your local computer to the File Manager.
- Click the Upload button.

- You will have the following options:
- Upload files – If you are directly selecting an image from your computer or device.
- Upload from URL – If you are uploading a file from an online source, enter the URL of the image you wish to add.
- After entering the file URL or selecting the file from your computer or device, click the Upload button.
The file has been uploaded to the File Manager.
Creating files and folders
Below are the steps to create files and folders in File Manager.
- Click the New Item button.

- Select the Item Type you are creating, then enter the Item Name in the field provided.

- Click the Create Now button.
A new file or folder has been created in File Manager.
Renaming files and folders
Below are the steps to rename files and folders in File Manager.
- Select the file or folder you want to rename.
- Under the actions column, click the rename icon.

- In the pop-up window, update the name of the folder or file, then click Okay.

The file or folder name has been updated.
Deleting files and folders
Below are the steps to delete files and folders in File Manager.
- Select the file or folder you want to delete.
- Under the actions column, click the delete icon.
Alternatively, you can click the Delete button below the list of files and folders.

- In the pop-up window, click the Okay button to confirm that you want to delete the file or folder.

The file or folder has been deleted in File Manager.
Review
Managing website files effectively is very important for anyone who wants to look professional online. A web-based File Manager makes this easier by keeping website files organized. This article covers the key functions you need to know, such as how to upload, create, rename, and delete files and folders. File Manager makes managing website files simple and easy.
Get practical tips and product updates on LinkedIn.
Follow Network Solutions