Knowledge Base
Powered By Network Solutions: Customizing server error pages using the .htaccess editor
Custom error pages
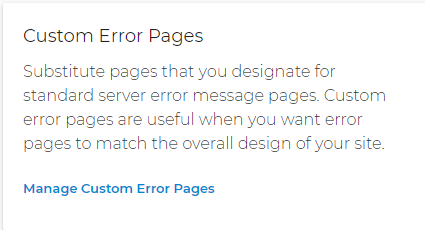
You can substitute pages that you designate for the standard server error pages that display when the Web server returns unsuccessful response/status codes. Custom error pages are set in an .htaccess File. They are useful when you want error pages to match the overall design of your site.
Set custom error pages
- Log in to your account via https://www.networksolutions.com/my-account/login.
- Click the Hosting tab on the left navigation menu.

- Click the .htaccess Editor section.

- On the .htaccess Editor page, select the domain name from the dropdown to which you want to apply the default page.

Note: If you have multiple domains, they will appear in the dropdown list. Select the domain name you want to modify. - Scroll down to the Custom Error Pages section. Click on Manage Custom Error Pages, then select the status code for which you want to add a custom error page.

- Enter the local path to the file to use as the error page.
- Click Save Customer Error Page to add the error page.
- Click the delete (X) icon in the listed status codes to delete an error page entry.
Important: All subdirectories of the selected directory will inherit the settings for the directory unless you apply different settings to specific subdirectories.
Did you find this article helpful?