Knowledge Base
Powered By Network Solutions: How To Automatically Install WordPress to a Subdomain
As your web presence increases, you may require the addition of subdomains for your website. Subdomains help you organize your content and provide additional advantages with navigation. Subdomains are like children to your parent or top-level domain. You can put a page of your site into the Subdomain, like shop.domainname.com. In some cases, customers create a separate website and put it in the Subdomain.
Setting Up Sub-domain
- Log in to your Account Manager via https://www.networksolutions.com/my-account/login.
- From the left-hand menu, click the Hosting tab.

- If you have a single hosting package in the account, you will be redirected to the Foundation control panel. If you have multiple Hosting packages in your account, look for the hosting plan where you want to install your WordPress and click its Manage button.

- On Pointers & Subdomains in the left-hand menu, click on + Add Subdomain.
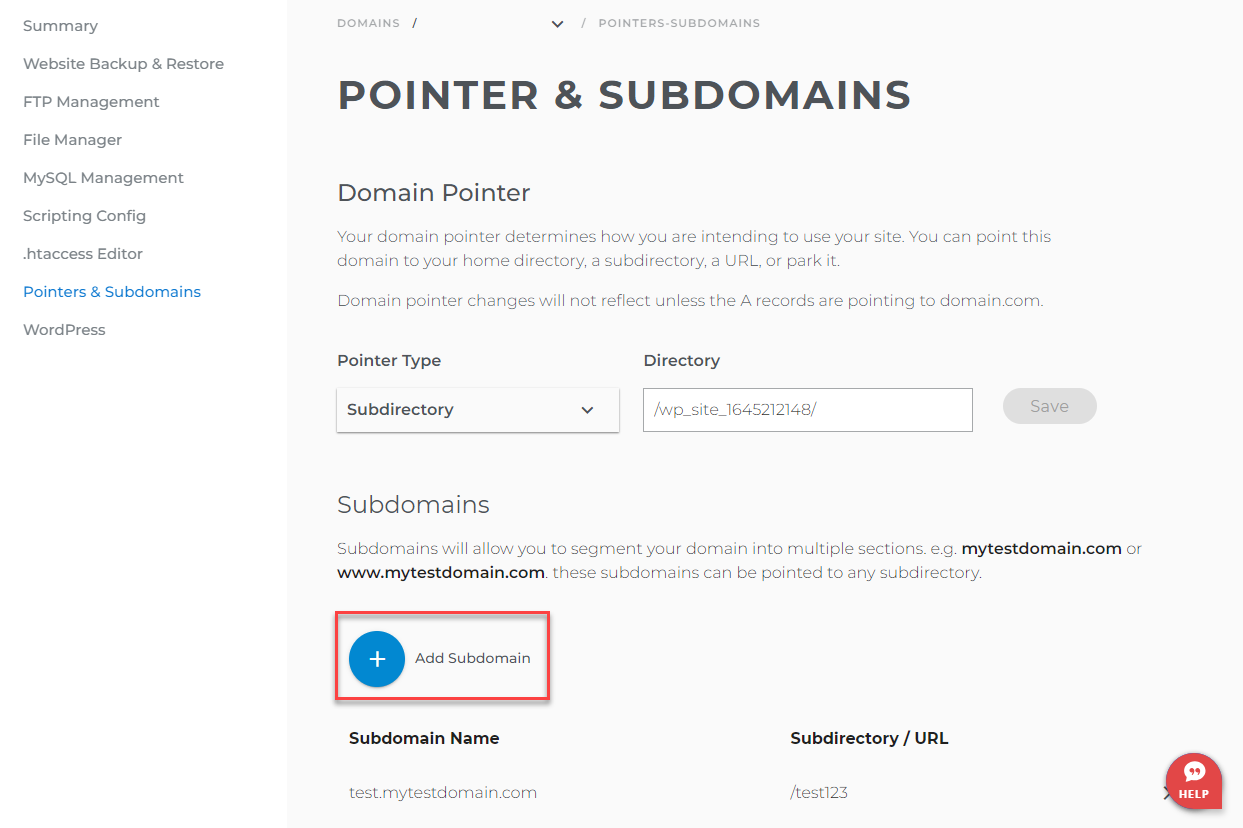
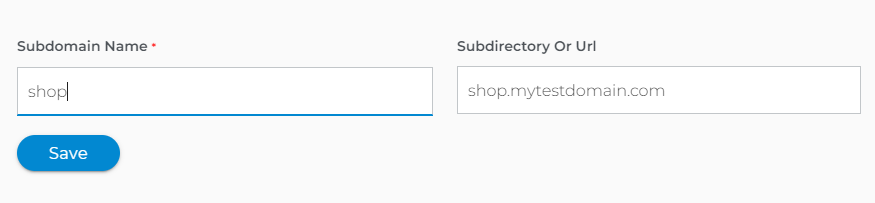
- Type in the subdomain you want to add. Hit SAVE.
Installing WordPress
- Log in to your Account Manager via https://www.networksolutions.com/my-account/login.
- From the left-hand menu, click the Hosting tab.
- If you have a single hosting package in the account, you will be redirected to the Foundation control panel. If you have multiple Hosting packages in your account, look for the hosting plan where you want to install your WordPress and click its Manage button.
- Select Pointers & Subdomains, and click on the gear icon on the right under your new subdomain.
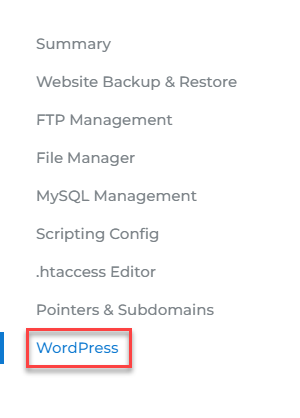
- Click on WordPress on the left after selecting the subdomain you created.
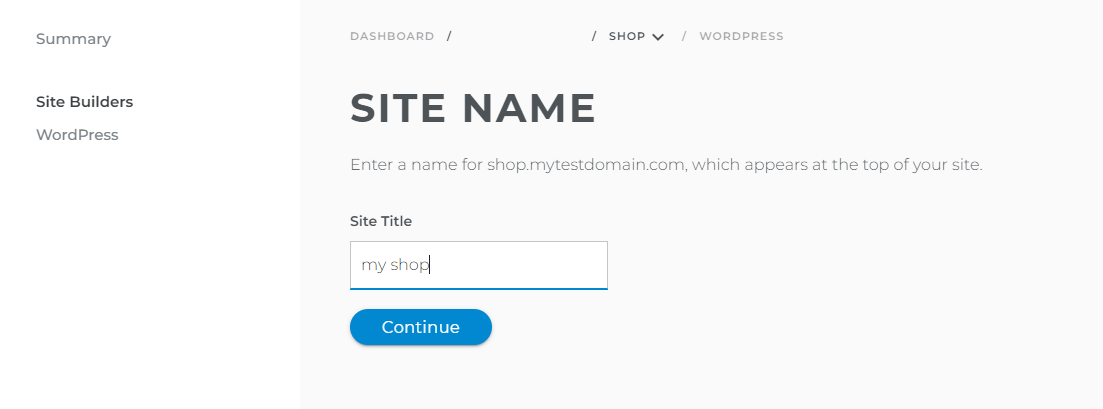
- Type in your site name. Hit Continue.
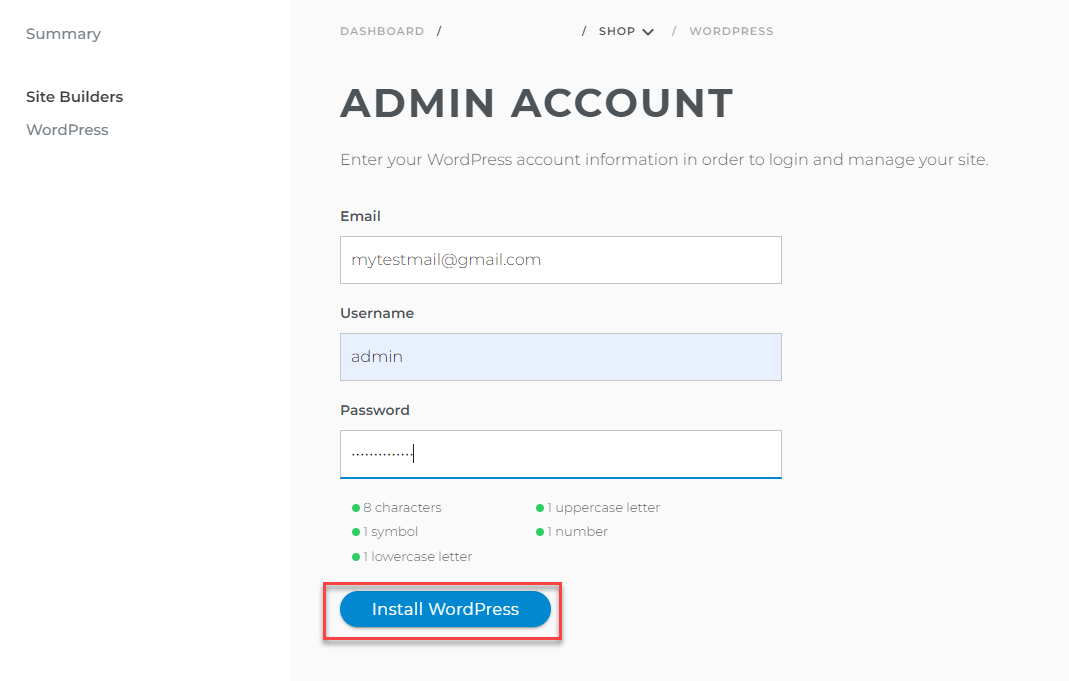
- Add in email, username, and password, and click Install WordPress.
- WordPress will prompt the installation. Click MANAGE SITE to start building.

Did you find this article helpful?