Powered by Network Solutions: WebsiteBuilder - How to add and manage Blog posts
Blogging is a writer's way of journaling their personal experiences, opinions, or observations that are meant to be shared online. Posts are the articles or pages of a blog that are created individually within the blog. If you're not familiar with how to add a blog, you can learn how to do so here: How to add a Blog.
This article discusses the basics of managing, creating, and organizing blog posts. If you need help getting started with your first blog, please see the sample posts on your blog page.
In this article, we have provided two sets of instructions for each editor. Follow the instruction set that matches your WebsiteBuilder version.
How to check if I have Legacy WebsiteBuilder editor or Express editor?
| Legacy WebsiteBuilder | Website BuilderExpress editor |
|---|---|
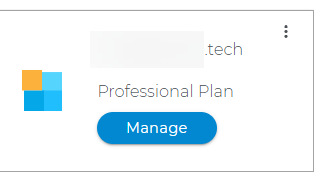 |
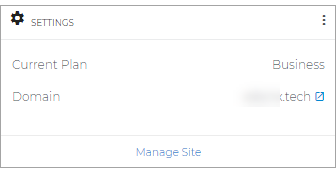 |
How to launch WebsiteBuilder?
- Log in to your account manager via https://www.networksolutions.com/my-account/login.
- Click Websites & Hosting from the left navigation menu.
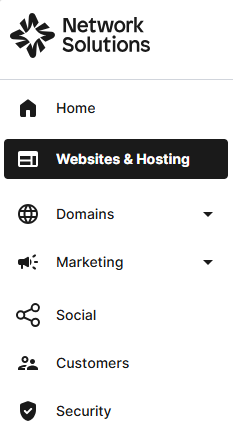
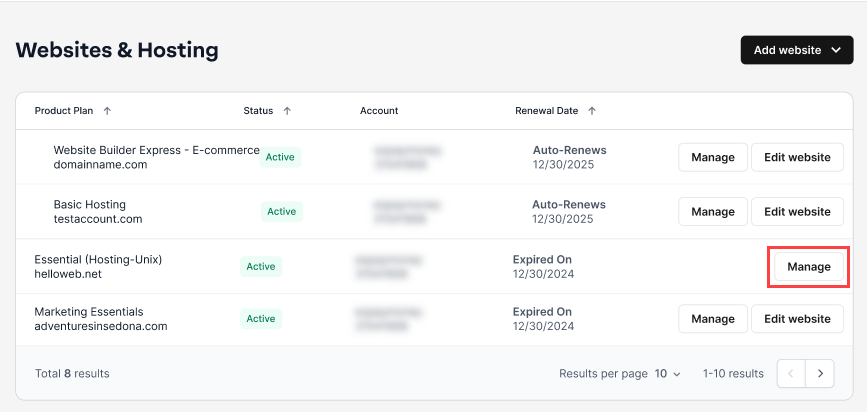
- Navigate to the hosting package that you want to update, then click Manage to continue.
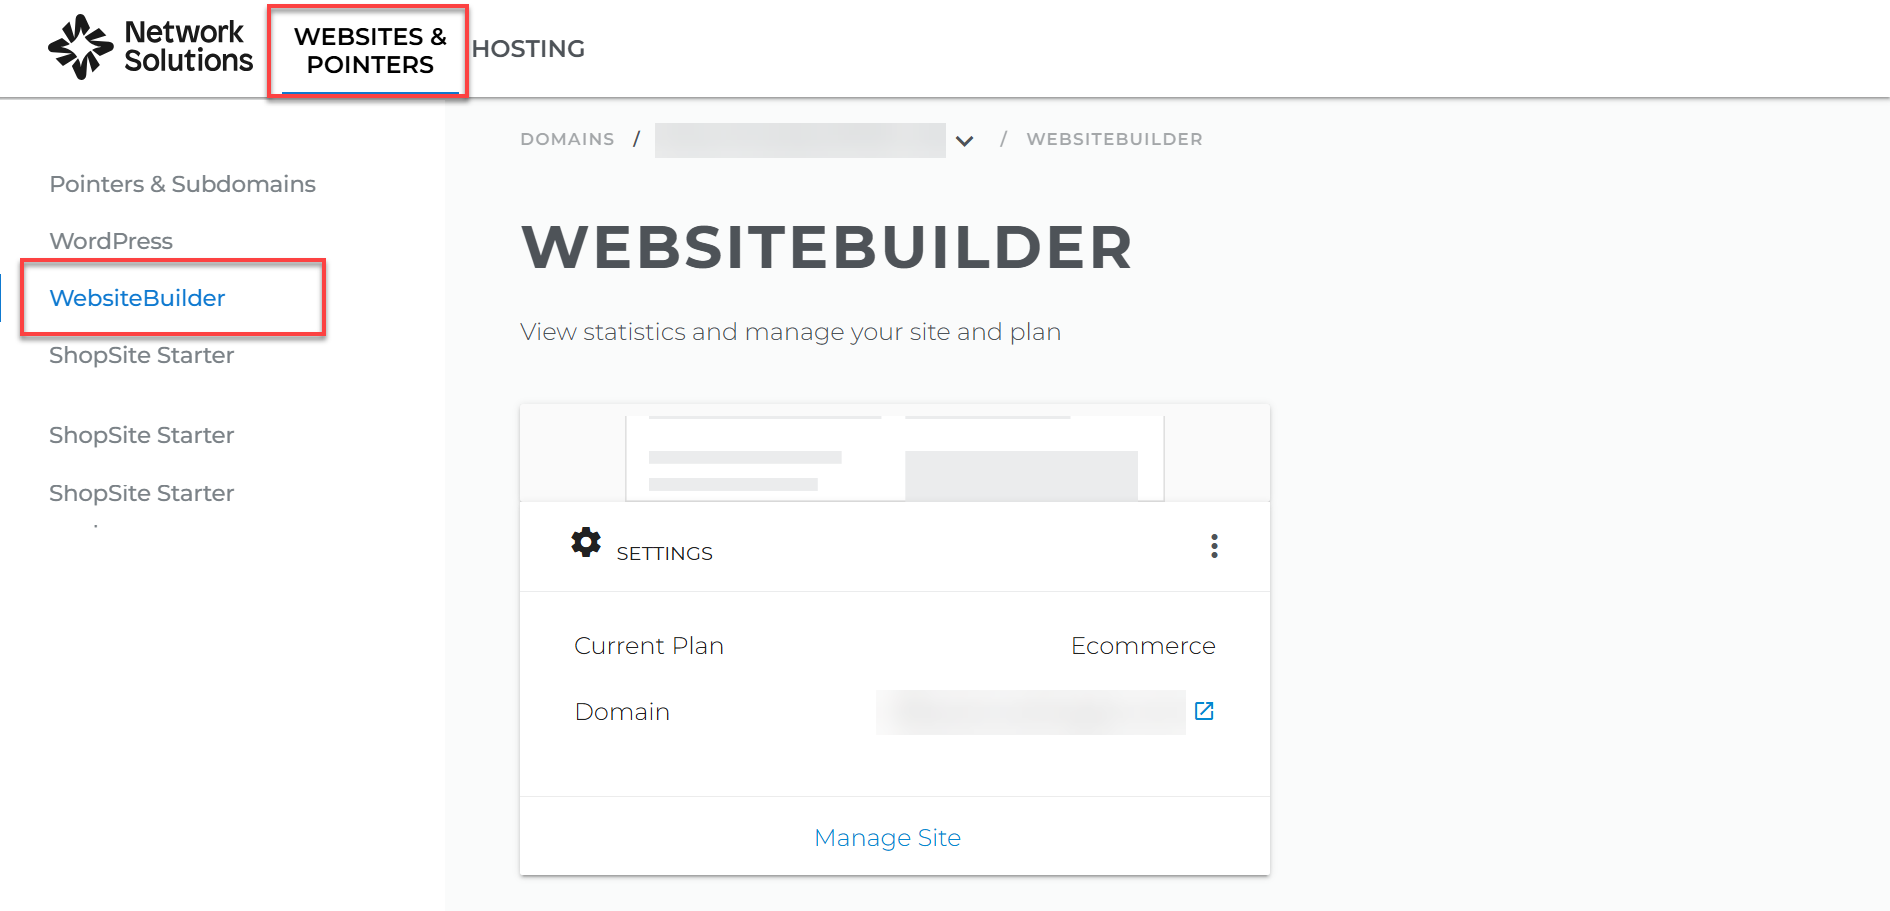
- Click WEBSITES & POINTERS. In the left pane, click WebsiteBuilder.
Legacy WebsiteBuilder editor: Managing your Blog
After you have created a blog, you can manage it by following these instructions:
- Click the gear icon on a blog section, then click the MANAGE BLOG button.
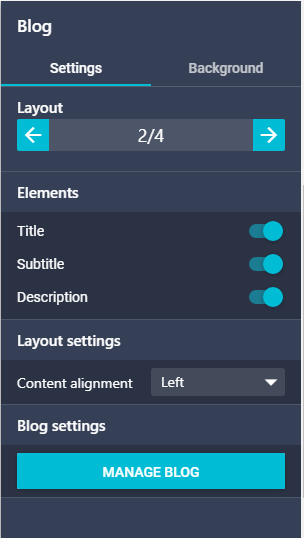
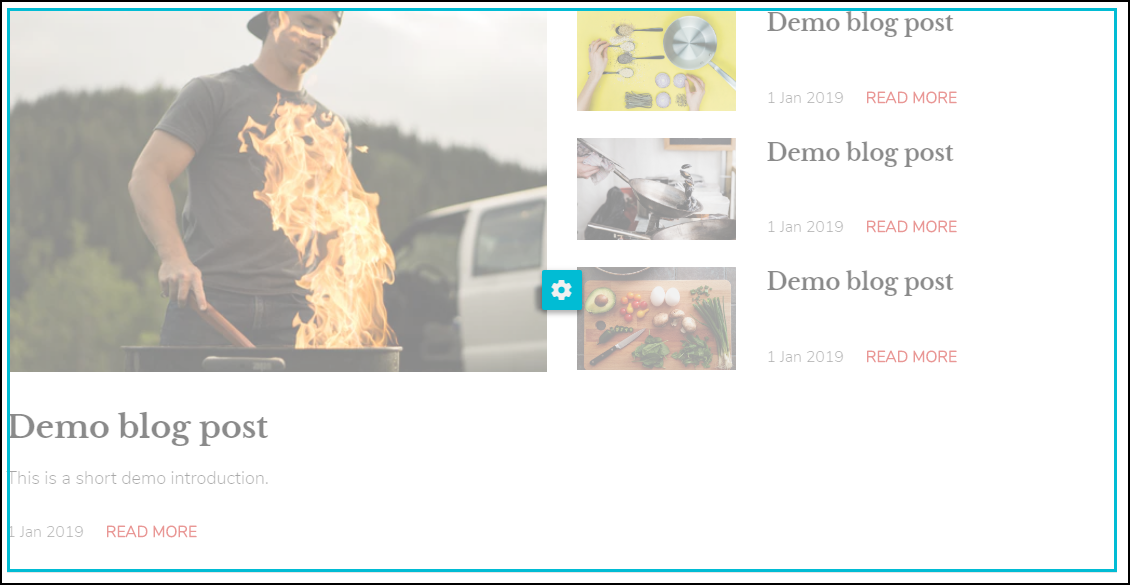
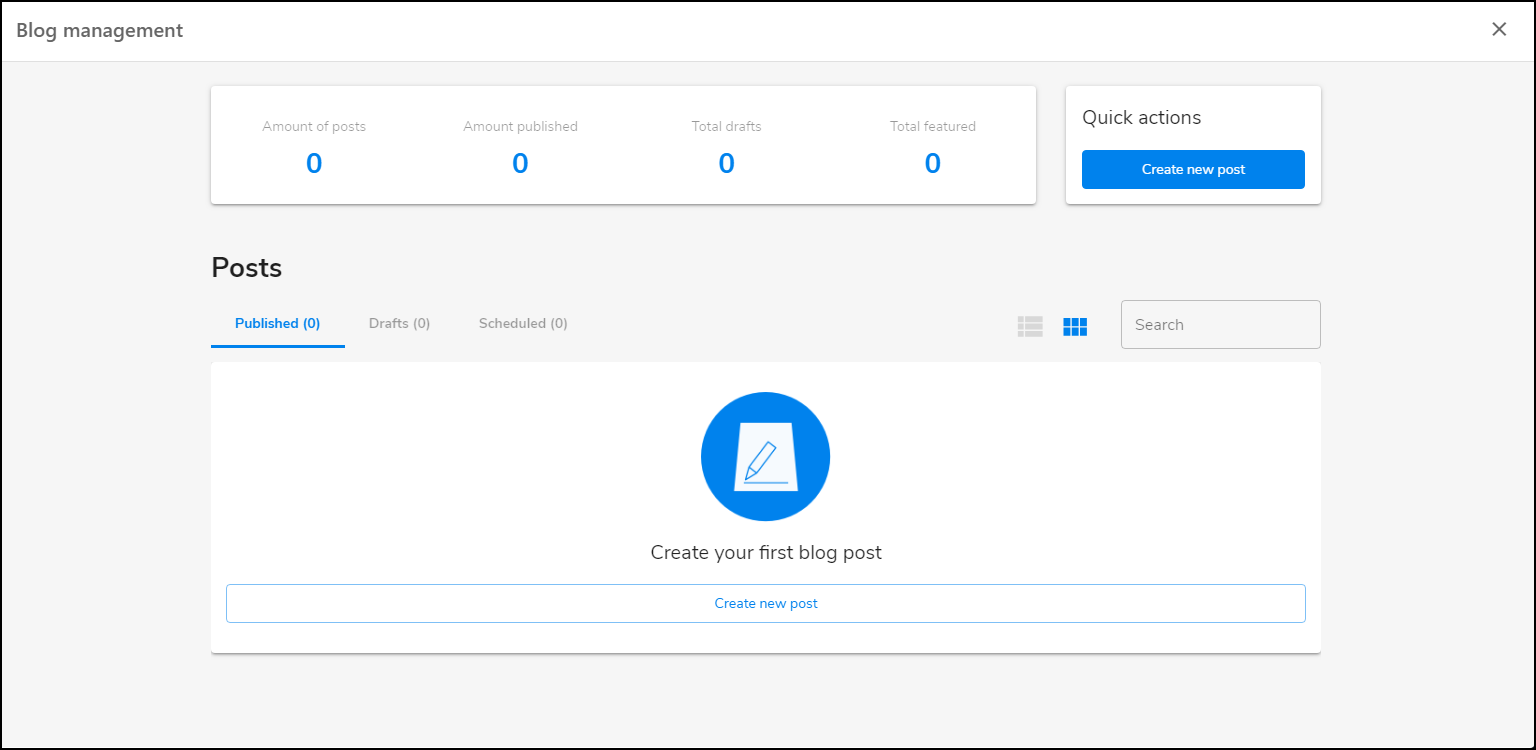
- Blog management will open. Here, you can search, create, edit, and delete posts for your blog.
Legacy Website Builder editor: Create a new post
To create a new blog post, follow these steps:
- Select Create New Post from the Blog menu. Alternatively, you can click on Create New Post from the manage posts section.
- A Blog management window will appear:
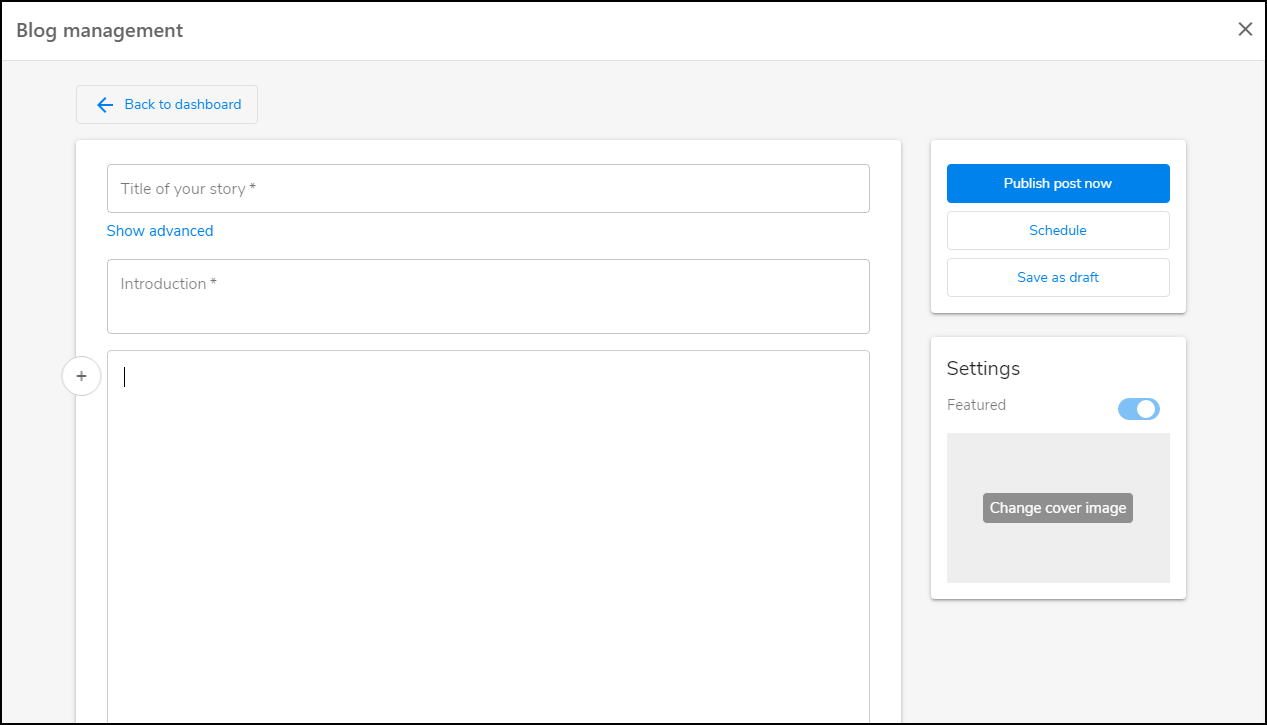
- Here, you can add your titles, introduction (article summary), and format the post text.
- Clicking the plus button will allow you to add text, images, or videos to your post.
- To format texts, simply highlight the text to be edited and a popup will appear with options to either:
- Bold
- Italicize
- Underline
- Link
- Change to a Heading 2
- Change to a Heading 3
- Blockquote text
Legacy WebsiteBuilder editor: Organizing Blog posts
WebsiteBuilder will organize your blogs by date. It displays the most recent post at the very top.
- You can configure it to display your featured posts upfront.
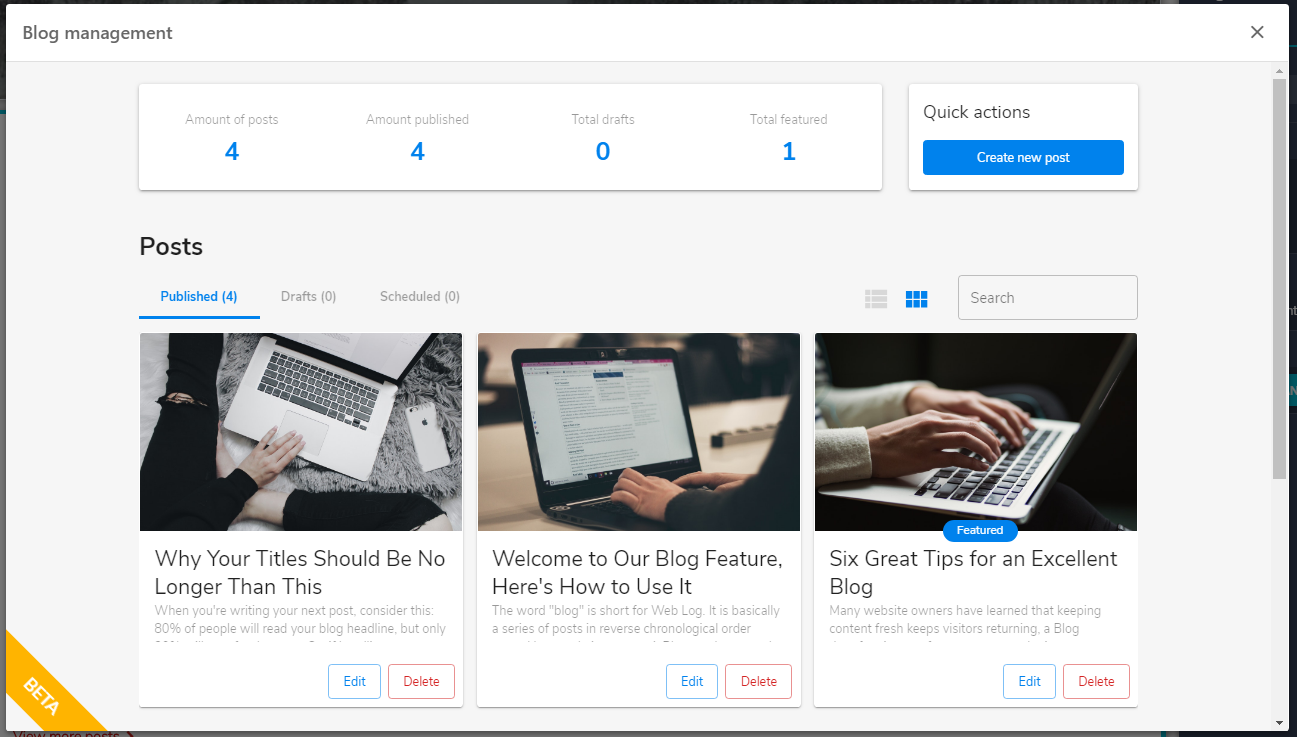
- If a post has more than one page, the spillover will appear on the first page.
WebsiteBuilder Express editor: Managing your blog
After you have created a blog, you can manage it by following these instructions:
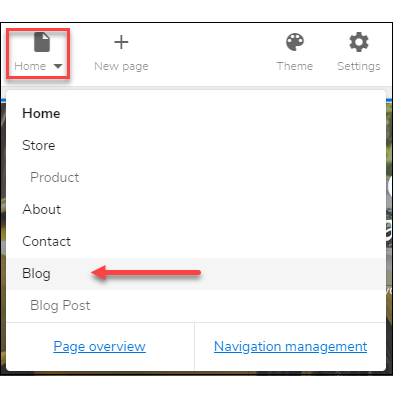
- Click on the page selector dropdown menu and select Blog.
- Click on the blog section of the page. Then click Manage blog.
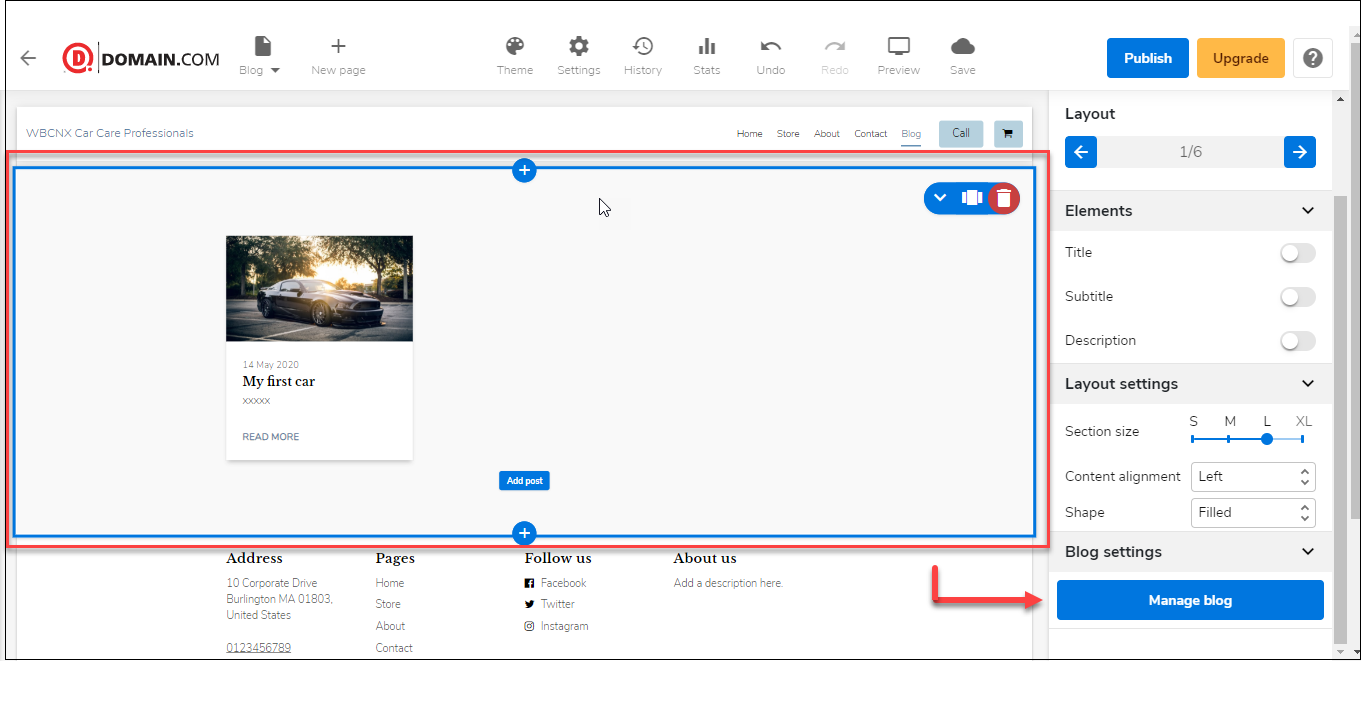
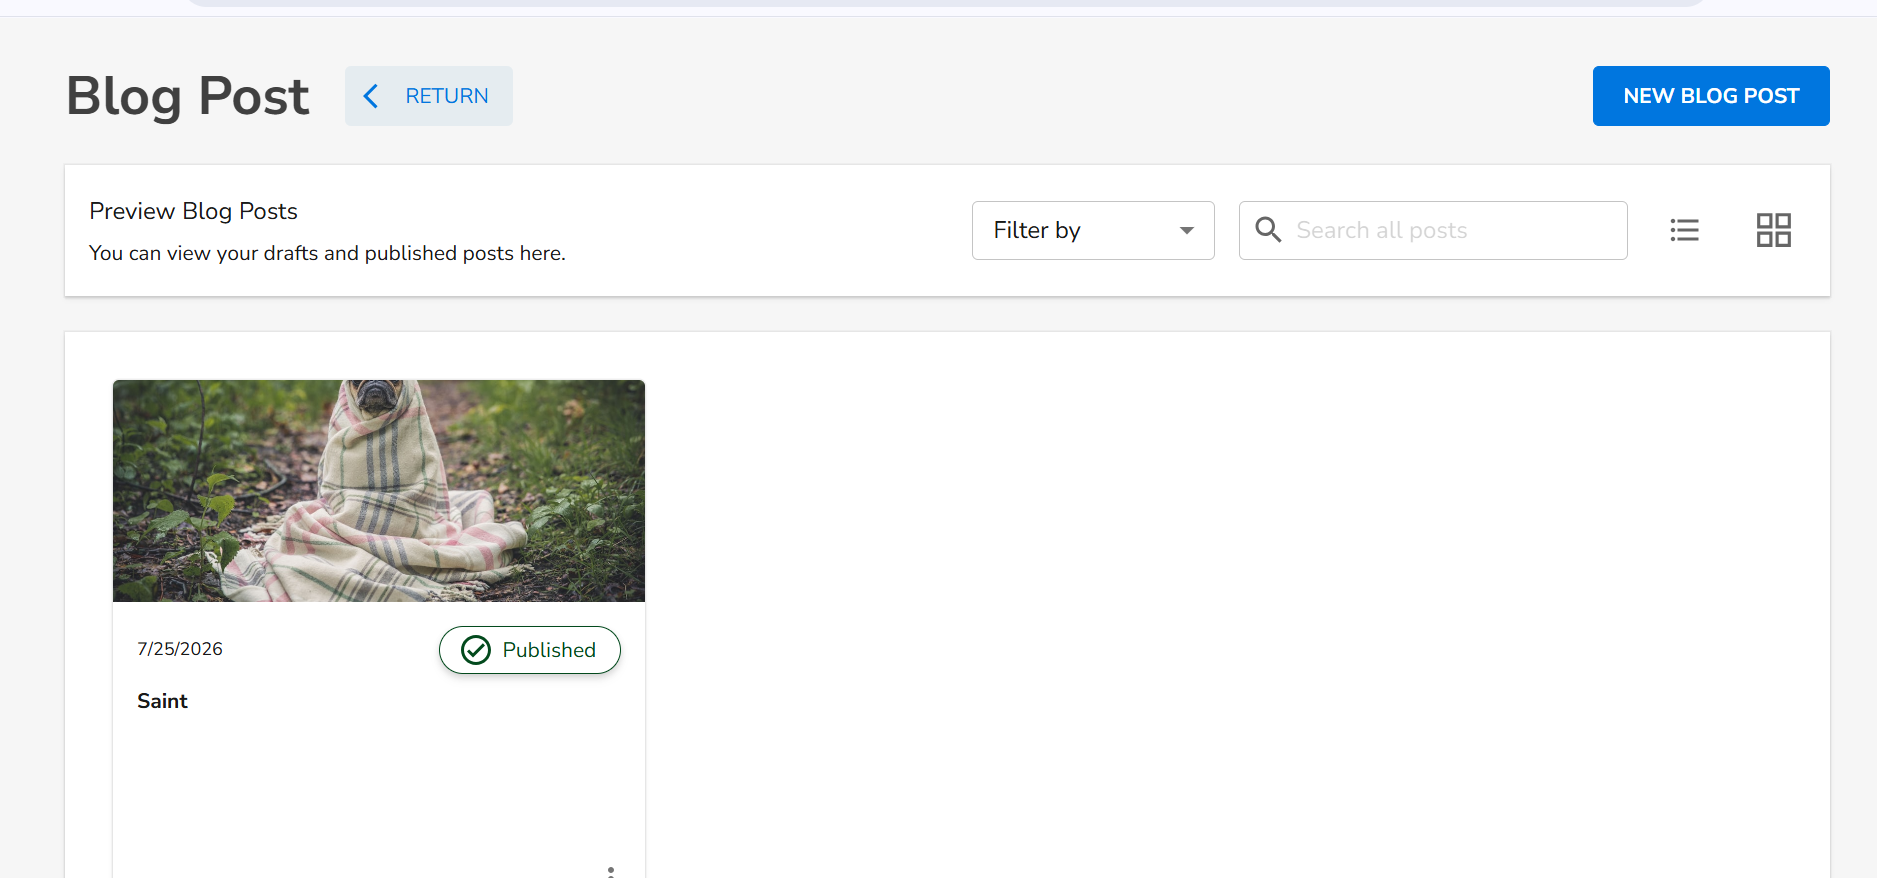
- The blog management screen will open. From here, you can search, create, edit, and delete posts for your blog.
WebsiteBuilder Express editor: Create a new post
- From the blog management screen, click on the NEW BLOG POST button on the upper right.
- The Add new post screen will appear. Create your blog content, then click PUBLISH when you're ready to make it live.
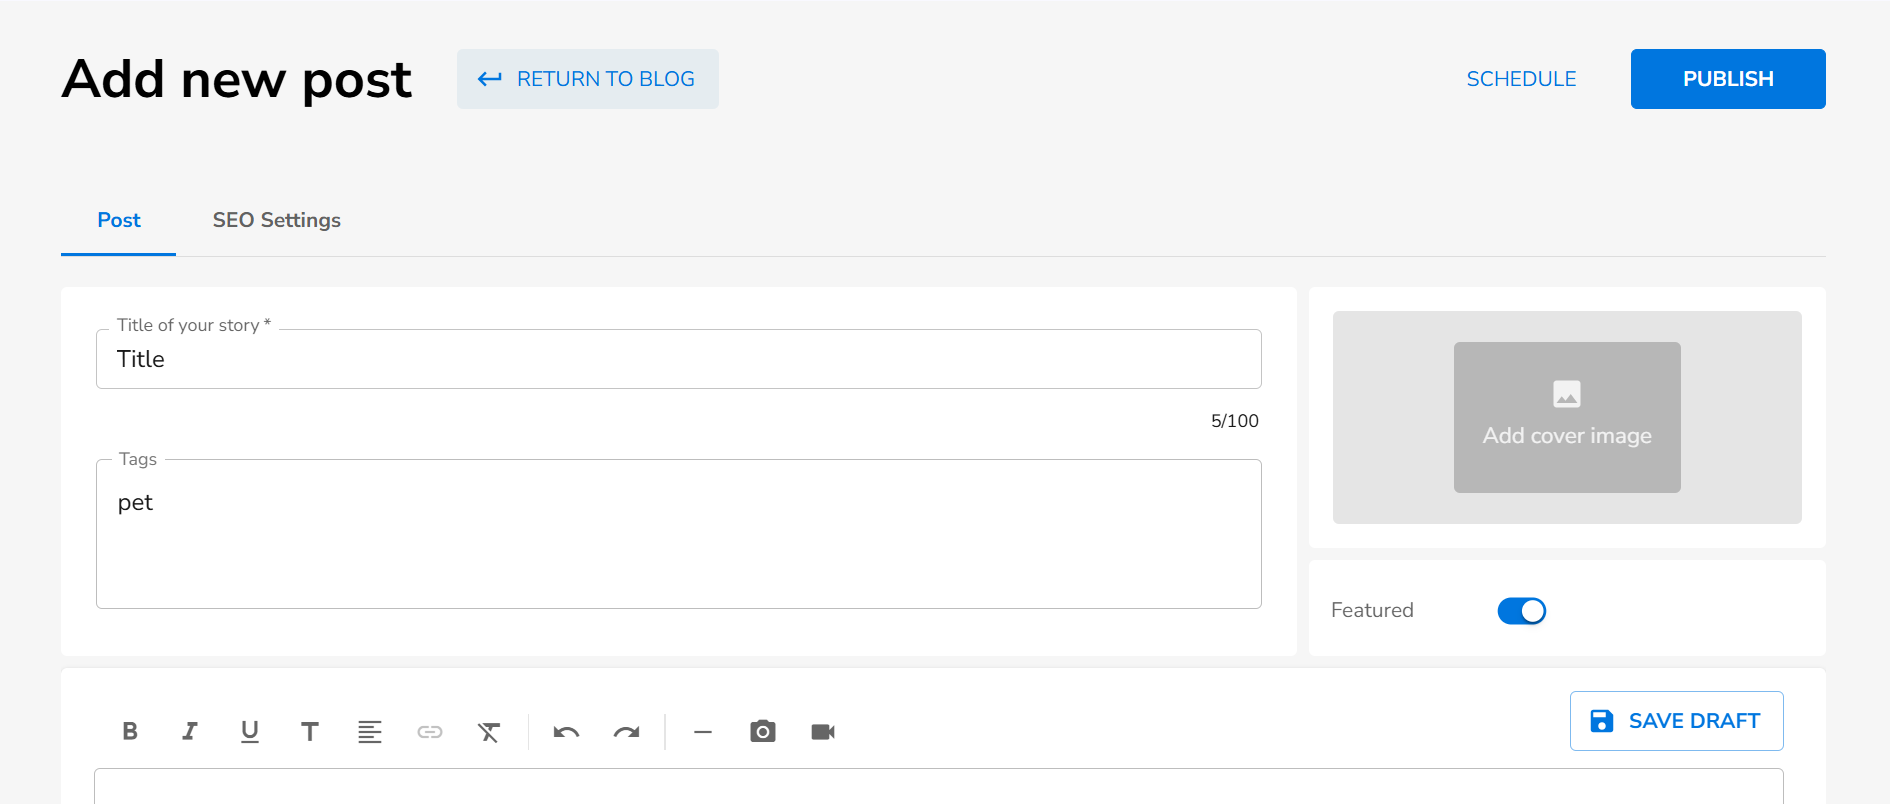
- Here, you can add your titles, introduction (article summary), and format the post text.
- Clicking the plus button will allow you to add text, images, or videos to your post.
- To format texts, simply highlight the text to be edited and a popup will appear with options to either:
- Bold
- Italicize
- Underline
- Link
- Change to a Heading 2
- Change to a Heading 3
- Blockquote text
WebsiteBuilder Express editor: Organizing a post
- You can organize your blogs by date, by title, or configure them to display your featured post upfront.
- If a post has more than one page, the spillover will appear on the first page.
Get practical tips and product updates on LinkedIn.
Follow Network Solutions