Powered by Network Solutions: WebsiteBuilder - How to add stock images
Enhancing your website with high-quality visuals is a great way to engage your visitors, and it starts by identifying which version of the builder you are currently using. Since the process differs slightly between the Legacy WebsiteBuilder editor and the Express Editor interface, you will want to follow the specific instructions that match your dashboard to effectively browse and insert photos. This guide explains how to add stock images to your design by accessing the image library and selecting the perfect free picture for your needs. Once you have placed and adjusted your photos, remember to save and publish your changes, so they become visible on your live site immediately.
Follow the instructions that match your WebsiteBuilder version.
In this article, we will discuss:
- Legacy WebsiteBuilder Editor vs. Express Editor
- How to launch the WebsiteBuilder
- How to add stock images with the Legacy WebsiteBuilder Editor
- How to add stock images with the Express Editor
- Review
Legacy WebsiteBuilder Editor vs. Express Editor
| Legacy WebsiteBuilder | WebsiteBuilder Express Editor |
 |
 |
How to launch the WebsiteBuilder
- Log in to your account via https://www.networksolutions.com/my-account/login.
- Click Hosting from the left navigation menu.

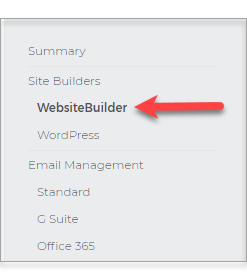
Note: Alternatively, if you have multiple WebsiteBuilder accounts, you need to click MANAGE first to proceed with Step 3. - Select WebsiteBuilder from the menu to continue.
How to add stock images with the Legacy WebsiteBuilder Editor
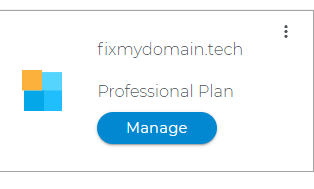
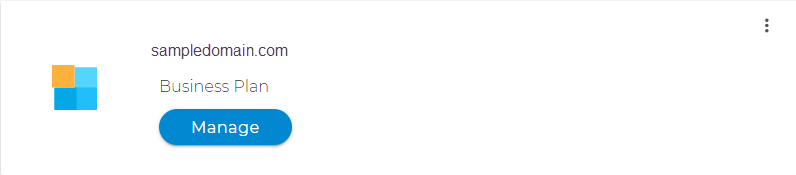
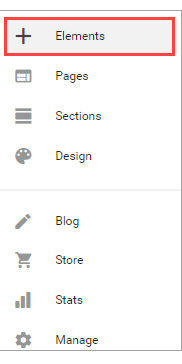
- Click Manage, to launch your Legacy WebsiteBuilder Editor.
- On the left-hand options, click on Elements.
- Navigate to IMAGES and click the IMAGE tile.

- Click on Stock Images.
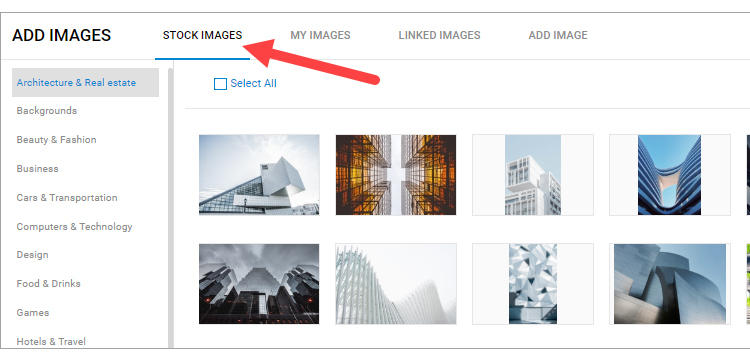
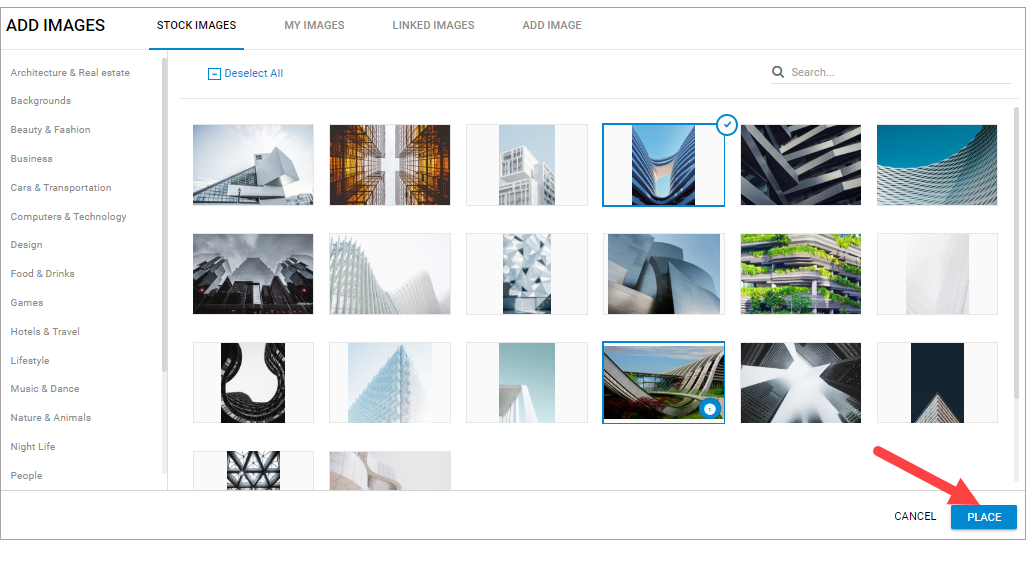
- Select from the Category list flushed to the left. After choosing your stock image, select Place.
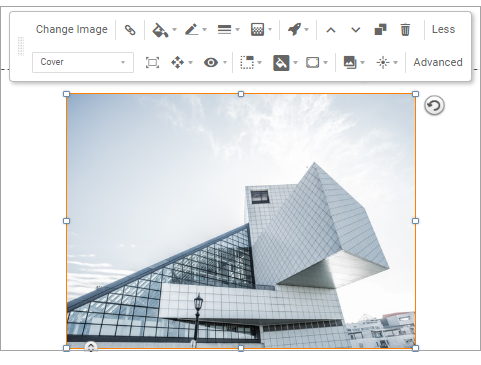
- Adjust the image accordingly. To learn more about adjusting and editing your image, visit WebsiteBuilder: How to Adjust and Edit Images.
- Once editing is done, click on Save. If you want to make all changes to be updated on your live website, click Publish. Both these options are placed on top of your editor.

How to add stock images with the Express Editor
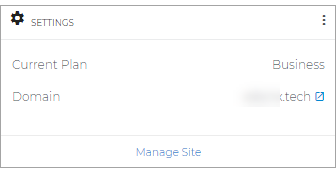
- To launch your WebsiteBuilder Editor, click Manage Site.

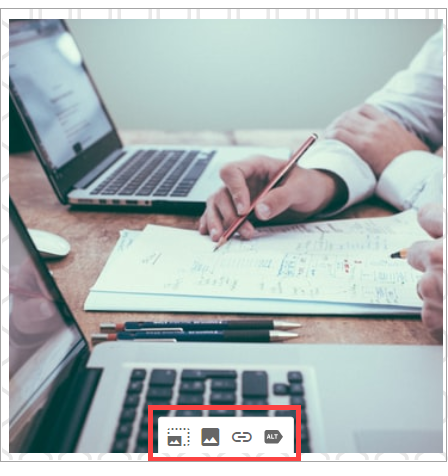
- Choose an area with an image and select the picture icon to open the Image Library.

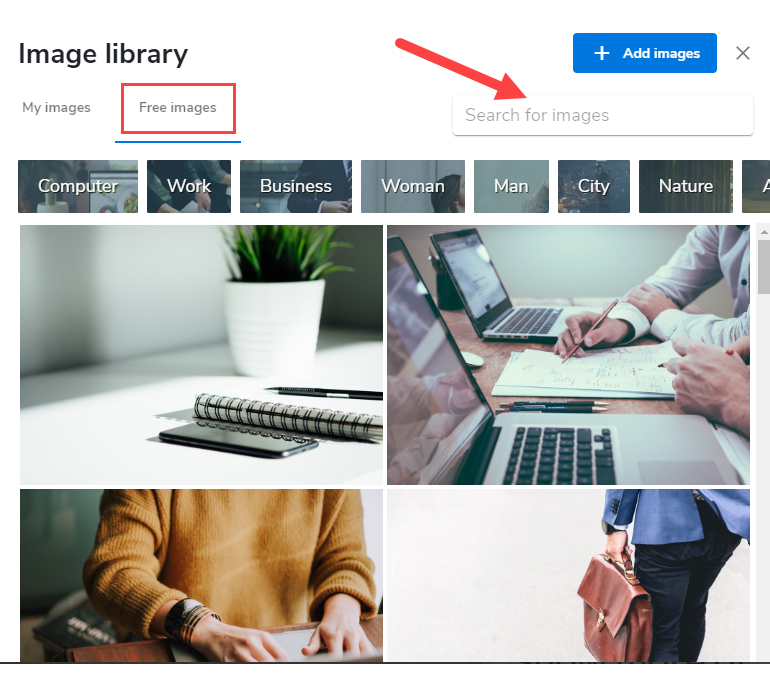
- Click on Free Images and browse through the categories listed. You can also search for images using the search bar.
- Adjust the selected image appropriately. To learn more about adjusting and editing your image, visit WebsiteBuilder: How to Adjust and Edit Images.
- Once editing is done, click on Save. If you want to make all changes to be updated on your live website, click Publish. Both these options are placed on top of your editor.

Review
This guide is a helpful resource for anyone trying to update their website because it clears up the confusion between the different editor versions available. It gives you a step-by-step breakdown on how to add stock images, so you can easily find and place free photos regardless of whether you are using the Legacy WebsiteBuilder tool or the Express Editor interface. The process is explained in simple terms, from logging in and opening the image library to the final crucial step of publishing your changes, so they show up online. It is a practical and easy-to-follow summary that helps you make your site look better without needing to be a technical expert or hire a professional designer.
Get practical tips and product updates on LinkedIn.
Follow Network Solutions