How to set up recovery email in Cloud Mail
Set up a recovery email to safeguard your Professional Email account against unauthorized access and password loss. This essential step ensures a seamless account recovery process, allowing you to quickly regain access through a verification email sent to your designated recovery address.
In this article, we will discuss:
Setting up a recovery email
To set up a recovery email, follow the steps below:
- Log in to Cloud Mail.
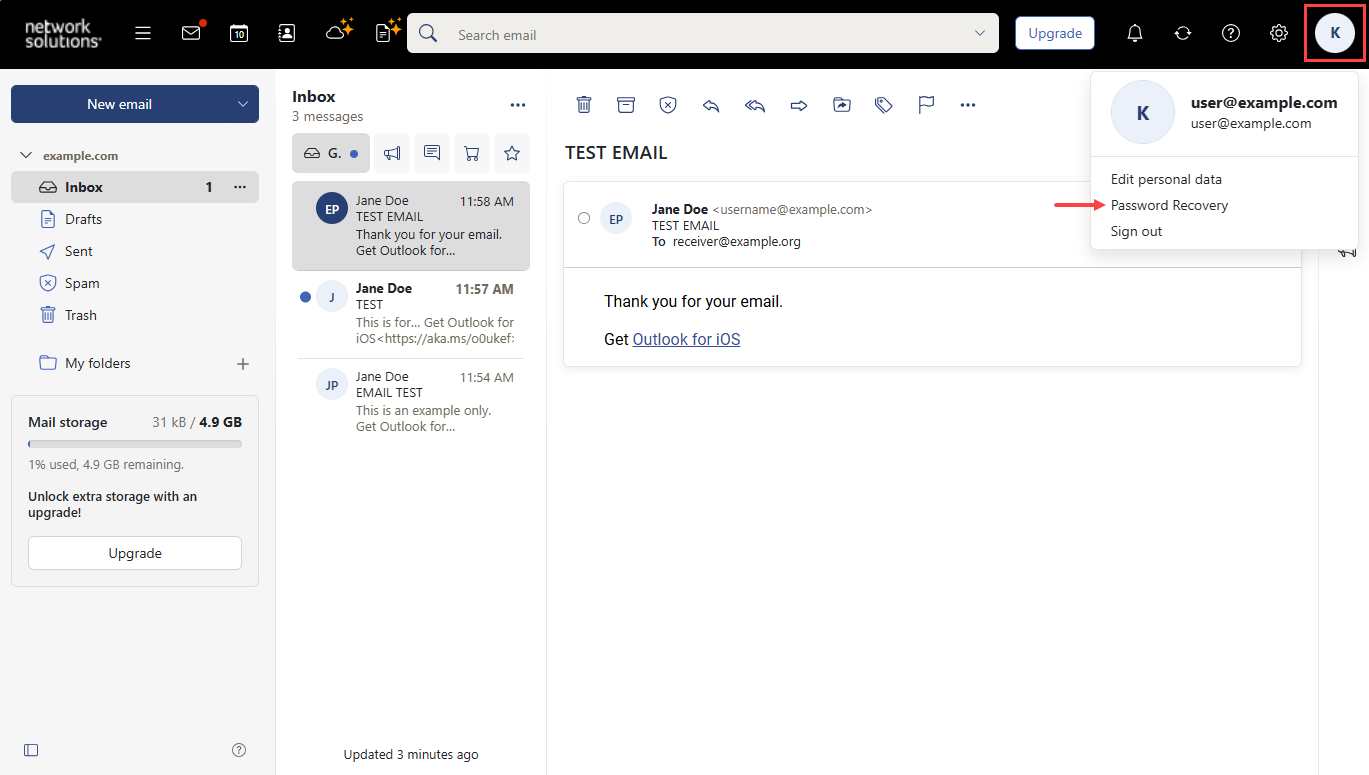
- Click the My Account icon, then select Password Recovery.
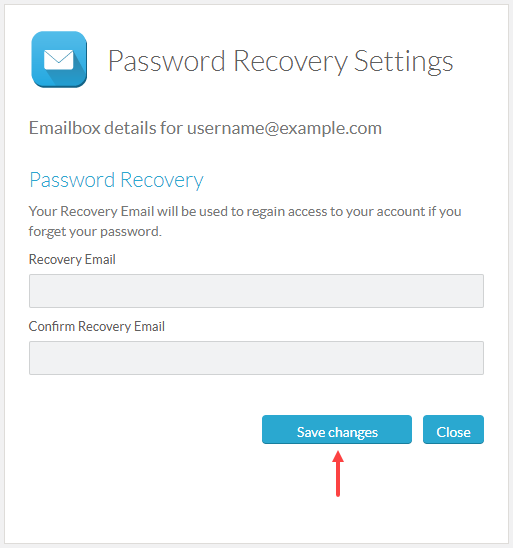
- Enter and confirm your recovery email, then click Save changes.
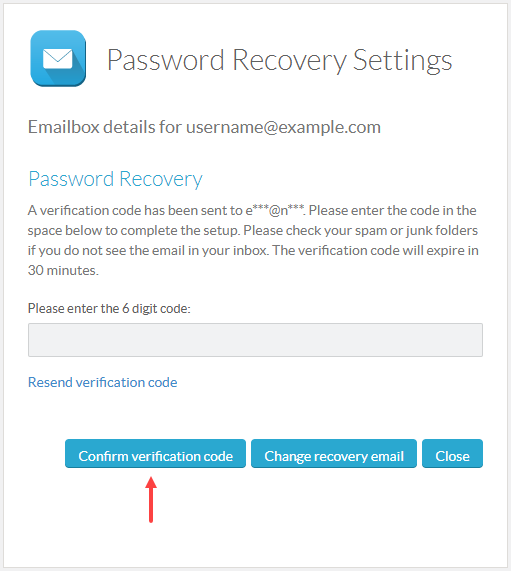
- Enter the verification code sent to your recovery email, then click Confirm verification code to complete the setup successfully.
You can now reset your password on the webmail sign-in page. Please see the Network Solutions Cloud Mail password requirements and management article for instructions.
Review
Setting up a recovery email for your Cloud Mail account is crucial for maintaining the seamless functioning of your email services. By following the guidelines in this article, you can protect your valuable data and maintain uninterrupted access to your email account.
Get practical tips and product updates on LinkedIn.
Follow Network Solutions