Knowledge Base
Categories: Powered by Network Solutions
Powered By Network Solutions: Getting Started with WebsiteBuilder
No coding skills or any website development experience, but interested in creating your own website? No problem! This article shows you the following guidelines and how to build your fully functional website in just a few minutes using our WebsiteBuilder:
- Website Builder Plans and Features
- Sign up for Website Builder
- How to launch Website Builder
- Get started with your website
Website Builder Plans and Features
Website Builder is a WYSIWYG (What-You-See-Is-What-You-Get) program used to help customers create responsive website pages. Customers can build a website with customized designs, templates, and other elements. It also allows users to set up websites without the need to write any code. So if you are a type of business person who doesn’t have time to learn website coding, then a website builder is a good choice.
Sign up for WebsiteBuilder
- Log in to your https://www.networksolutions.com/my-account/login.

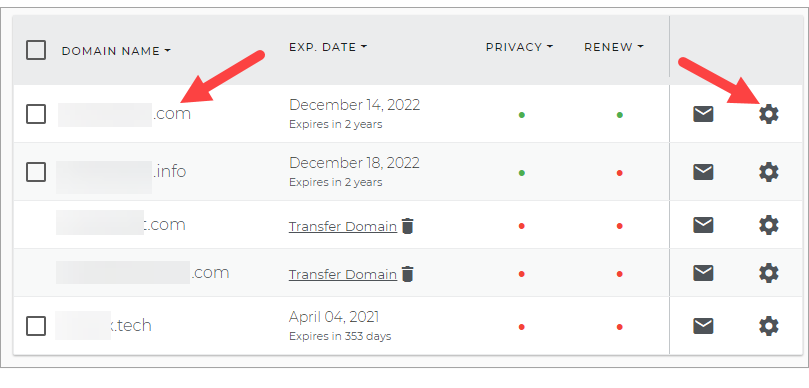
- Click either the domain name or the gear icon.
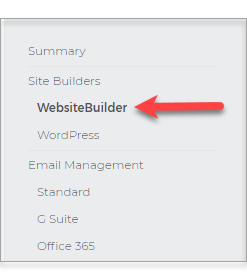
- On the left sidebar, click the WebsiteBuilder section.
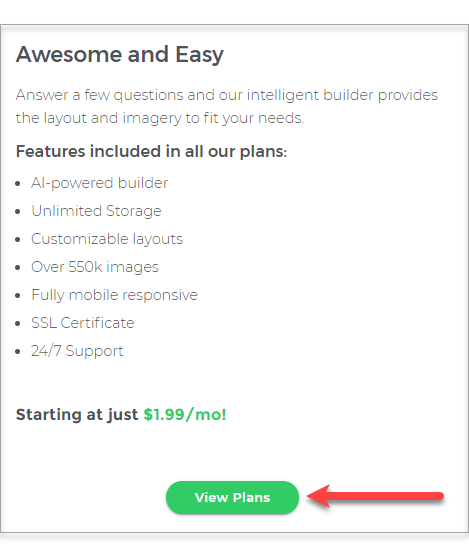
- Scroll down and click the View Plans button.
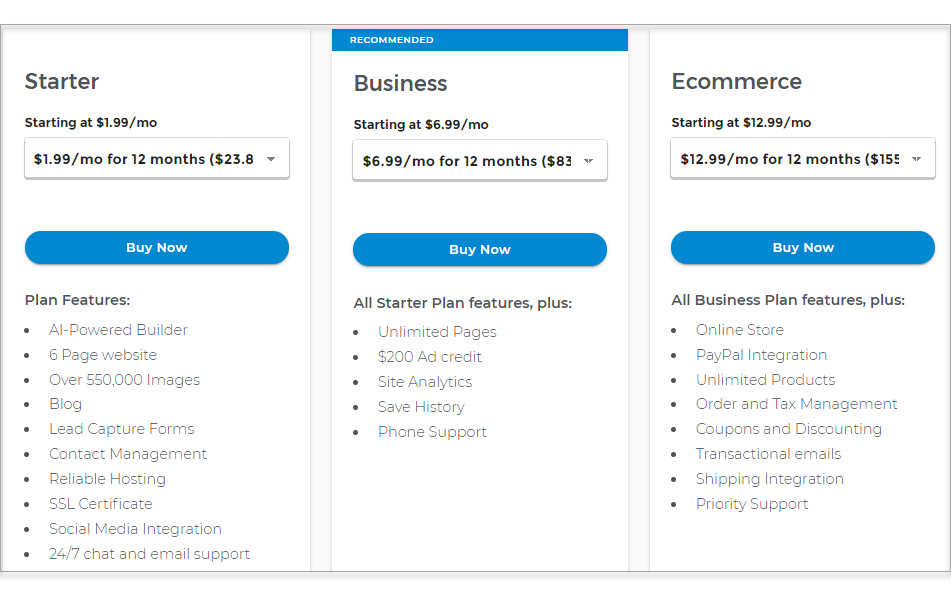
- Choose the plan that's perfect for you! Click the Buy Now button.
How to launch WebsiteBuilder?
- Log in to your https://www.networksolutions.com/my-account/login.
- Click on the domain name where you have your WebsiteBuilder configured.
- On the left pane, click the WebsiteBuilder section, under the Site Builders tab.
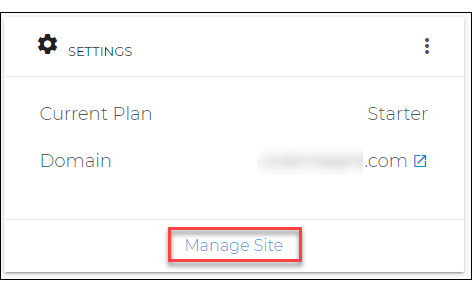
- Under the Settings section, click the Manage Site button. This action will open your WebsiteBuilder screen in a new tab.
Get started with your website
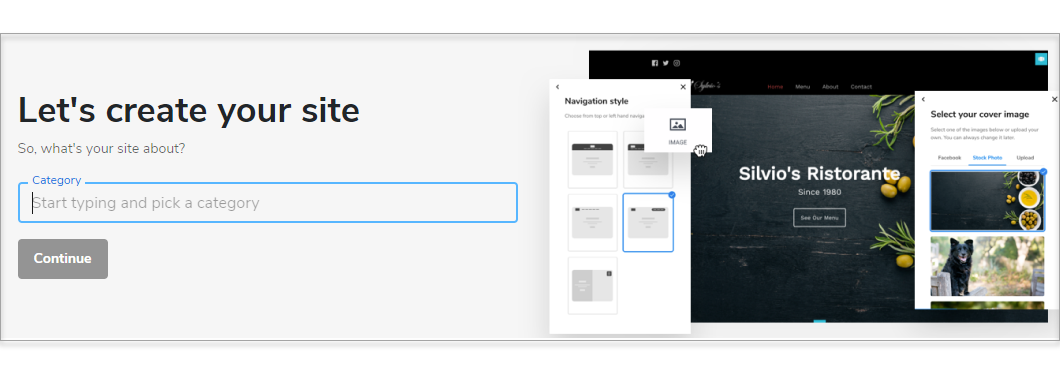
- Start typing and pick a category for your site.
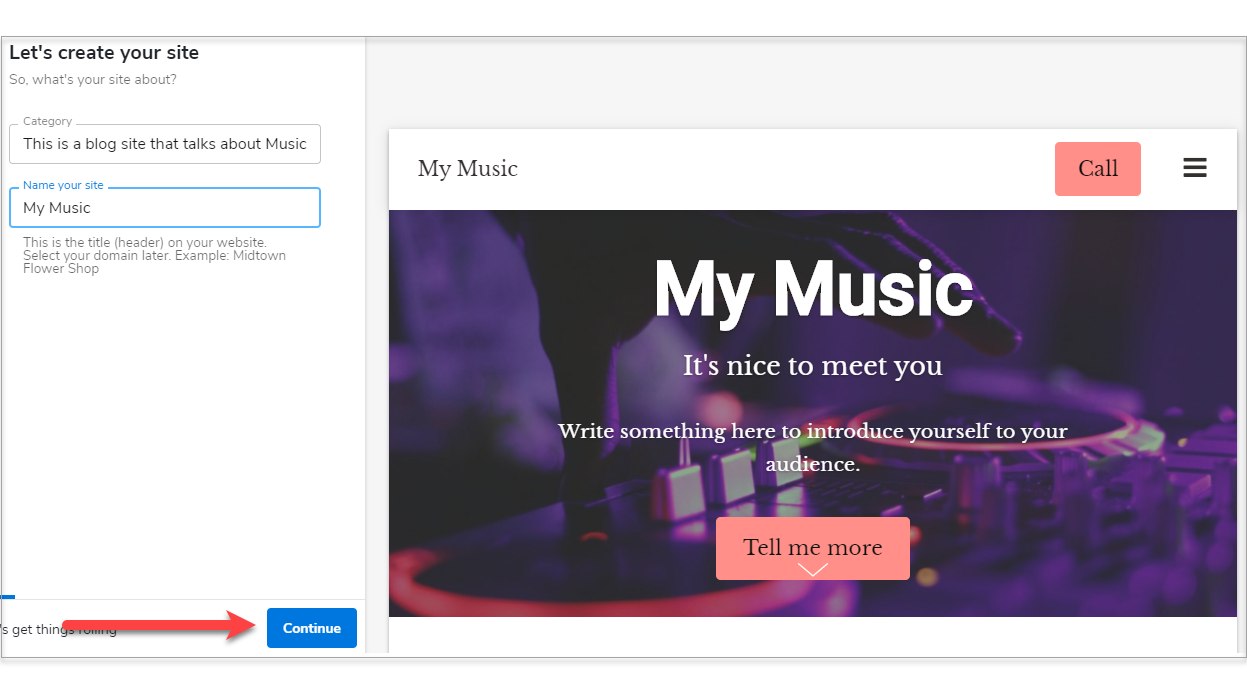
- Name your site and click Continue.
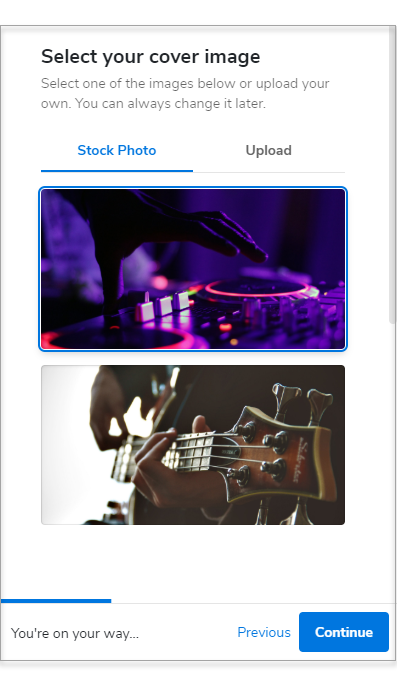
- Select your cover image and click Continue.
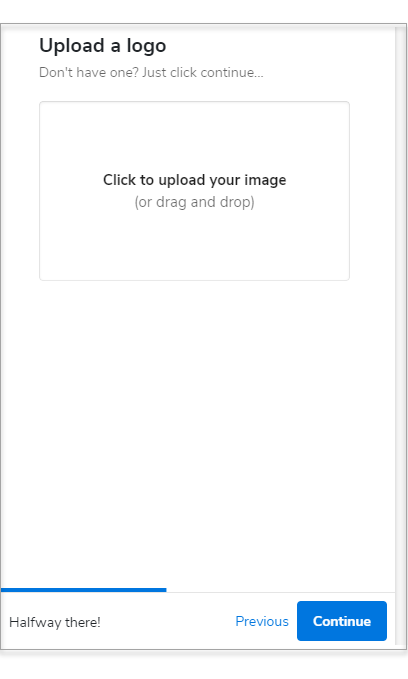
- Upload your site logo. If you don't have one yet, click Continue or visit your Business Dashboard to create one through our Logomaker.
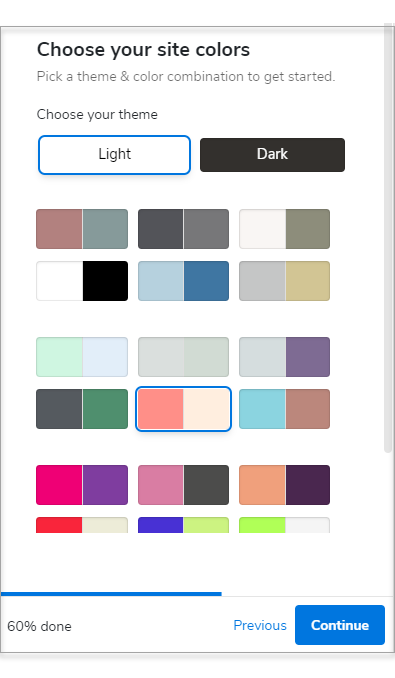
- Pick a theme and color combination for your website.
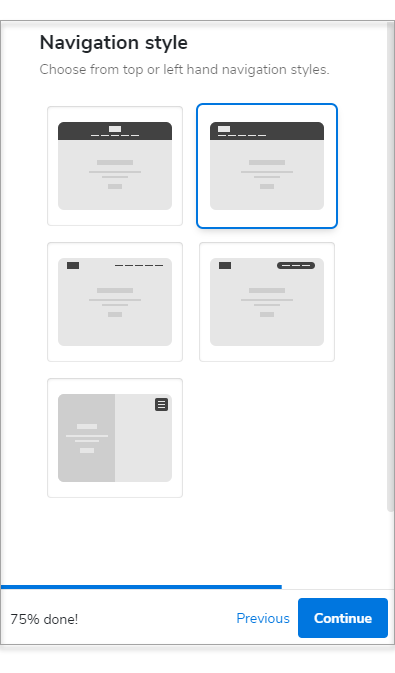
- Choose a Navigation Style.
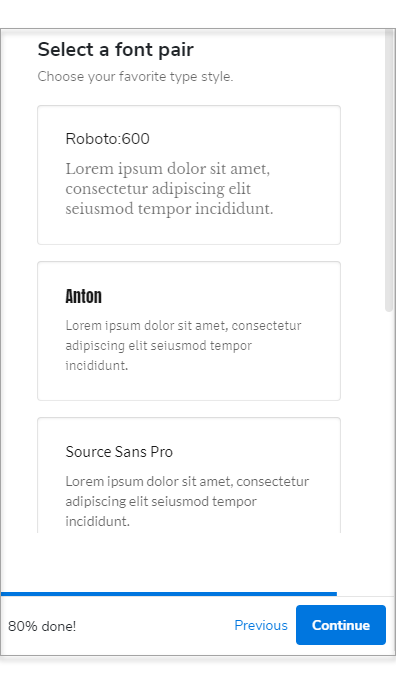
- Select a Font Pair.
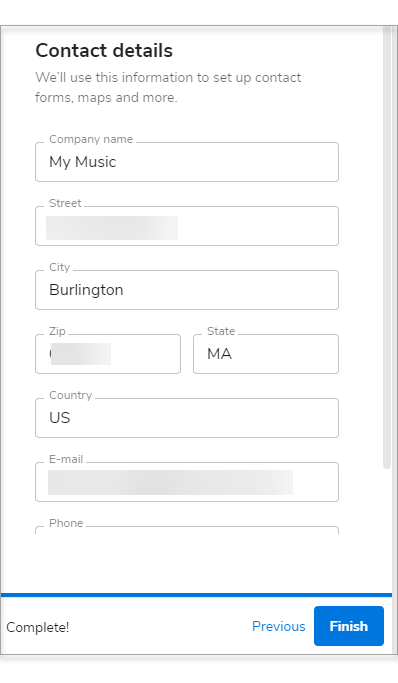
- Type in your contact details. We'll use this information for your contact forms, maps, and more.
- Click the Finish button.
Related Articles:
- WebsiteBuilder: How to Change Your Theme Design
- WebsiteBuilder: Store Layouts
- WebsiteBuilder: How to Set up Your Store
- WebsiteBuilder: How to Add or Delete a Section
- WebsiteBuilder: Adding and Deleting Pages
Get practical tips and product updates on LinkedIn.
Follow Network Solutions
Did you find this article helpful?