Powered by Network Solutions: WordPress - How to update database connection strings
Your WordPress website must be connected to a database to function. This guide provides the full process to update database connection strings if you need to connect your WordPress site to a different database.
In this article, we will discuss
- Access hosting dashboard
- Step one: Get your new database information
- Step two: Update your wp-config.php file
- Related articles
- Review
This guide, organized into collapsible sections, will walk you through these important update connection strings processes.
Access hosting dashboard
- Log in to your account via https://www.networksolutions.com/my-account/login.
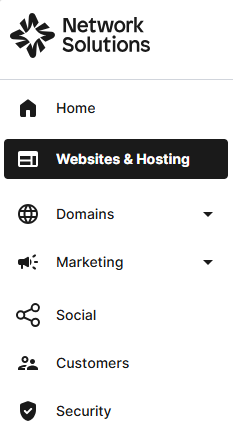
- Click Websites & Hosting from the left navigation menu.
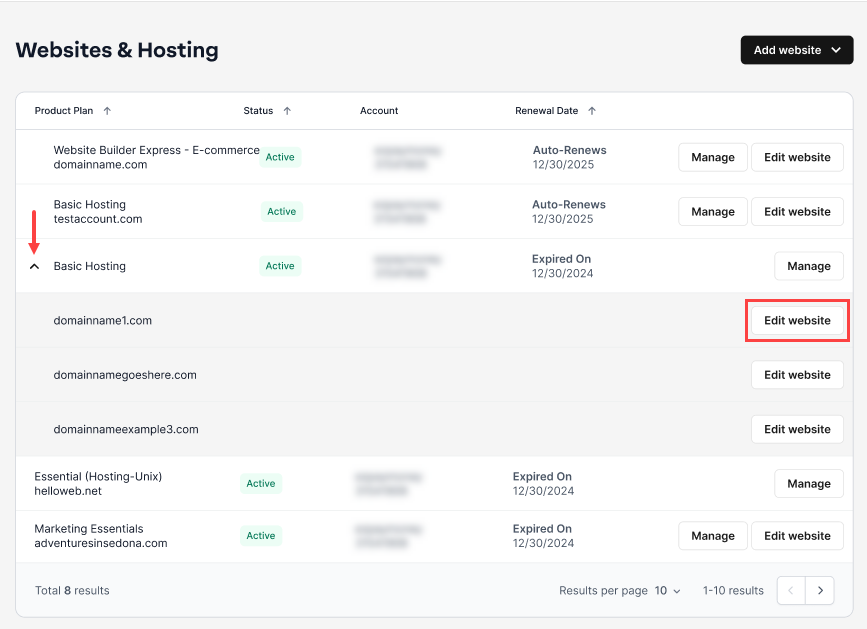
- Navigate to the hosting package where you want to set file and folder permissions, then click Edit website next to the domain name you want to manage.
Step one: Get your new database information
Before you can update database connection strings, you need the correct name, username, and password for the new database. Provided that you have accessed the hosting page, please follow the steps below to get your new database information.
Please navigate to your new database based on your account's creation date.
For accounts created after April 2024
Please follow these steps:
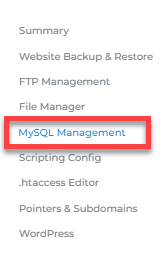
- Go to HOSTING, then click MySQL Management.
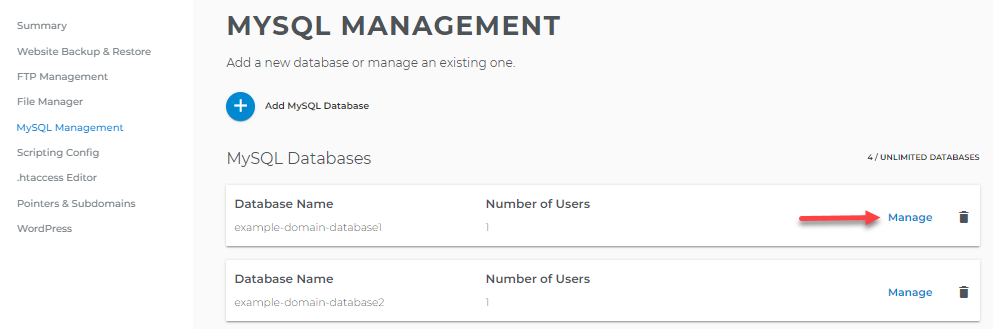
- Locate the database you need to manage, then click its Manage link on the right.
- Take note of the database name and username. You can also change the password by clicking the Change Password option.
For accounts created before April 2024
Please follow these steps:
- Click Database Manager under Configurations.
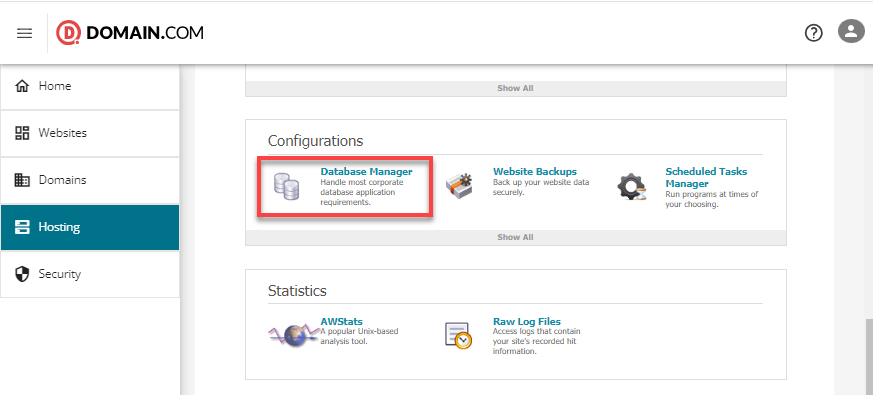
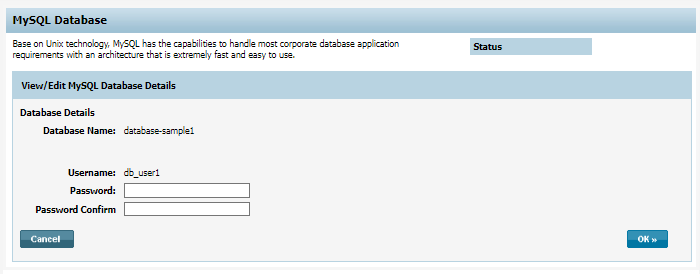
- Look for your new database and click the database name.

- Take note of the database name and username. You can also change its password if you no longer remember it.
Step two: Update your wp-config.php file
The final step is to edit the `wp-config.php` file to use the new information. Provided that you have accessed the hosting page, please follow the steps below to update your wp-config.php file.
- Access your site's files via File Manager or FTP.
For accounts created after April 2024, please follow these steps.- Go to HOSTING, then click File Manager.
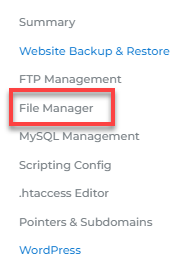
- Click your site's folder (directory). For this example, we'll use the `public_html` folder.
For accounts created before April 2024, please follow these steps.- Take note of your FTP information under the Hosting Information section on the right.
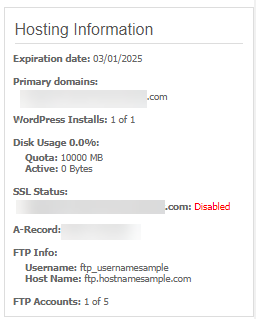
- Use an FTP client to connect to your server. Visit the Powered by Network Solutions: How to connect using an FTP client article for instructions.
- Navigate to your site's folder (directory), typically `public_html`.
- Go to HOSTING, then click File Manager.
- Within your site's main folder, locate the `wp-config.php` file, click the three-dot menu on the right, and select Edit.
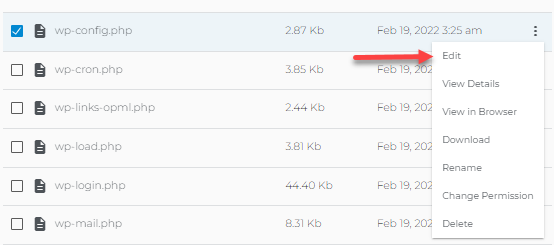
- Locate the following lines of code that contain the database connection strings:
// ** MySQL settings - You can get this info from your web host ** // /** The name of the database for WordPress */ define('DB_NAME', 'database_name'); /** MySQL database username */ define('DB_USER', 'database_username'); /** MySQL database password */ define('DB_PASSWORD', 'DatabasePassword'); /** MySQL hostname */ define('DB_HOST', 'localhost'); - Replace the values for `DB_NAME`, `DB_USER`, and `DB_PASSWORD` with the information you noted in Step 1.
- Click the Save button to finalize your changes. Your effort to update database connection strings is now complete.
- Relaunch and check your website in a browser to ensure it loads correctly.
Related articles
Review
This guide has walked you through the complete process of updating database connection strings for your WordPress website. You learned how to locate your new database details and how to edit the `wp-config.php` file with the correct information. Keeping these strings accurate is essential for maintaining your site's connection to its database.
Get practical tips and product updates on LinkedIn.
Follow Network Solutions