Knowledge Base
Categories: Powered by Network Solutions
Powered By Network Solutions: Creating Your Site With WebsiteBuilder
Create your perfect site in minutes! Answer a few questions, and our intelligent builder does all the work for you.
- Thousands of images for you to use
- Social media integration
- Free SSL Certificate
- Blog
- Lead Capture forms
Note: We've made some improvements to our Account Manager, making it easier to use. This means that some hosting products and services are no longer available. With this upgrade, the WebsiteBuilder is one of the services that is no longer offered for new signups.
How to Create a Site with WebsiteBuilder
- Log in to your account via https://www.networksolutions.com/my-account/login.
- Click Hosting on the left menu, then click the MANAGE button next to the WebsiteBuilder plan you would like to update.

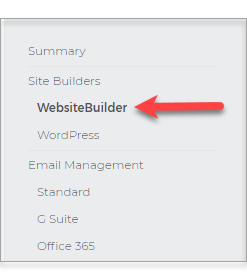
- On the left pane, click on WebsiteBuilder.
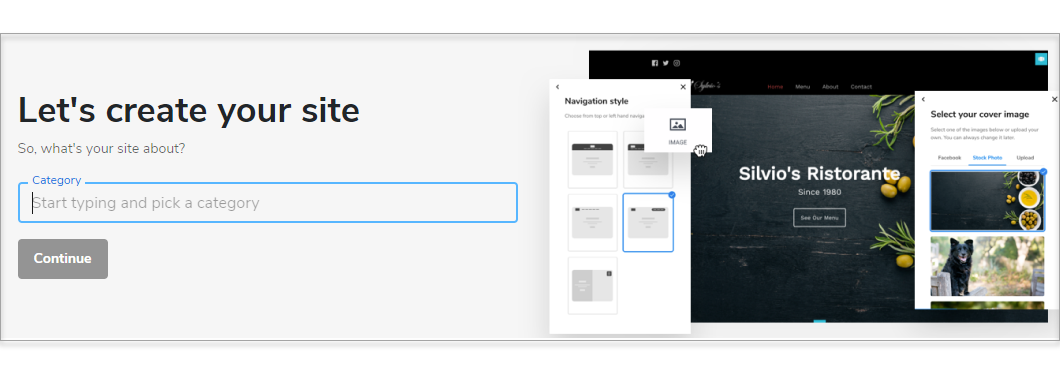
- Start typing and pick a category for your site.
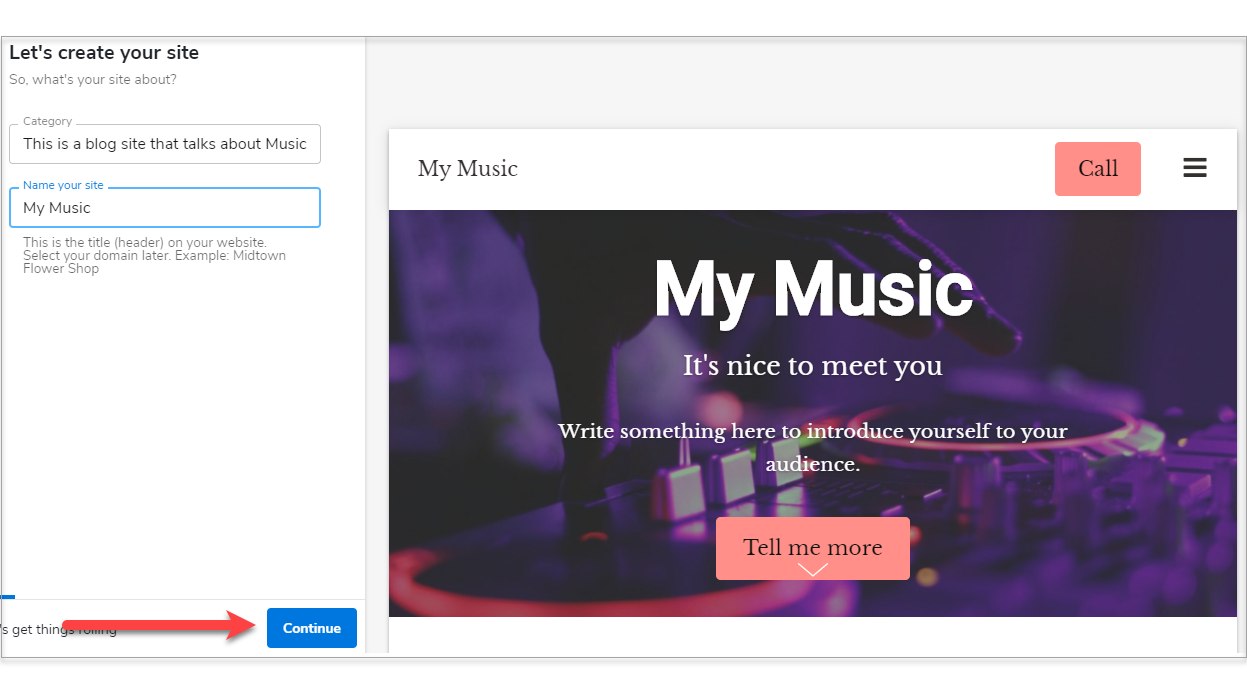
- Name your site and click Continue.
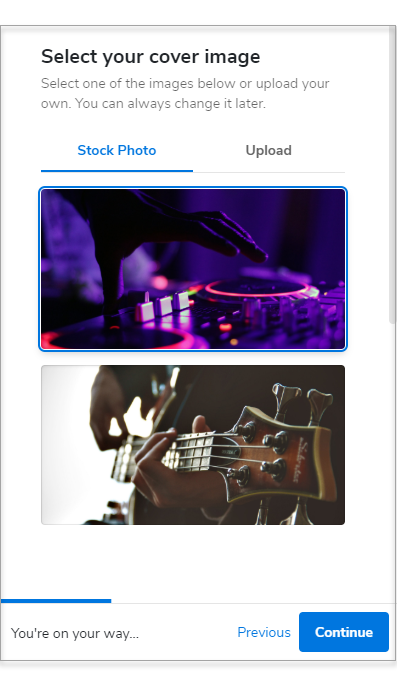
- Select your cover image and click Continue.
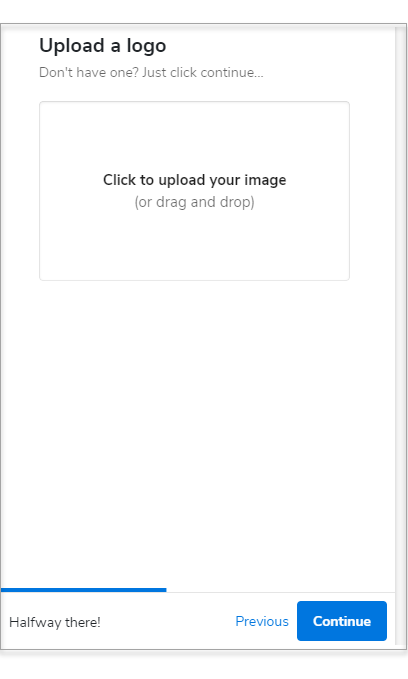
- Upload your site logo. If you don't have one yet, click Continue.
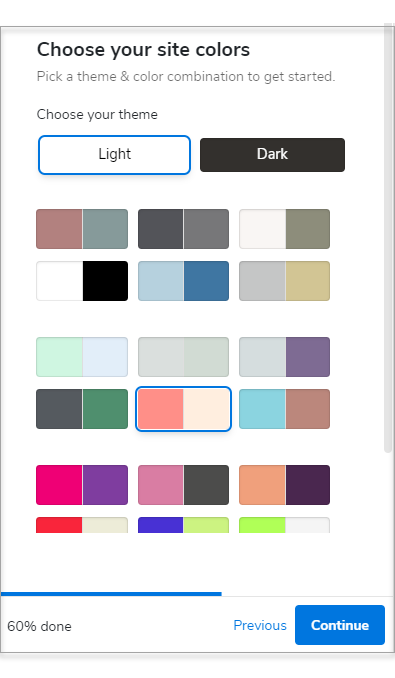
- Pick a theme and color combination for your website.
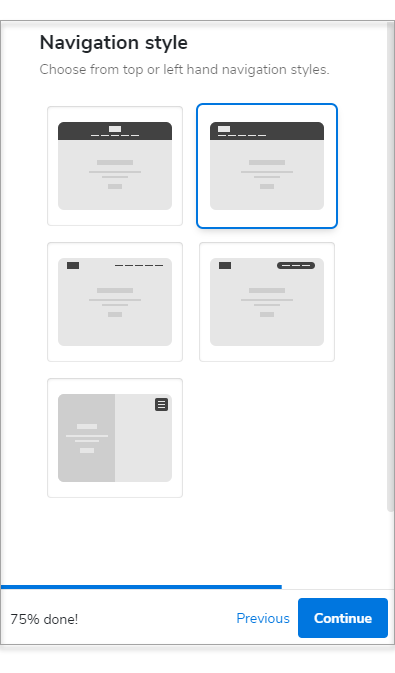
- Choose a Navigation Style.
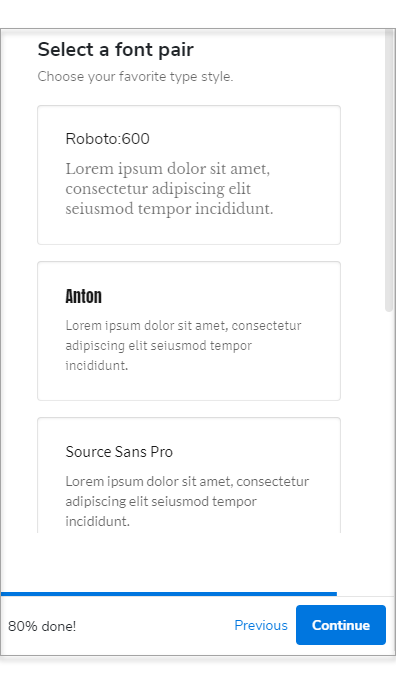
- Select a Font Pair.
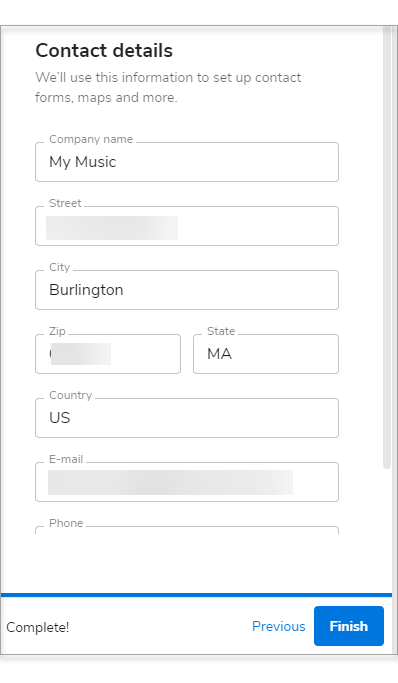
- Type in your contact details. We'll use this information for your contact forms, maps, and more.
- Click Finish.
Note: You can only have one WebsiteBuilder for a domain name. There is an option to change the domain name, but it should not be connected to any WebsiteBuilder.
From here, you can complete your website by:
- Adding content to your site
- Adding more images to your site
- Setting up Your Store
- Adding and Deleting Pages
- Adding or Deleting a Section
- Adding a Blog
- Changing Your Theme Design
- Saving and Publishing Your Site
Get practical tips and product updates on LinkedIn.
Follow Network Solutions
Did you find this article helpful?