Key takeaways:
- Many people are now aspiring to be YouTubers because of its money-making opportunities.
- Being a YouTuber goes beyond uploading videos: you need to plan and strategize your content to attract viewers and gain subscribers.
- To become a successful YouTuber, you need to be consistent in producing quality content on schedule.
YouTube has evolved from a simple video-sharing platform into a powerful career path. It offers creators and advertisers a space to build a brand, connect with an audience, and generate revenue.
As a result, many people want to know how to become a YouTuber.
So, how do you do it? In this guide, we’ll teach you everything you need to know to start a YouTube channel—from choosing a niche and target audience to refining your content.
What is a YouTuber?
A YouTuber is someone who uploads videos on the YouTube platform either for fun or monetization. These creators—also considered social media influencers—typically post videos on a specific theme, which helps them build a loyal audience.
How to become a successful YouTuber
To become a successful YouTube channel, you need to do more planning before uploading videos. It involves the following steps:
- Pick the right channel niche and target audience
- Familiarize the community guidelines
- Pick the right channel name
- Create, verify, and optimize your channel
- Plan your content schedule
- Prepare your equipment, tools, and software
- Take high-quality videos
- Edit your video
- Write SEO-friendly descriptions and titles
- Make eye-catching thumbnails
- Create end screens
- Upload your video to YouTube Studio
- Create channel playlists
- Analyze your video’s performance
- Participate in YouTuber online forums
Now let’s jump into the details.
Step 1. Pick the right channel niche and target audience
Before starting your YouTube channel, it’s important to set a specific niche that will serve as your focus or theme. Although it’s tempting to create videos about multiple topics to get more views, it’s better to set a specific niche to give structure to your videos and establish a better connection with your audience.
To figure out your niche, you can ask yourself:
- What are my passions or areas of expertise?
- What type of content do I enjoy watching?
- Is there a demand for this content on YouTube?
As a guide, here are a few examples of popular niches and their respective content ideas and potential target audience:
Niche | Video example | Target audience |
Cooking | Recipe tutorials Food reviews | Foodies Home cooks |
DIY and crafts | Craft tutorials Home decor projects Upcycling ideas | Hobbyists Home decorators |
Finance | Budgeting tips Investment strategies | Young professionals Small business owners Individuals wanting to manage money better |
Gaming | Gameplay walkthroughs Game reviews Live streams | Gamers Video game enthusiasts |
Once you have your niche, it’s easier to figure out your audience. Usually, you can do this by:
- Analyzing your competitors or channels with a similar niche
- Looking at community forums (like Reddit and Quora) or social media platforms to see who is creating posts related to your topics
- Using keyword research tools to see what viewers are searching for
Step 2. Familiarize yourself with the community guidelines
If you’re planning to monetize your channel, you should be familiar with YouTube’s Creator Policies and Guidelines.
These guidelines include rules that all content creators on the platform should follow regarding copyright, monetization policies, and content quality and themes.
Some of the key guideline policies include:
- Avoiding spammy and deceptive practices (e.g., clickbait and misleading titles and buying fake subscribers, views, and likes)
- Protecting your content from plagiarism or reuploads via the copyright strike system
- Avoiding creating content that threatens individuals or uses hate speech
- Making sure that content does not spread misinformation and is safe for children
What are YouTube’s monetization requirements?
Aside from content-specific policies, you should also know the requirements for their YouTube Partner Program.
To fully get ad revenue on the platform, you should have 1,000 subscribers and 4,000 watch time across all your videos for the past 12 months. Another option is 10 million YouTube Shorts views over the last 90 days.
If you’re a small channel, there are now lower monetization tiers that require the following:
- 500 subscribers
- Three uploaded public videos within the past 90 days
- 3,000 hours of watch time for the past 12 months
Another option for this tier is 3 million YouTube Shorts views in the last 90 days.
Take note: it might be tempting to buy subscribers and view counts just to get monetized, but don’t do this. YouTube can detect this and will not accept you into the YouTube Partner program. If you want to get more subscribers, do it organically.
Step 3. Pick the right channel name
Once you’ve chosen a niche, it’s easier to craft a channel name. A good channel name is memorable, brand-friendly, and easy to find. Here are a few tips for choosing the best YouTube channel name:
Consider name categories
There are four channel name categories that most successful YouTubers go with:
- Name (e.g. Rosanna Pansino)
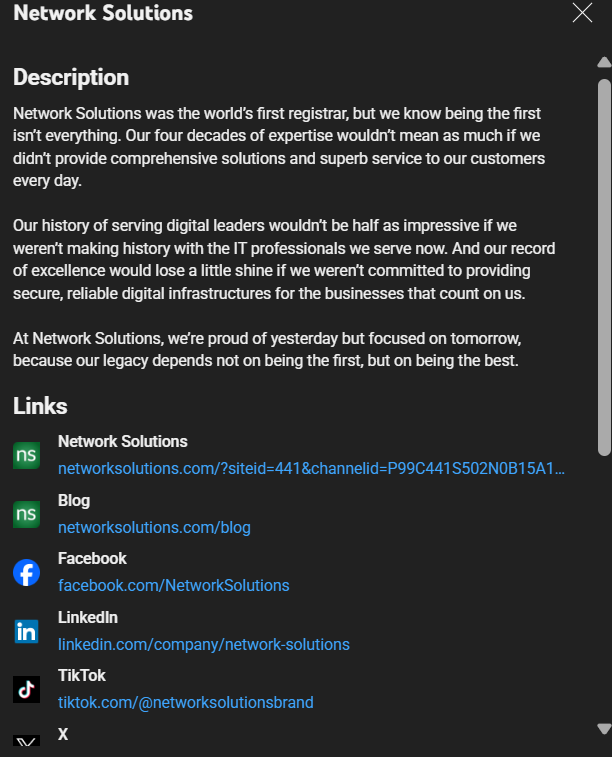
- Brand (e.g., Network Solutions)
- Category (e.g., Unboxing Toys)
- Descriptive (e.g., Unreal True Crime)
Make it unique
As mentioned, your channel should have a memorable name. Choosing a unique one will help you stand out. To make sure that your preferred name is unique, type it into the search bar to see if there are already existing channels with similar names.
If you see multiple results, come up with more ideas. Don’t forget to search your prospect channel names on Google, too, to double-check if they match an existing brand.
Keep it short and sweet
Make sure that your channel name is catchy, short, and sweet, not exceeding 20 characters. This will help your viewers remember your channel and make it easier to type in. Avoid including long strings of numbers.
Use relevant keywords
Your channel name should also give a glimpse of what you offer so it’s important to incorporate niche-related keywords
Ensure it’s easy to pronounce
Aside from being easy to spell, your channel name should also be easy to pronounce and say out loud.
Consider cultural sensitivities
If you’re aiming for a global audience, make sure that your channel name is not offensive or misunderstood in different cultures. Remember to double-check the words to see if there are any undertones.
Aim for evergreen
It’s tempting to follow trends, but doing so will age your channel and make it look outdated once the hype dies down. Keep your channel name evergreen so it lasts for many years.
When choosing a YouTube channel name, remember to keep it consistent in all your other social media channels.
Step 4. Create, verify, and optimize your channel
Now, let’s get into the channel creation process. Before anything else, make sure you have an email address dedicated to your channel. Once that is settled, follow these simple steps:
- Go to YouTube’s website or app.
- If you have a Gmail or Google account dedicated to your channel name, you can use that to sign in to YouTube.
- Click your profile icon located at the top right corner of the screen.
- Select Create a channel.
Afterwards, you will be asked to upload a profile photo and create a channel name. Make sure to verify it via the YouTube Studio > Settings > Channel > Feature eligibility > Intermediate features.
You will be asked to verify your phone number.
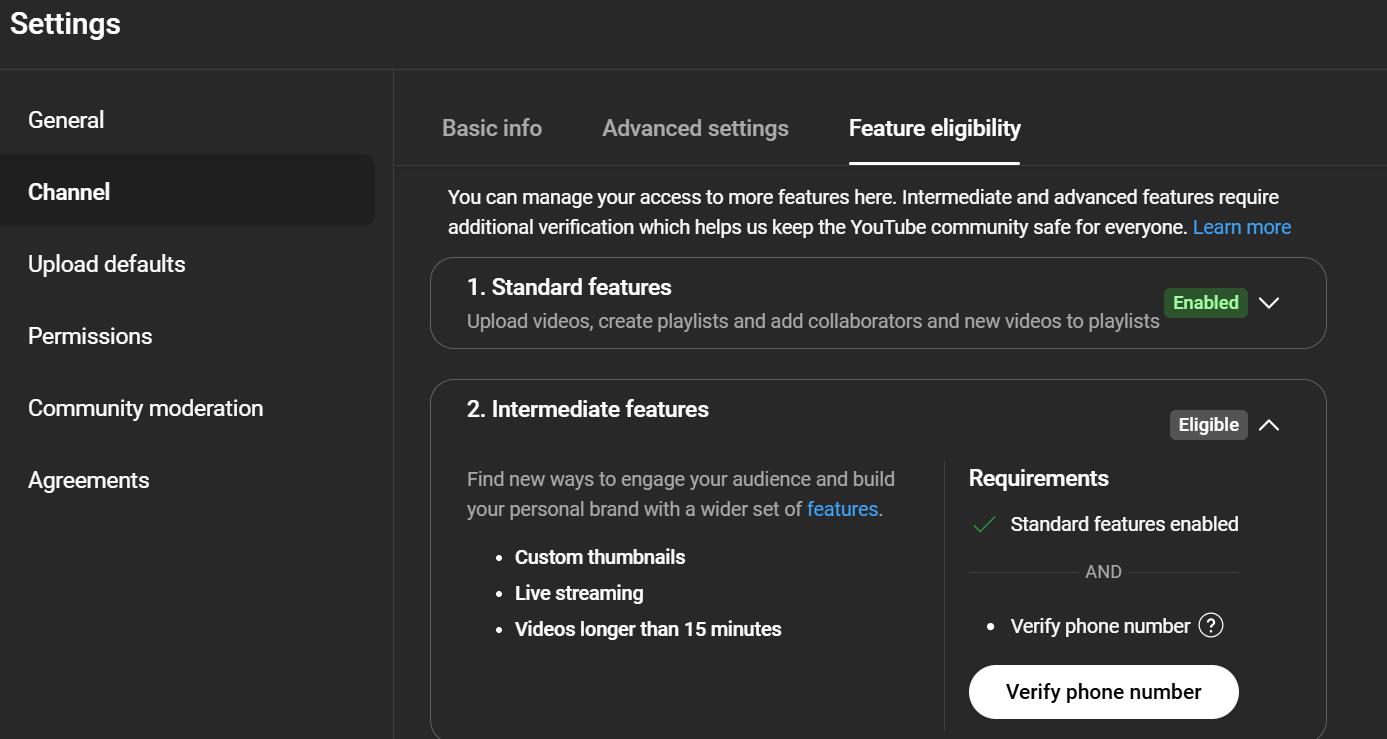
Verifying your channel grants you access to other features, such as custom thumbnails, longer video upload options, and live streaming.
How to optimize your YouTube channel
Creating your channel is just the beginning: you will need to optimize it. Optimization goes beyond selecting the best icon and banner. You should also:
- Write SEO-modified descriptions that accurately describe what your channel offers. Research the in-demand keywords for your niche.
- Link your other social media channels within your description
- Create a channel trailer to give visitors a glance at your channel’s themes
For example, here’s an example of a channel with an SEO-optimized description:
Step 5. Plan your content schedule
Now let’s get into the content creation process. Before you get your camera, you need to plan your content schedule first to determine the right gear you’ll need for your desired content. Doing so avoids unnecessary purchases since you have already prepared your goals.
You should create a content calendar to plan your video topics and publishing schedules.
Here are a few tips to help you build an effective content calendar:
- Brainstorm topics via competitor analysis to identify what types of content work well within your niche.
- Determine how often you can realistically publish new videos and stick to it.
- Use a productivity or project management tool to keep track of the production status, ideas, and posting schedule.
For more in-depth guide, read our blog on how to create a content calendar to craft a schedule that works for your channel.
Step 6. Prepare your equipment, tools, and software
Contrary to common beliefs, you don’t need a large budget to start. Most modern smartphones are capable of recording high-quality video. But if you have allotted a budget already, here are a few equipment you’ll need to create videos:
- Cameras. While a smartphone is a great starting point, consider investing in a dedicated camera for higher-quality videos in better resolution. These do not have to be big and heavy too, there are now pocket cameras that can produce high-quality videos, like the DJI Osmo Pocket and Insta 360.
- Memory cards, SD cards, and hard drives. These are important storage tools if you want to capture multiple high-resolution footages. Take note that not all memory cards or SD cards are the same. To avoid dropped frames, you need to look for cards with high-speed ratings like V30 or V60. You can also opt for cloud storage (e.g., Google Drive) as backup.
- Stabilizers and tripods. You will need these to make your footage smooth and steady. A tripod is useful for static shots, interviews, or filming yourself. But if you need to shoot footage with movement, you will need a stabilizer (or gimbal) to create cinematic shots without camera shakes.
- Green screens. If you need to add video backgrounds or special effects, you will need green screens so you can replace your video background with any image or footage during post-production.
- Lighting. Good lighting is important for all visual content and media, including videos. Although natural light is the best option, having a ring light or softboxes helps create brighter videos in case natural lighting is not available.
- Mics. A good visual should also be accompanied by clear audio. Make sure you invest in a high-quality microphone capable of eliminating background noise and recording your voice clearly.
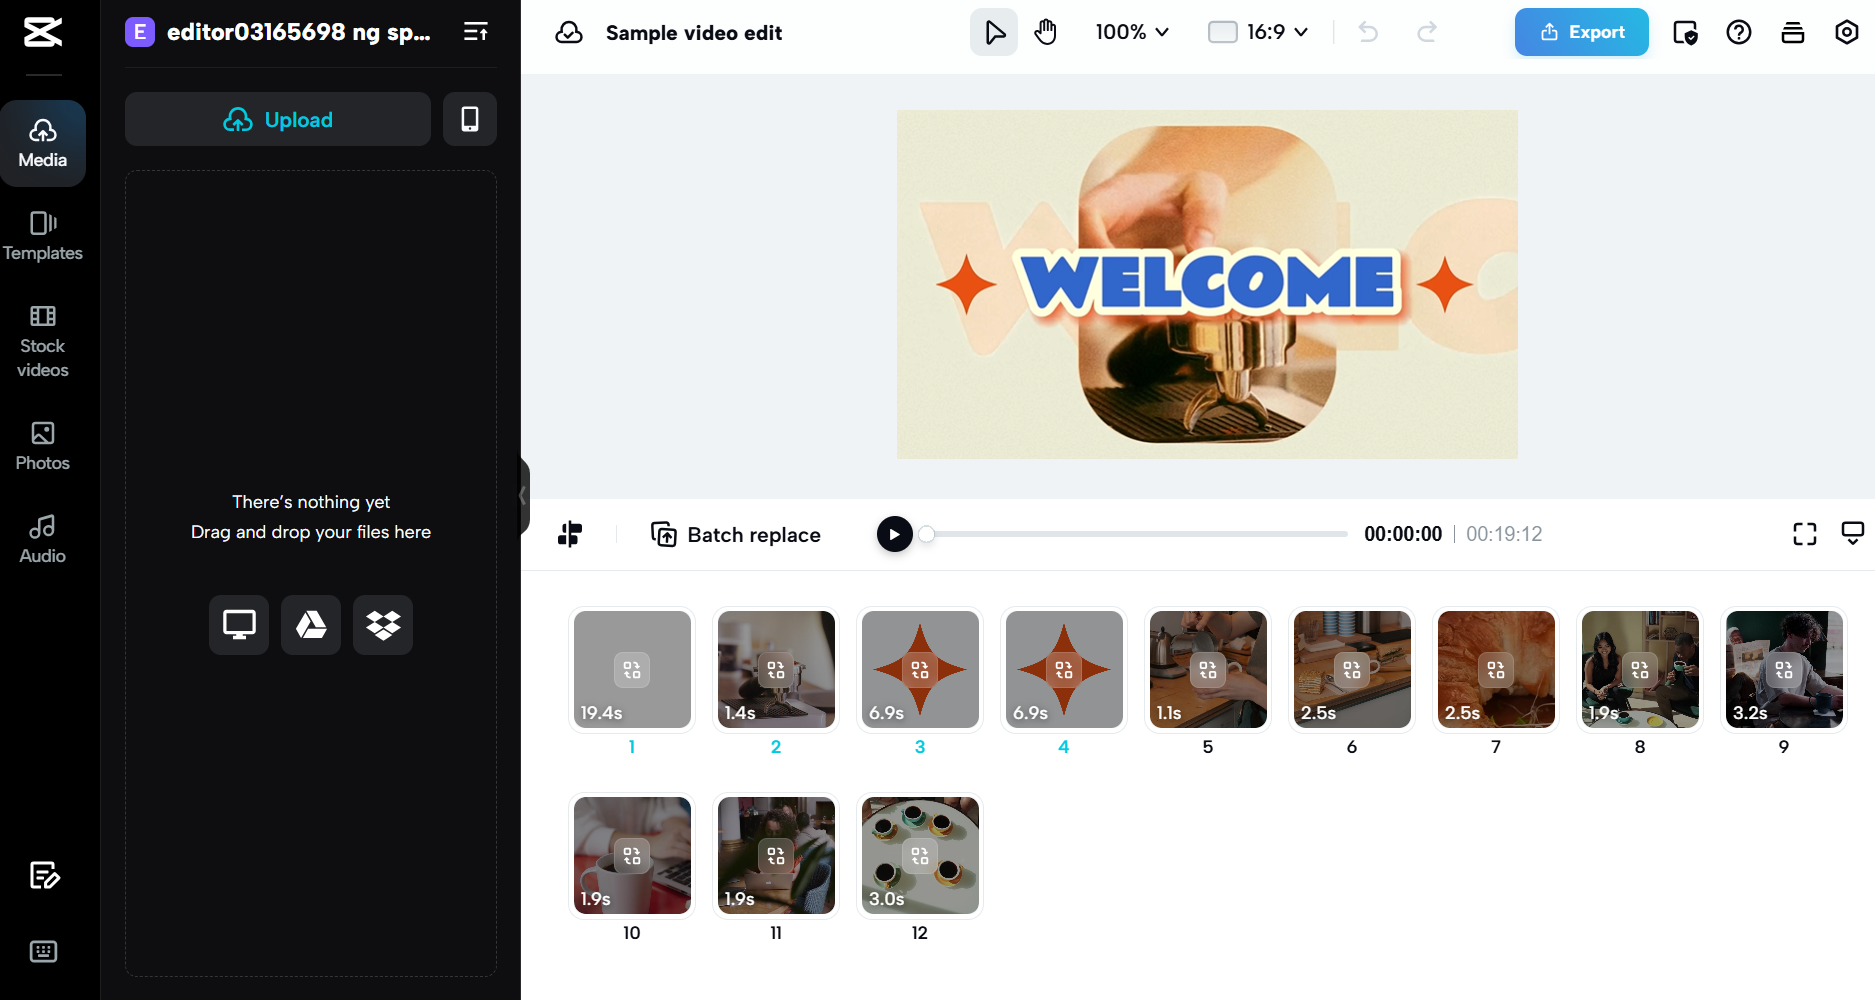
- Video editing software. If you don’t have experience with editing, there are now many free and intuitive software programs that make the editing process beginner-friendly, such as CapCut and InShot. However, take note that if you need more technical editing, you will need to invest in learning techniques and paid software.
Step 7. Take high-quality videos
Got your equipment ready? Then it’s time for the actual content creation process! Remember that high-quality video production relies on more than equipment. It also involves using various techniques to make your YouTube videos stand out and be more cinematic.
Here are a few tips to make both your long-form and Shorts look appealing:
- Learn and experiment with different angles. Vary your shots to make videos more dynamic. For example, use establishing shots to set up a scene or close-ups to show better details.
- Create a shot list. Having a shot list in hand keeps your shooting organized by listing all the important scenes or sequences that you need to take per filming day. This way, you’ll have everything covered and not forget any major scene or angle. There are many free templates available online that you can use.
- Film many B-rolls. B-roll is film extra footage that you can use as transitions between clips. It’s important to record multiple B-rolls so you can also use them in future videos. These B-rolls can be scenic shots of objects and places related to your topic.
- Configure your camera settings. As much as possible, do not rely on auto mode only and learn how to configure your camera’s settings for higher quality. This includes choosing the best frame rate (FPS), shutter speed, white balance, and ISO. The best one depends on your settings and your planned shots.
- Opt for higher resolution. Choose a resolution that fits your channel. The industry standard is 1080p, but you can upgrade to 4K resolution if your camera or editing device can handle it.
Tips for shooting in public
If you aim for filming in public, take note of the following:
- Be aware of your surroundings and consider other people’s space.
- Obtain any necessary permits (particularly in strict establishments).
- Never include people’s faces in your video without their consent.
Step 8. Edit your video
After filming your video, it’s time to make it into engaging content that your target market will love. To produce high-quality content that tells a great story, you should focus on:
- Trimming and reorganizing. Make sure to trim awkward pauses, remove mistakes, and reorganize clips to improve your video’s flow. It also helps to remove any personal detail that makes it easier for strangers to track your location (e.g., landmarks near your home or mobile number)
- Audio quality. Listen to your clips for background noise or static. Adjust audio levels to ensure your voice is clear and consistent throughout the video.
- Color grading. Although you take multiple aesthetically pleasing cinematic clips, they could look dull or plain when viewed on bigger screens. Color grading adjusts and enhances the colors in your footage. You can experiment with your video editor’s settings to see which works for you, but make sure you keep a consistent color grade across your videos to develop a distinct style.
- Transitions. You do not need complex effects to shift from one scene to the next. Simple transitions like cuts or fades are effective enough. The key is to use transitions that serve the story and do not distract the viewer.
- In-video captions and subtitles. Adding captions and subtitles makes your content accessible to a wider audience, including people with hearing impairments or those who watch videos with the sound off.
- Copyright-free music. Use copyright-free music to add emotional depth and rhythm to your video. There are many artists who upload their copyright-free music on the platform, but you need to credit them in the description. Additionally, YouTube’s Audio Library offers a large collection of free music. Other platforms like Epidemic Sound or Artlist also provide extensive libraries with different licensing models.
- Stock footage. These are useful in case you don’t get enough footage to enhance your video’s visuals. Stock footage serves as clips to illustrate a point or fill in gaps between footage in case you didn’t take any B-roll. Websites like Pexels and Pixabay offer a wide variety of free stock videos you
While it is nice to edit with multiple elements, your skills will develop over time. Do not feel pressured to use advanced editing techniques beyond your current abilities. Focus on the core message and the overall quality of your content to get your point across.
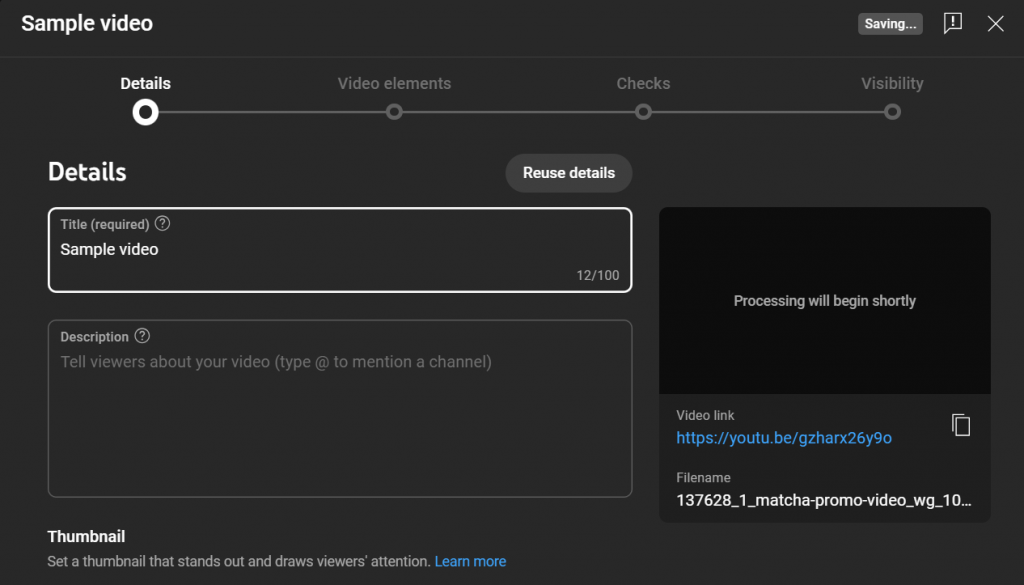
Step 9. Write SEO-friendly descriptions and titles

After the editing process, you should prepare all the post-editing elements to enhance search results and audience engagement. Start by writing search engine optimization (SEO)-friendly titles and video descriptions. Doing so makes your video easier to search.
Here’s an example of a well-made video description:

Using the example above, let’s also take note of the other aspects that make this description effective.
- It also includes links to your other social media platforms.
- There are CTAs within the description that direct viewers to subscribe or visit their site’s blogs
- There are timestamps/chapters for viewers that want to jump into specific sub-topics
Step 10. Make eye-catching thumbnails

First impressions are important, especially for videos. This is why it’s important to create thumbnails that captivate your audience’s interests and increase your click-through rate. To make an effective thumbnail, you should:
- Use high-quality images in the best resolution.
- Add bold, and easy to read texts, and make sure to use colors that contrast with the background.
- Make sure that all your thumbnails follow a similar style for branding and consistency.
- Use facial expressions as emotional cues to grab the viewer’s attention.
- Include quotes or catchy texts in the image that give an idea of the topic.
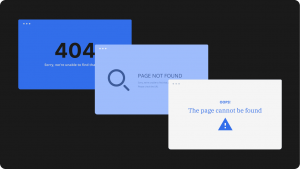
Step 11. Create end screens
The closing is just as important as the opening spiel. One way to improve your YouTube videos is by creating end screens, which are the five to twenty-second ending part of a video.
This is what end screens usually look like:

It can be a simple logo of your company or an illustration related to your channel. Beyond just an image, an ending screen could also include:
- A subscribe CTA
- Clickable elements that link to other videos or playlists
- Clickable link to your YouTube channel
- Clickable link to your most recent video
- Clickable link to an external site (only applicable for channels part of the YouTube Partner Program)
Although you can create the image yourself using Canva or any other free image editing app, you can add the other interactive elements using YouTube Studio after uploading it. Here’s how you do it:
- Open YouTube Studio and sign in.
- Click Content from the left menu.
- Click the video you want to edit.
- Select Editor from the left menu.
- Choose End screen, then pick the elements you want in your video.
Step 12. Upload your video to YouTube Studio
Got everything ready? Time to upload it to your channel. Take note that the uploading process depends on what device you’re using to do it:
How to upload to YouTube using Android/iOs/Ipad
To start, you will need to install the YouTube app. Then follow these steps:
- Click Create > Video
- Choose the file you want to upload, then click NEXT
- Note: If your video is less than 3 minutes or in a vertical/square aspect ratio, it will be uploaded as a YouTube Short. But if it’s longer than 3 minutes and has a vertical aspect ratio, choose Edit into a Short so you can trim it and upload it as a Short.
- Note: If your video is less than 3 minutes or in a vertical/square aspect ratio, it will be uploaded as a YouTube Short. But if it’s longer than 3 minutes and has a vertical aspect ratio, choose Edit into a Short so you can trim it and upload it as a Short.
- Keep the app open while the upload is in progress. If you close it, the video will be saved as a draft.
- Add in your video’s details: title, description, thumbnail, and privacy settings.
- Choose Next
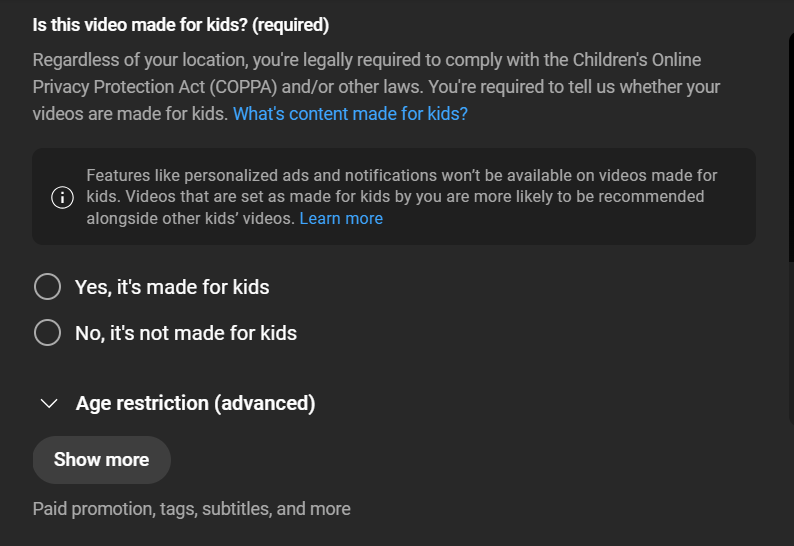
- Choose your target audience: Select “Yes, it’s made for kids” or “No, it’s not made for kids.”
- Tap Upload video and voila! Your video is now online.
Aside from the actual YouTube app, you can also upload using YouTube Studio. The steps are the same.
How to upload to YouTube using your computer
If you’re using a desktop or laptop, you can upload directly to the YouTube site or YouTube Studio. Steps include:
- Choose CREATE > Upload videos
- Select your file
- Wait for the upload to finish
- Your video will be converted to the highest available resolution. Processing time varies depending on the resolution. SD, HD, and 4K videos take longer. It also depends on the video format, length, and quality.
- Fill in your video’s details: title, description, thumbnail, and privacy settings
- Choose your target audience: Select “Yes, it’s made for kids” or “No, it’s not made for kids.”
6. Check if the video passed the checks (i.e., copyright checks, quality checks). These are the three small logos on the bottom left part of the window. If your video gets flagged for copyright, double-check the audio and replace it.

7. Click Next
8. Add in video elements (e.g., subtitles, end screens, and cards) and click Next
9. You will be directed to the Checks section. If there are no issues found, click Next

10. Choose your video’s visibility. You have the option to make it Private, Unlisted, or Public. If you want, you can set an upload schedule instead of immediately publishing.
11. Double-check if kids or minors appeared on the video or if there are possible content guideline violations present.
12. If all is good, click Save
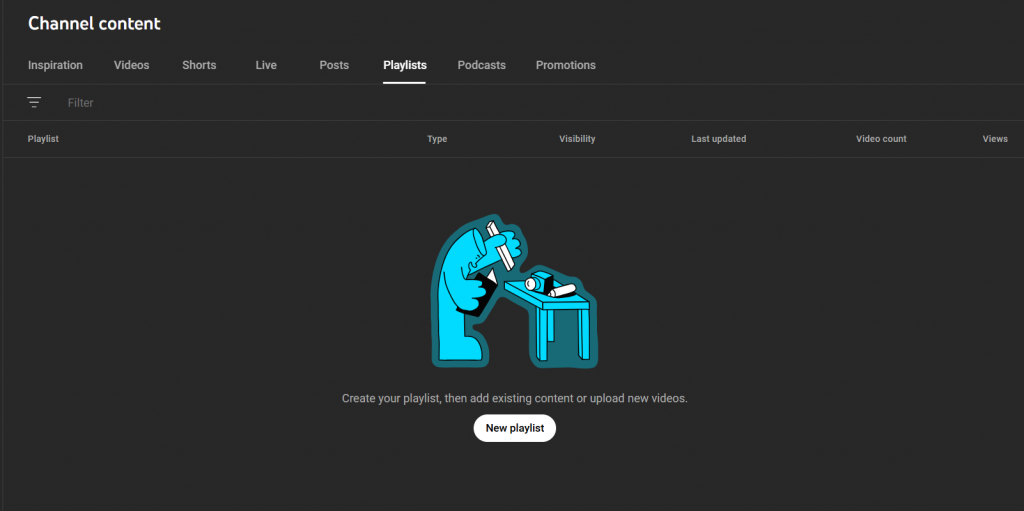
Step 13. Create channel playlists
Congratulations on your first video! To help organize your channel content and for your viewers’ convenience, it helps to create playlists. These are collections of videos that belong under the same category or topic.
To create one, you should:
- Go to YouTube Studio
- Click Content on the left menu
- Choose Playlist
4. Select New playlist
5. Fill in details (title, description, visibility, and videos to add)
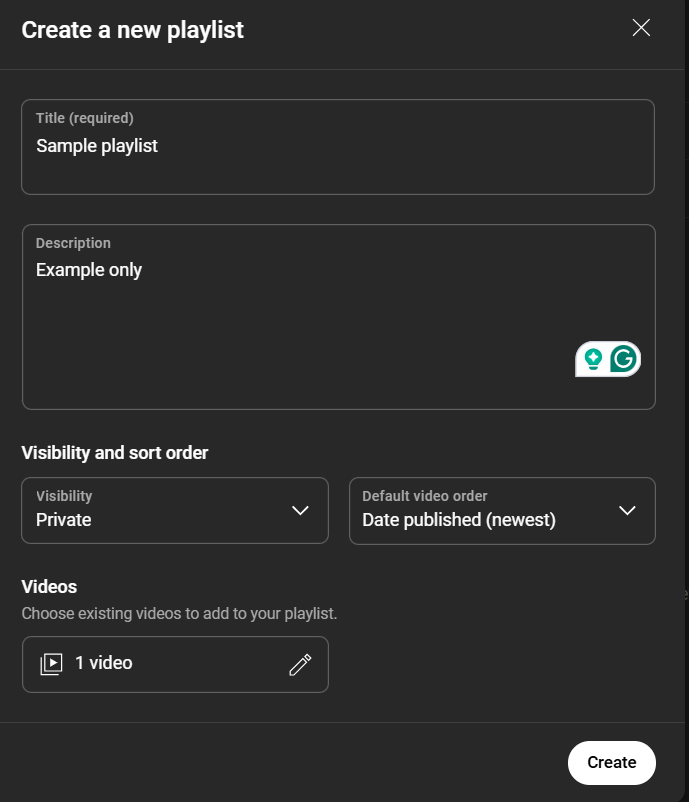
6. Click Create
Step 14. Analyze your video’s performance
Uploading videos is just one aspect of the process. You need to monitor your content’s performance to determine which is working and what needs improvement. Doing so will help you improve your next video.
You can monitor your YouTube analytics via YouTube Studio. It is present in the left menu

It gives you the option to see your analytics in a general overview of your channel, including:
Overview
- Channel views
- Watch time in hours
- Real-time subscriber count
Content-related data
- Content views, impressions, CTRs, and average view duration
- How viewers find your videos (external, YouTube search, suggested videos, and playlists)
- Top videos
- Top remixed
- Impressions and how they led to watch time
Audience-related data
- Monthly audience
- Age and gender
- Audience by watch behavior
- Popular with different audiences
- Channels your audience watches
- When your viewers are on YouTube
- Watch time from subscribers
- Formats your viewers watch on YouTube
- Device type
Take note: you can modify the date range/duration for the data by the following:
- Last 7 days
- Last 28 days
- Last 90 days
- Last 365 days
- Lifetime
- Present year
- Last year
- By month
- Custom
Tip: The analytics section also has a Trends section where you can get ideas for your next video based on trending topics
Step 15. Participate in YouTuber online forums
YouTube is also an ever-changing platform that continues to introduce new features, policies, and algorithms. Participating in online communities helps you stay updated.
You can find these mostly in:
- Forums like Reddit, where you can find various subreddits dedicated to YouTubers such as r/NewTubers, r/youtubers, and r/partneredYoutube
- YouTube Help Center and the YouTube Creators channel
Build a website along with your YouTube channel
To become a successful YouTuber who attracts many viewers and subscribers, you need to plan your every move from the very start. Remember to prioritize your content’s intent and quality before uploading. Be consistent and focus on quality over quantity.
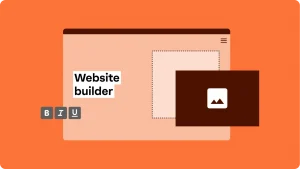
Now that you’ve started your YouTube career, you will need to expand your efforts beyond the channel: create a website to serve as a professional hub for your brand.
Network Solutions offers an AI website builder that makes it easy for you to create a website suited to your content. If you’re too busy with your channel, we also offer professional web design services so you can focus on creating content.

Frequently asked questions
Your YouTube income doesn’t solely rely on how many subscribers you have. It varies by your views and other monetization methods (e.g., brand deals, affiliate marketing, and sponsorships)
To get paid as a YouTuber, you should apply and qualify for the YouTube Partner Program. The requirements include at least 1,000 subscribers and 4,000 public watch hours within the past 12 months. Or if you prefer creating YouTube Shorts, you need at least 10 million valid public views in the last 90 days.
It’s free to be a YouTuber. It costs zero to start a channel. However, if you plan on creating higher-quality video, you need to invest in various equipment and tools.
To become a successful YouTuber, you need to develop a strategy from the very start. Choose a niche, create high-quality and consistent content, and optimize your videos for discoverability. Don’t forget to engage with your audience.
Yes, starting a YouTube channel in 2025 is still worth it. Although the competition is tougher, there is always room for everyone. This is why having a niche is so important, because it gives you a more specific audience instead of trying to cater to everyone.
To become a successful YouTube channel, you need to have a variety of video shooting and editing skills. It also helps to have a graphic design knowledge for creating thumbnails and end screens.
Aside from these creative skills, you need to have knowledge in marketing and analytics too.
It would take a few months to a few years depending on how soon you can achieve getting the requirements for the YouTube Partner Program.
Yes, it is possible to be a YouTuber without showing your face. There are now many successful faceless channels that focus on voiceovers, animations, and clips.