Key takeaways:
- Website downtime happens when your site is unavailable or not working properly for visitors.
- The most common causes include server failures, server overload, software conflicts, security breaches, and human error.
- To prevent website downtime, website owners need reliable hosting, website monitoring, automated backups, and strong security measures.
Every website owner deals with one big risk: website downtime.
When your site goes down, you can lose traffic, sales, leads, and user trust fast. A site outage can also hurt website uptime, website speed, and your visibility in search engine results. For many businesses, even a short outage affects more than just the website’s performance. It affects revenue and credibility, too.
The good news is that many downtime issues are preventable. Frequent downtime often comes from avoidable problems. But with the right hosting provider, better monitoring tools, and a clear disaster recovery plan, you can minimize downtime and keep your site stable.
What is website downtime?
Website downtime is any time your site cannot be reached or does not work as it should. Think of a customer who couldn’t complete purchases or an interested user who can’t access your blog pages.
Sometimes the whole site is offline. Other times, only key parts fail, like website contact forms, checkout pages, or login areas. In both cases, legitimate users cannot access your site properly.
Website downtime can be planned, such as during maintenance, or unplanned, such as during server crashes, hardware failures, DDoS attacks, power outages, or software issues.
The AWS outage in October 2025 is a recent example; it disrupted major online services like Snapchat and Reddit. It showed how problems at one cloud provider can quickly affect the websites and apps people use every day.
What are common reasons for website downtime?
Most website downtime comes from a short list of common issues.
- Overloaded servers
- Server maintenance
- Server issues
- Software conflicts
- Cyber attacks and security breaches
- Human error
- DNS, domain, or SSL problems
- Third-party outages
Overloaded servers
A server can only handle so much incoming traffic.
If your site gets traffic surges or traffic spikes and your hosting plan doesn’t have enough server resources, you can run into server overload, slowdowns, or full server downtime. This is common when a site relies on a single server instead of multiple servers built for better traffic management.
For more insights, learn how to decide which web server to use for small businesses for more guidance.
Server maintenance
Sometimes downtime happens because your hosting provider needs to perform maintenance on a hosting server, web server, or data center. This kind of downtime is usually planned, but it still affects website availability.
A reliable hosting provider should keep maintenance short and communicate clearly.
Server issues
Server failures can happen for many reasons, including:
- Hardware failure
- Network issues
- Backup server problems
- Power outages
When this happens, your site may slow down, go offline, or suffer extended downtime. This is why many larger websites rely on multiple servers, backup servers, and multiple locations for better stability.
Software conflicts
Not all downtime starts with the server. Existing software, plugins, themes, or updates can conflict with each other and break important parts of your website.
Software conflicts can affect website speed, database queries, and the overall website’s performance. That’s why testing in a staging environment matters.
Cyber attacks and security breaches
Security breaches are a major cause of website downtime. DDoS attacks, malware, and other attacks can overwhelm your hosting server, block legitimate users, or expose critical data.
Strong security measures help reduce this risk. That includes robust security measures such as a web application firewall, DDoS protection, malware scans, SSL upkeep, and regular security patches.
Human error
Human error causes more downtime than many people expect. A bad update, deleted file, wrong DNS record, or misconfigured setting can bring down a reliable website quickly.
Clear processes, comprehensive documentation, and a staging environment help reduce these mistakes.
DNS, domain, or SSL problems
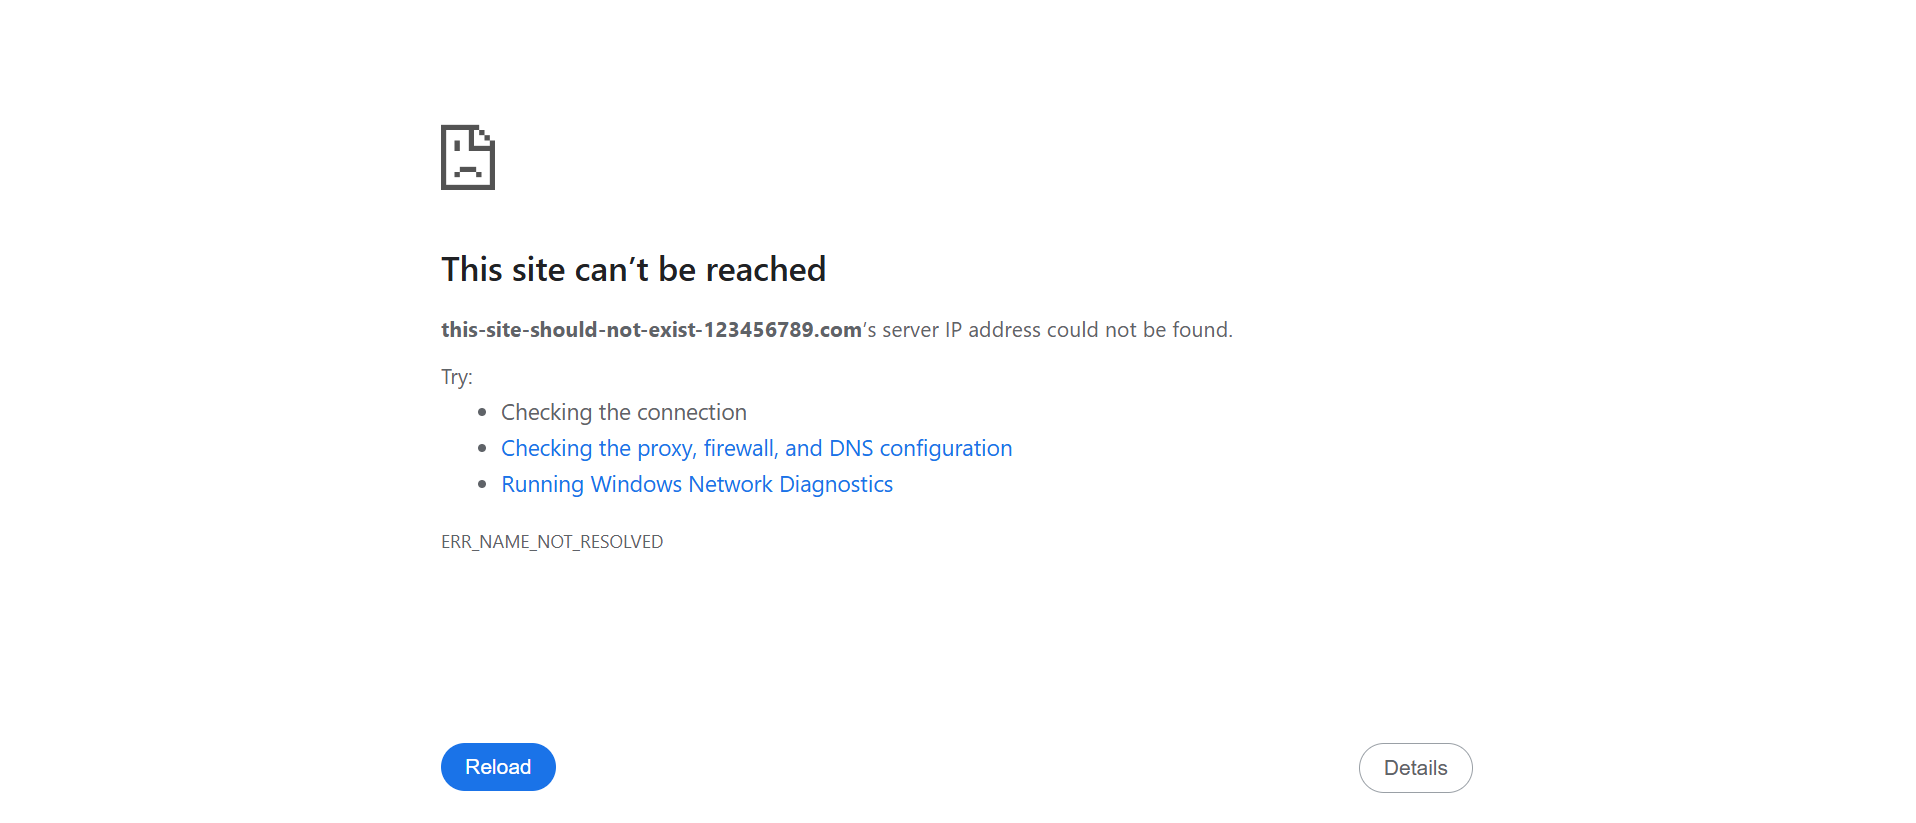
Sometimes the site itself is fine, but users still cannot reach it. DNS errors, expired domain names, or outdated SSL certificates can all cause a site outage or lead users to believe the site is unsafe.
Third-party outages
Your website may depend on external tools across multiple channels, such as payment tools, plugins, APIs, or a content delivery network. If one of them fails, your site may fail too.
Why is it important to prevent website downtime?
Website downtime costs more than most businesses expect.
It can lead to lost sales, missed leads, lower website availability, and weaker user trust. Frequent downtime can also make your site feel unreliable, even if the problems are brief. If users can’t count on your site, they may not come back.
Here are the main ways downtime can affect a business:
- Lost sales: If your site goes down during peak hours, promotions, or checkout, customers may leave before completing a purchase.
- Missed leads: Contact forms, booking pages, and inquiry tools stop working when your site is unavailable.
- Lower website availability: Even short outages reduce the time your site is accessible to visitors and potential customers.
- Weaker user trust: People expect a reliable website. If they encounter recurring issues, they may question your credibility.
- Poorer customer experience: Slow pages, failed logins, and broken features can frustrate users just as much as a full outage.
- Interrupted operations: If your site supports orders, bookings, support, or customer communication, downtime can disrupt daily business activity.
That’s why every website owner should think beyond quick fixes. Preventing downtime is really about protecting revenue, website data, critical data, and long-term trust.
10 tips for preventing and minimizing website downtime
The best way to prevent website downtime is to strengthen the full setup behind your site.
- Choose the right hosting plan and provider
- Perform regular backups
- Monitor your website and schedule routine maintenance
- Update your website’s software, themes, and plugins
- Strengthen your security measures
- Implement load balancing
- Use content delivery networks (CDN)
- Enable caching
- Create a recovery plan
- Download and install secure themes and plugins
Choose the right hosting plan and provider
Your hosting provider matters more than almost anything else. A weak web host can leave you exposed to server crashes, server overload, and poor website uptime.
When comparing options, focus on these key criteria:
- Reliable uptime: Choose a reliable hosting provider with a strong track record for website uptime. If the provider has frequent downtime, your site is more likely to suffer from the same problem.
- Stable infrastructure: A reliable web host should have a dependable data center, well-maintained hardware, and protection against common issues such as server failures, hardware failures, and power outages.
- Enough server resources: Your hosting plan should provide enough resources to handle your current traffic without slowing down. This includes bandwidth, storage, memory, and processing power.
- Scalable hosting plans: As your site grows, your hosting service should be able to grow with it. Scalable hosting plans make it easier to handle traffic spikes, incoming traffic, and higher demand without risking server overload.
- Strong customer support: Good support matters when your site is down. Look for a hosting provider that offers fast, reliable help so you can respond quickly to server downtime or site outages.
- Flexible hosting options: A provider should offer plans that fit different stages of growth, whether you need shared hosting, VPS, or more advanced setups using multiple servers.
- Security and backup support: A strong hosting provider should support core security measures such as SSL, malware protection, and backup options to help minimize downtime and protect website data.
- Performance features: Look for features that improve website speed and the website’s performance, such as caching support, CDN compatibility, and tools for better traffic management.
Reliable hosting provider selecting should focus on uptime, flexibility, support, and long-term reliability, not just price. A reliable hosting provider should also offer enough server resources for your current traffic and room to grow.
Perform regular backups
Automated backups are one of the easiest ways to reduce risk. If something breaks, backup data helps you restore your site faster and supports both disaster recovery and a clear recovery point objective.
Use these steps to build a stronger backup routine:
- Set up automated backups: Schedule backups to run automatically so you are not relying on manual saves. This helps protect website data consistently, especially if your site changes often.
- Use incremental backups when possible: Incremental backups only save new or changed files after the first full backup. This saves time, reduces storage use, and makes regular backups easier to manage.
- Choose reliable automated backup tools: Good automated backup tools help you back up files, databases, and other critical data without much manual work. They also make restores faster when something goes wrong.
- Store backups off-site: Keep backup data in a separate location from your live hosting server. If the server is damaged, hacked, or affected by hardware failure, you will still have a clean copy of your site.
- Schedule regular backups based on site activity: The more often your site changes, the more often you should back it up. Sites with orders, form submissions, or frequent updates may need daily or even more frequent backups.
- Test your backups regularly: A backup is only useful if it works. Make sure you can restore your site properly and recover important files, pages, and critical systems when needed.
A strong backup routine makes it easier to recover from human error, software issues, security breaches, or server failures without extended downtime.
Monitor your website and schedule routine maintenance
Website monitoring helps you catch problems early. A strong website maintenance and monitoring routine helps you catch small issues early, protect website uptime, and keep your site more stable over time.
Use these steps to stay ahead of downtime:
- Track website uptime: Use website monitoring tools to verify that your site is online and accessible from various locations. This helps you spot outages quickly instead of waiting for users to report them.
- Watch server health: Monitor server health regularly so you can catch issues like resource spikes, slow response times, or unusual activity before they lead to server downtime.
- Check website speed and performance: A site doesn’t have to be fully down to hurt the user experience. Slow load times, failed pages, and lagging features can all affect website performance and signal deeper issues.
- Monitor SSL and domain status: Keep an eye on SSL certificates and domain settings to catch expirations before they affect website availability or user trust.
- Set up instant alerts: Choose monitoring tools that send instant alerts by email, text, or dashboard notification. Fast alerts help you respond quickly and reduce extended downtime.
- Review logs and recent errors: Check error logs, uptime reports, and recent incidents regularly. This makes it easier to identify patterns and find the root cause of recurring problems.
- Schedule routine maintenance: Set aside time to perform tasks such as checking for updates, removing broken tools, reviewing backups, and testing critical site functions.
- Test key features regularly: Do not just monitor whether the homepage loads. Test forms, logins, checkout pages, and other critical systems to make sure they work properly for legitimate users.
Continuous monitoring gives instant alerts when something fails. That helps you find the root cause faster and fix issues before they turn into extended downtime.
Update your website’s software, themes, and plugins
Outdated tools create security vulnerabilities and compatibility issues. Keep your CMS, themes, and plugins up to date, but do so carefully.
Test changes in a staging environment first. That reduces the chance that existing software conflicts or human error will break your live site.
Use these steps to handle updates more safely:
- Update your CMS regularly: Your content management system often releases fixes for bugs, performance issues, and security vulnerabilities. Staying current helps protect your site and improve stability.
- Use a staging environment first: Before applying updates to your live site, test them in a staging environment. This lets you catch software conflicts, layout issues, or broken functions without risking downtime.
- Back up your site before updating: Always create a backup before making changes. If an update causes problems, you can restore your website data faster and avoid extended downtime.
- Review compatibility before installing updates: Check whether a plugin, theme, or CMS update works with your current setup. This is especially important if your site depends on existing software or custom features.
- Update in smaller batches: Avoid updating everything at once. Smaller, controlled updates make it easier to spot the root cause if something breaks.
- Test key site functions after every update: After updating, check important pages and features such as forms, checkout, login, navigation, and mobile display to make sure the site still works for legitimate users.
A careful update routine helps reduce security vulnerabilities, avoid software conflicts, and protect website uptime without putting your live site at unnecessary risk.
Strengthen your security measures
Strong security measures do more than protect your site from attacks. They also help prevent website downtime by reducing the risk of disruptions caused by security breaches, malware, and unauthorized access.
Use these steps to strengthen your setup:
- Implement DNS monitoring: DNS issues can make your site unreachable even when your hosting server is working properly. Monitoring helps you catch problems early before they turn into a site outage.
- Use firewalls: A firewall helps block harmful traffic before it reaches your site. This adds another layer of protection against attacks and suspicious activity.
- Run periodic malware checks: Malware can damage files, expose critical data, and disrupt website availability. Regular scans help you find and remove threats early.
- Strengthen password practices and enable 2FA: Strong, unique passwords and two-factor authentication help reduce the risk of unauthorized access, especially on admin accounts.
- Keep SSL certificates up to date: An expired SSL certificate can trigger browser warnings and erode user trust. Keeping SSL certificates up to date helps protect visitors and ensure a more reliable website.
- Apply security patches quickly: Security patches fix known vulnerabilities in your CMS, themes, and plugins. Delaying updates can leave your site exposed.
- Limit admin access: Grant it only to those who truly need it. Fewer admin accounts mean fewer chances for mistakes or unauthorized changes.
A stronger security setup helps protect website uptime, reduce risk, and keep your site more stable over time.
Implement load balancing
Load balancing distributes incoming traffic across multiple servers rather than forcing a single server to handle everything.
This improves traffic management, reduces server overload, and helps protect your site during web traffic spikes. If your business depends on uptime, load balancing is a smart way to minimize downtime.
Use these steps to put it into practice:
- Distribute traffic across multiple servers: Instead of relying on a single server, spread web traffic across multiple servers so no one machine carries the full load. This helps reduce server overload and lowers the risk of server crashes.
- Match traffic handling to your site’s needs: Load balancing works best for sites that get traffic spikes, high incoming traffic, or large volumes of database queries. If your site regularly experiences busy periods, this setup can help maintain website availability.
- Use a hosting provider that supports it: Not every hosting plan includes load balancing. If this is important for your site, choose a reliable hosting provider or hosting service that supports multiple servers and scalable traffic management.
- Set rules for how traffic is routed: A load balancer can route users based on server health, location, or current demand. This helps direct legitimate users to the best available server and keeps traffic moving more smoothly.
- Monitor server health continuously: Load balancing only works well if unhealthy servers are detected quickly. Pair it with website monitoring and continuous monitoring so traffic can shift away from failing systems before they cause downtime.
- Plan for failover and backup support: A strong setup should allow traffic to move to backup servers if one hosting server fails. This helps reduce server downtime and supports business continuity during outages.
- Test the setup before peak traffic hits: Do not wait for a real spike to see if your system can handle it. Test how your site performs under a heavier load so you can spot weak points early.
- Combine it with caching and a content delivery network: Load balancing works even better when paired with them, since both help reduce strain on your web server and improve website speed.
Load balancing gives your site more flexibility during traffic surges, helps protect critical systems, and reduces the risk that a single server issue turns into a full site outage.
Use content delivery networks (CDN)
A content delivery network helps serve your site from multiple servers worldwide and multiple locations. That reduces the load on your main web server and can improve both website speed and website availability.
It also helps during traffic surges by distributing content more efficiently.
Use these steps to make it work for your site:
- Choose a CDN that fits your site: Start with one that works well with your hosting provider, traffic levels, and site setup. A good CDN should be easy to connect to your hosting service and flexible enough to support growth.
- Connect your CDN to your website: Once you choose a provider, connect it to your site so static files like images, scripts, and stylesheets can be served from multiple servers worldwide instead of only from your main hosting server.
- Cache your content across multiple locations: A CDN stores copies of your content in multiple locations so users can load your site from the server closest to them. This improves website speed and reduces strain on your main web server.
- Use it to handle traffic surges: During traffic spikes or heavy incoming traffic, a content delivery network helps spread the load more efficiently. This lowers the risk of server overload and helps minimize downtime.
- Reduce pressure on your origin server: By offloading file delivery to multiple servers, a CDN reduces the workload on your main hosting server. That can improve your website’s performance and reduce the chance of server crashes during busy periods.
- Pair it with caching and load balancing: A CDN works even better when combined with caching and load balancing. Together, they improve traffic management, support website availability, and help protect your site during traffic surges.
- Monitor performance after setup: After enabling your CDN, track website speed, uptime, and server health to ensure it is helping. Monitoring tools can show whether the CDN is improving delivery and reducing load on your hosting server.
Using a CDN is important because it helps create a faster, more reliable website. It supports website availability, improves the user experience across multiple locations, and provides your site with greater protection during spikes in web traffic.
Enable caching
Caching helps your site load faster and reduces strain on the database from repeated queries. This lowers the pressure on your hosting server and improves your website’s performance during busy periods.
Use these steps to make caching work for your site:
- Turn on page caching: Page caching stores ready-made versions of your pages so your server does not have to rebuild them every time someone visits. This reduces load on your web server and helps improve website speed.
- Cache static files: Images, CSS, JavaScript, and other static assets should be cached to load faster for returning visitors. This improves website availability and reduces the number of repeated requests to your hosting server.
- Reduce repeated database queries: Dynamic sites often run the same queries repeatedly. Caching helps cut down that repeated work, which improves the website’s performance and lowers the risk of server overload.
- Use caching tools or hosting features: Many hosting providers, CMS platforms, and plugins include built-in caching or easy caching tools. Check whether your hosting service already offers this before adding extra tools.
- Set cache rules carefully: Not every page should be cached the same way. Static pages can usually stay cached longer, while pages with logins, carts, or account details may need shorter cache times or special rules.
- Clear cache after major updates: If you change your content, design, or functionality, clear the cache so users see the latest version of your site instead of outdated content.
- Test your site after enabling caching: After setup, check your pages, forms, and key site features to make sure everything still works correctly for legitimate users.
Create a recovery plan
Every website owner should have a disaster recovery plan. When something goes wrong, you need to know how to restore service, protect backup data, and keep business continuity moving.
A good recovery plan should be clear, practical, and easy to follow under pressure. Use these steps to build one:
- Decide who responds first: Assign the first person or team responsible for checking the issue, confirming the outage, and starting the response. This avoids confusion when every minute matters.
- Document where backup data is stored: Ensure your team knows exactly where it lives, whether in cloud storage, backup servers, or another secure location. If no one can find the backup quickly, recovery takes longer.
- Write out how to restore critical systems: List the exact steps for restoring your website, database, hosting server, and other critical systems. This should include what to restore first and how to verify that the site is working again.
- Set communication steps across multiple channels: Decide how you will update customers, internal teams, and stakeholders if the outage lasts. Email, status pages, social media, and support channels can all help maintain user trust during downtime.
- Identify your disaster recovery team: Even for a small business, someone should own each part of the response. That may include your website owner, developer, hosting provider, or outside support partner.
- Define your recovery point objective: This sets the maximum amount of data loss your business can realistically tolerate. It helps determine how often you need backups and how quickly backup data must be available.
- Include emergency contacts and access details: Keep a secure record of key contacts, account access, hosting provider details, and tools your team may need during an outage. This helps speed up disaster recovery when time is critical.
- Test the plan regularly: A disaster recovery plan only works if it has been tested. Run through the process occasionally so your team knows what to do and can spot gaps before a real outage happens.
Creating a recovery plan is important because it reduces guesswork during a site outage. Instead of reacting under pressure, your team can follow a clear process to restore service, protect critical data, and support business continuity. A good disaster recovery plan turns panic into process.
Download and install secure themes and plugins
Only install tools from trusted sources. Bad plugins and unsafe themes can introduce security vulnerabilities, software conflicts, and stability issues.
Before adding anything new, check reviews, support history, update frequency, and compatibility. Then test it in a staging environment before putting it live.
Use these steps to choose safer themes and plugins:
- Download only from trusted sources: Start with official marketplaces, well-known developers, or reputable vendors. Avoid nulled, pirated, or unofficial copies, since they often contain hidden malware or unsafe code.
- Check the developer’s reputation: Look at who made the plugin or theme and whether they have a solid track record. A trusted developer is more likely to maintain the tool, fix bugs, and release security patches.
- Review update frequency: If a theme or plugin has not been updated in a long time, that is a warning sign. Regular updates usually mean the developer is still maintaining compatibility and fixing security vulnerabilities.
- Read reviews and support feedback: User reviews can reveal recurring issues, poor support, or problems with your website’s performance. Also, check support forums or documentation to see whether the developer responds to issues.
- Confirm compatibility with your setup: Ensure the theme or plugin works with your CMS version, hosting environment, and other software. Compatibility problems can lead to software conflicts, broken features, or even downtime.
- Check the number of active installs or users: A widely used plugin is not automatically safer, but a larger user base can be a good sign that it has been tested in real-world conditions and that issues are more likely to be spotted quickly.
- Look at the permissions and features carefully: If a tool asks for more access than it reasonably needs, be cautious. A simple plugin should not require broad control over critical systems unless that access is truly necessary.
- Test in a staging environment first: Before installing anything on your live site, test it there. This helps you catch security issues, software conflicts, design problems, or performance slowdowns before they affect legitimate users.
- Back up your site before installing: Create a fresh backup before adding any new theme or plugin. If something goes wrong, you can restore website data quickly and avoid extended downtime.
- Remove anything you no longer use: Delete inactive or outdated items to reduce clutter and lower the risk of future vulnerabilities.
One bad plugin or unsafe theme can affect website uptime, expose critical data, or weaken user trust. A careful review process helps you avoid unnecessary risk and keep your site more stable and secure.
What to do when your website is down
If your site is already down, work through the issue step by step.
- Confirm that your website is actually down: Check your site from different devices, browsers, and multiple locations. This helps you confirm whether it is a real site outage or just a local connection problem.
- Check whether the issue is full or partial: See whether the whole site is down or only certain features, like login, checkout, forms, or images. This can help narrow down the root cause faster.
- Review any recent changes: Think about what changed right before the downtime started. A plugin update, DNS edit, theme change, or software update could be the root cause.
- Check your hosting service and server status: Log in to your hosting service and review the status of your hosting server, web server, database, DNS, and SSL certificate. If anything looks wrong, contact your hosting provider or web host right away.
- Pause anything that may be making the issue worse: If you recently launched an update, installed a plugin, or changed settings, stop or roll back that change if possible. This can help contain the problem before it spreads further.
- Review logs and error messages: Check server logs, CMS error logs, and monitoring tools for clues. This can help you identify the root cause rather than guessing.
- Restore your site from backup if needed: If the outage affected website data or critical data, restore the latest clean version using backup servers or your most recent automated backups.
- Test the site after recovery: Once the site is back up, check key pages and critical systems, such as forms, checkout, login, and mobile performance, to ensure everything is working properly.
- Keep users informed if the outage continues: If the downtime lasts longer than expected, post updates across multiple channels so users know you are aware of the issue and working to resolve it.
- Document what happened: After the site is stable again, write down what caused the outage, how it was fixed, and what should change to help prevent it next time.
Frequently asked questions
Use a reliable hosting provider, choose the right hosting plan, implement advanced security measures, use website monitoring, schedule regular backups, and build a disaster recovery plan.
Common causes include server failures, hardware failures, human error, software conflicts, security breaches, power outages, server overload, and traffic spikes.
Yes. High incoming traffic can overwhelm a single server if you do not have enough server resources, load balancing, or scalable hosting plans.
The best monitoring tools track website uptime, website speed, server health, SSL status, and send instant alerts when problems appear.
Website downtime can lead to lost sales, lower user trust, reduced website availability, and disruptions to business continuity.
Use website monitoring tools, test the site from multiple locations, and check your hosting provider dashboard.
99.9% uptime still allows some downtime each month, which is why businesses that need a reliable website usually aim for even stronger uptime protection.
Prevent downtime before it costs you
Website downtime can come from many directions, but the best defense is a stronger setup from the start. Reliable hosting, regular backups, careful updates, better security, and a clear recovery plan all help reduce risk and keep your site more stable.
For website owners, the goal is simple: protect uptime, avoid lost sales, and deliver a more reliable experience to users.
That’s where the right foundation matters. We support your website-building journey with the tools you need to start on more solid ground. Register your domain name with us and get a free year of reliable web hosting to help reduce downtime, plus free marketing tools like a Coming Soon page and a Customer app to get your brand up online immediately while you take time to build your website.
It’s a simple way to build an online presence with more confidence from day one.
Find the perfect domain
Ready to register a domain name? Check domain availability and get started with Network Solutions today.